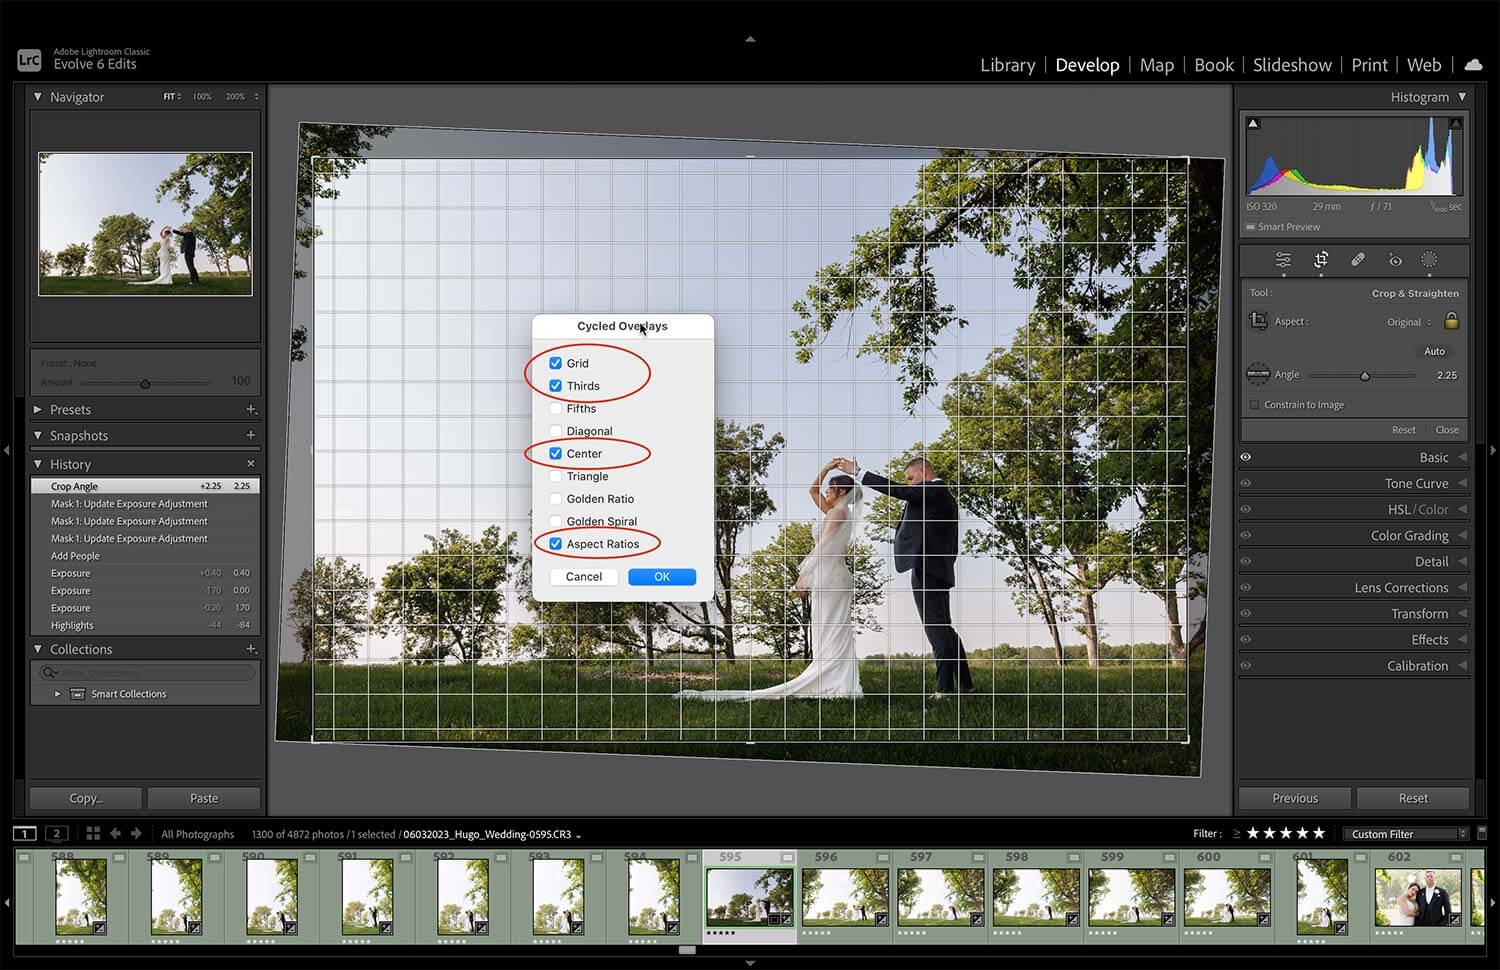
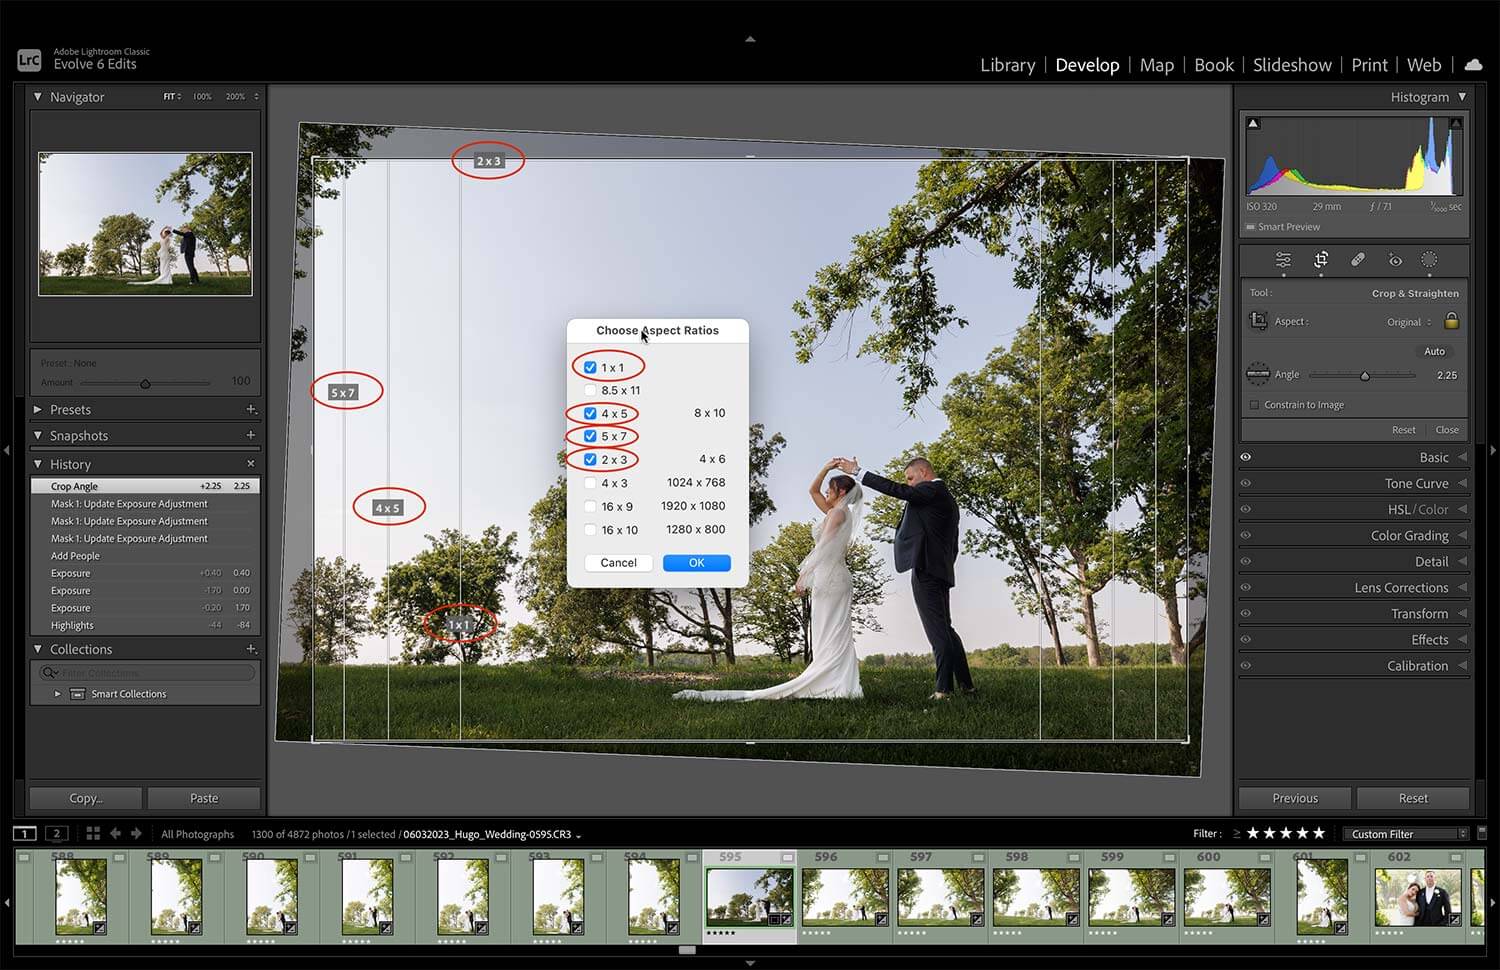
When it comes to cropping and straightening there is no automated way to just batch apply. Of course, there is the transform tool but its hit or miss and there are Ai options out there that do it for 1 cent per image, but you have to order additional services. Doing this yourself in Lightroom should be faster than culling with these 3 tips. Tip #1 is to build all your standard and smart previews before starting. Tip # 2 is straightening with the command, click and drag technique. Tip #3 is using different crop grid view for balancing images. Let’s crop it like it’s hot!
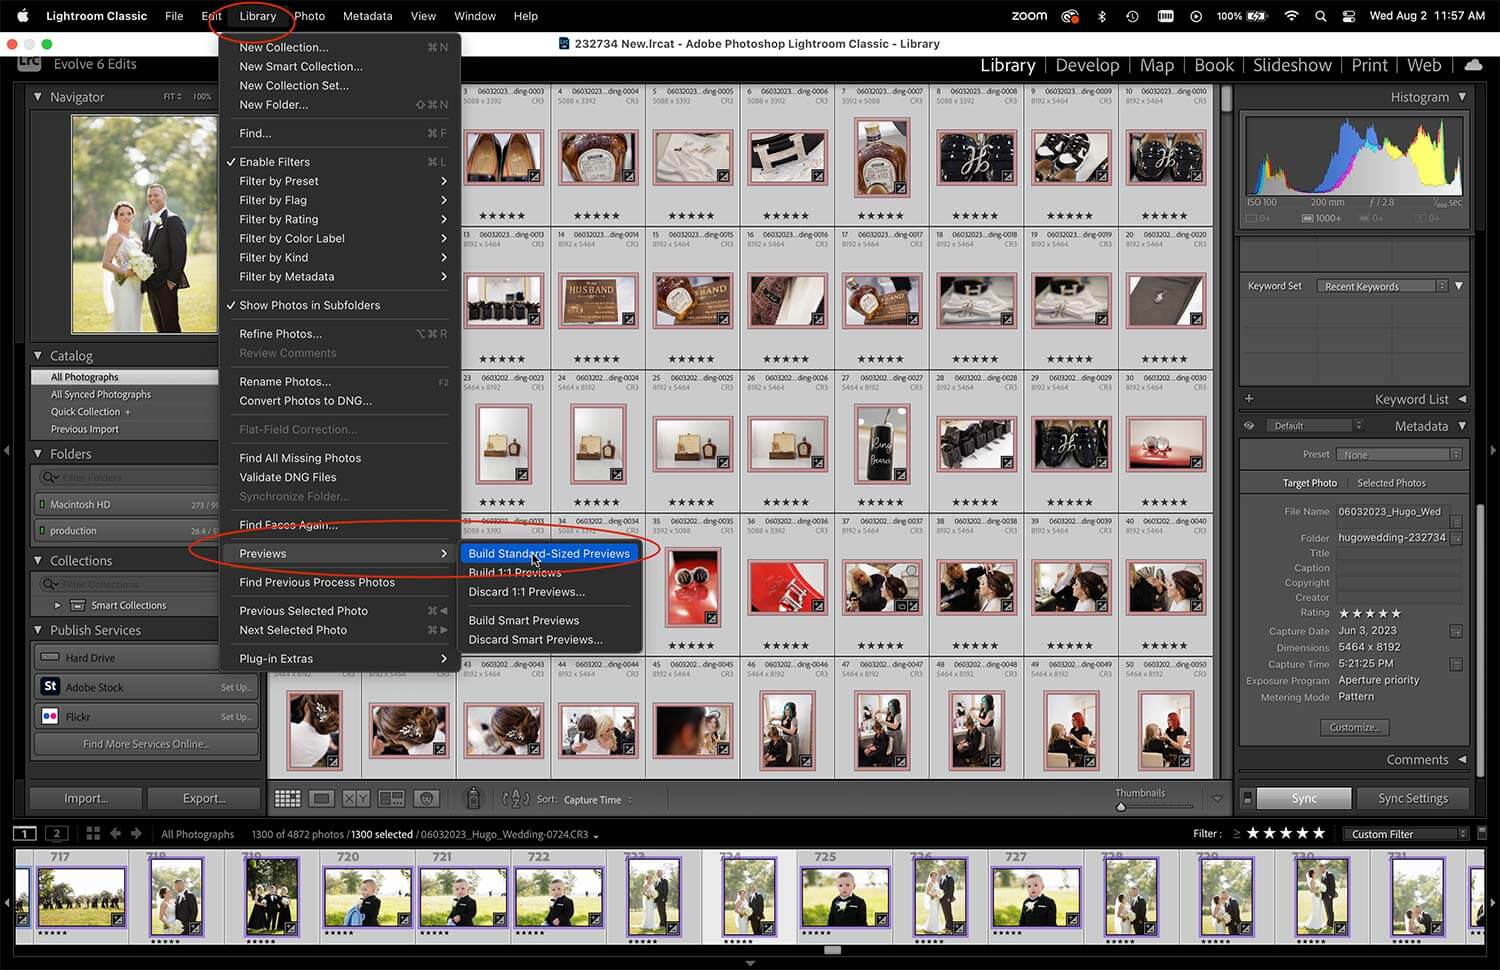
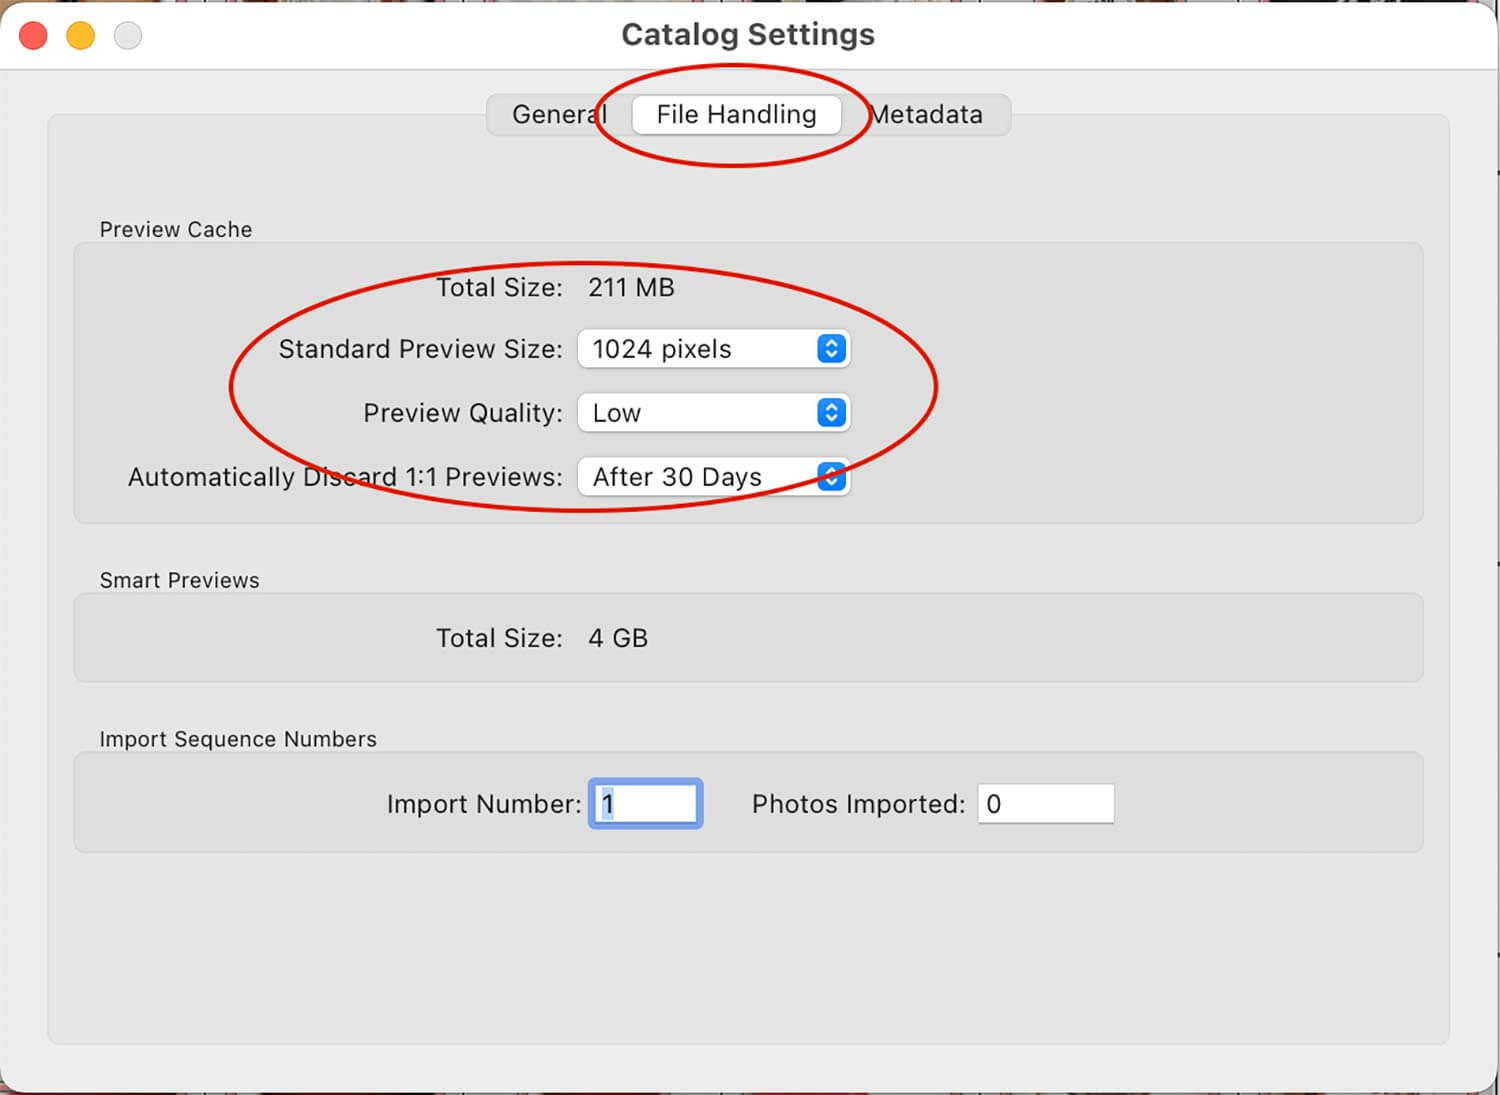
Lightroom’s performance hangs on the whether it must generate to re-generate image previews. When you are filtered in Library to the images you want to crop and straighten select in the top menu bar Library, Previews and click Build Standard-Sized Previews (ref image1). Now you can strike the R key to get right into crop mode. To advance to the next image you can hold command and strike the right arrow. If your images are running slow check the catalog settings by selecting in the top menu bar Lightroom catalog and clicking catalog settings. In the file handling tab set the Standard preview size to 1024 pixels and Preview quality to low (ref image2).
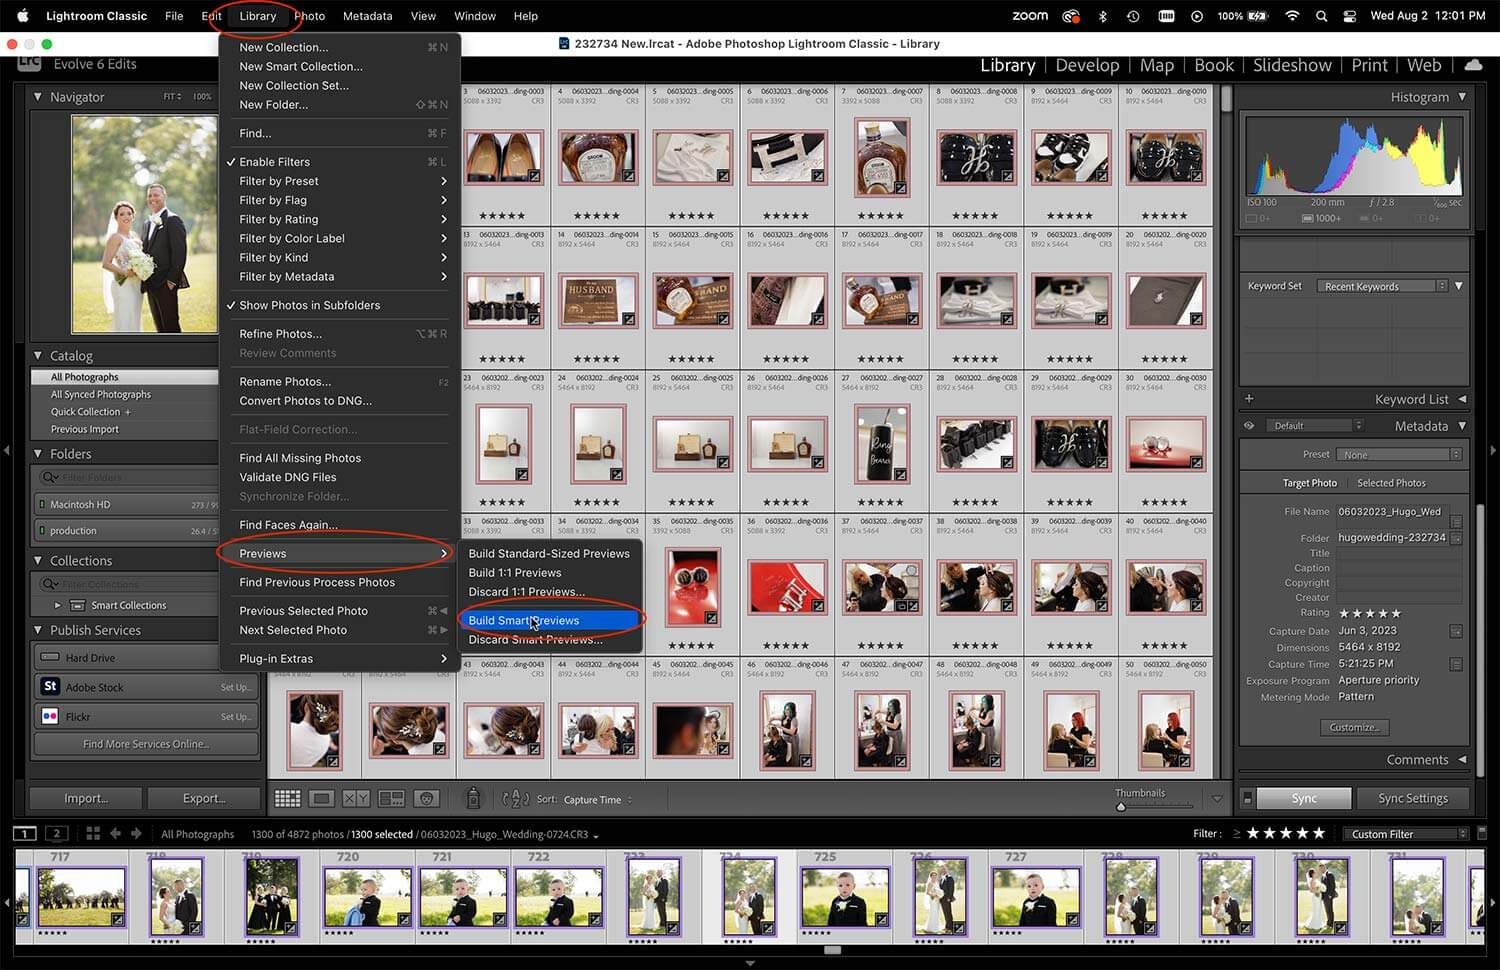
If Lightroom is still dragging consider building Smart Previews in the top menu bar by selecting Library, Previews and click Build Smart Previews
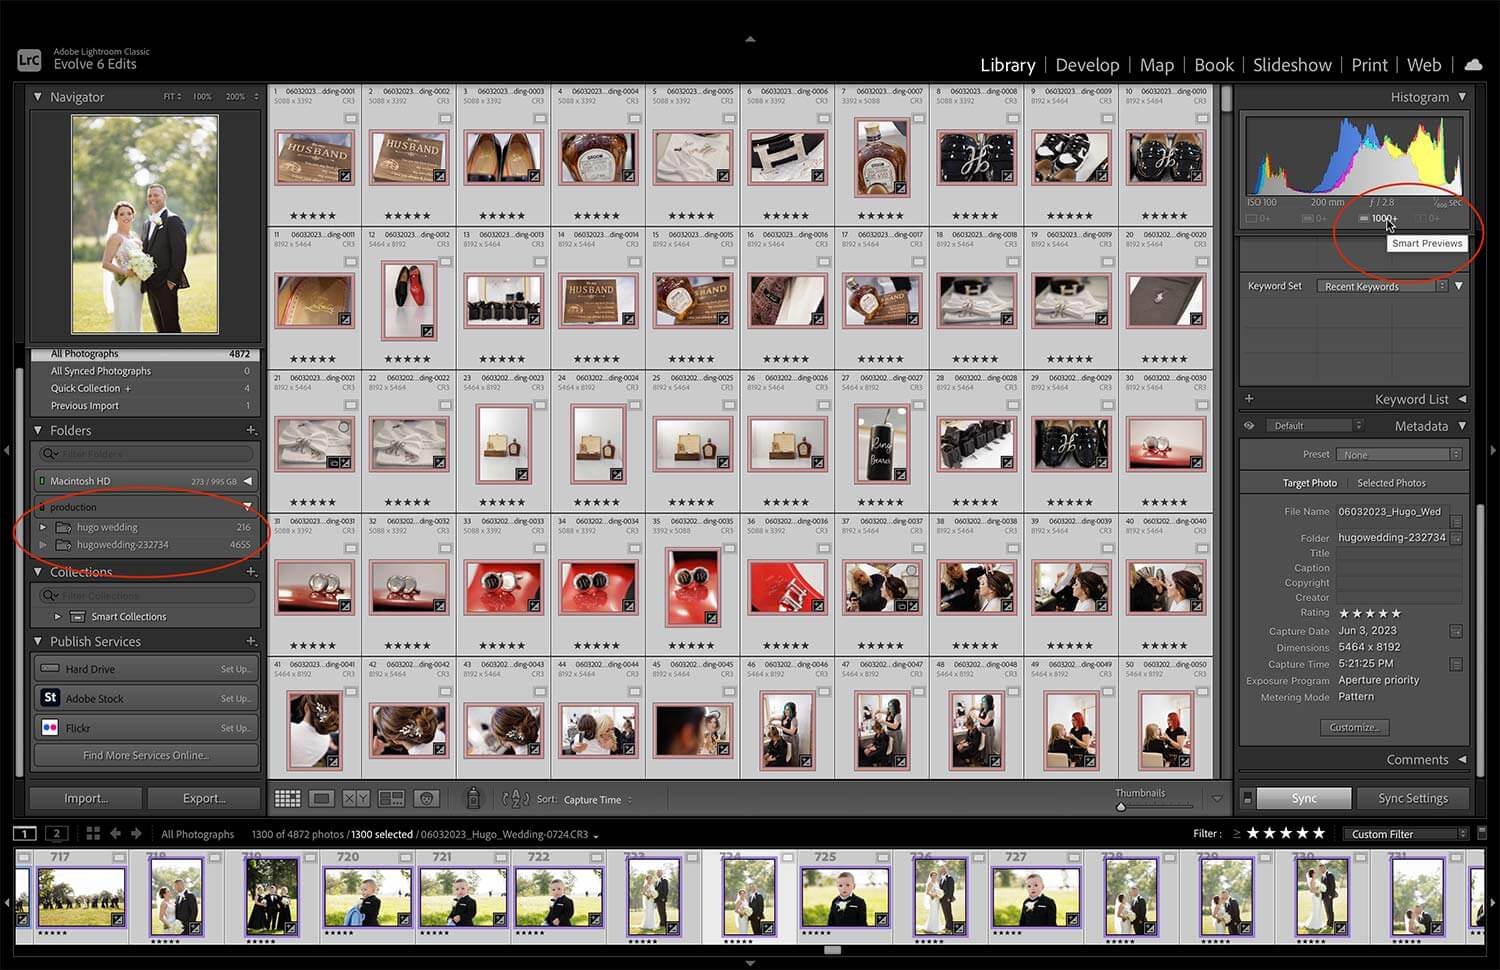
(ref image3). Then you can disconnect from your Raw files so Lightroom relies only on the smart previews (ref image 4).
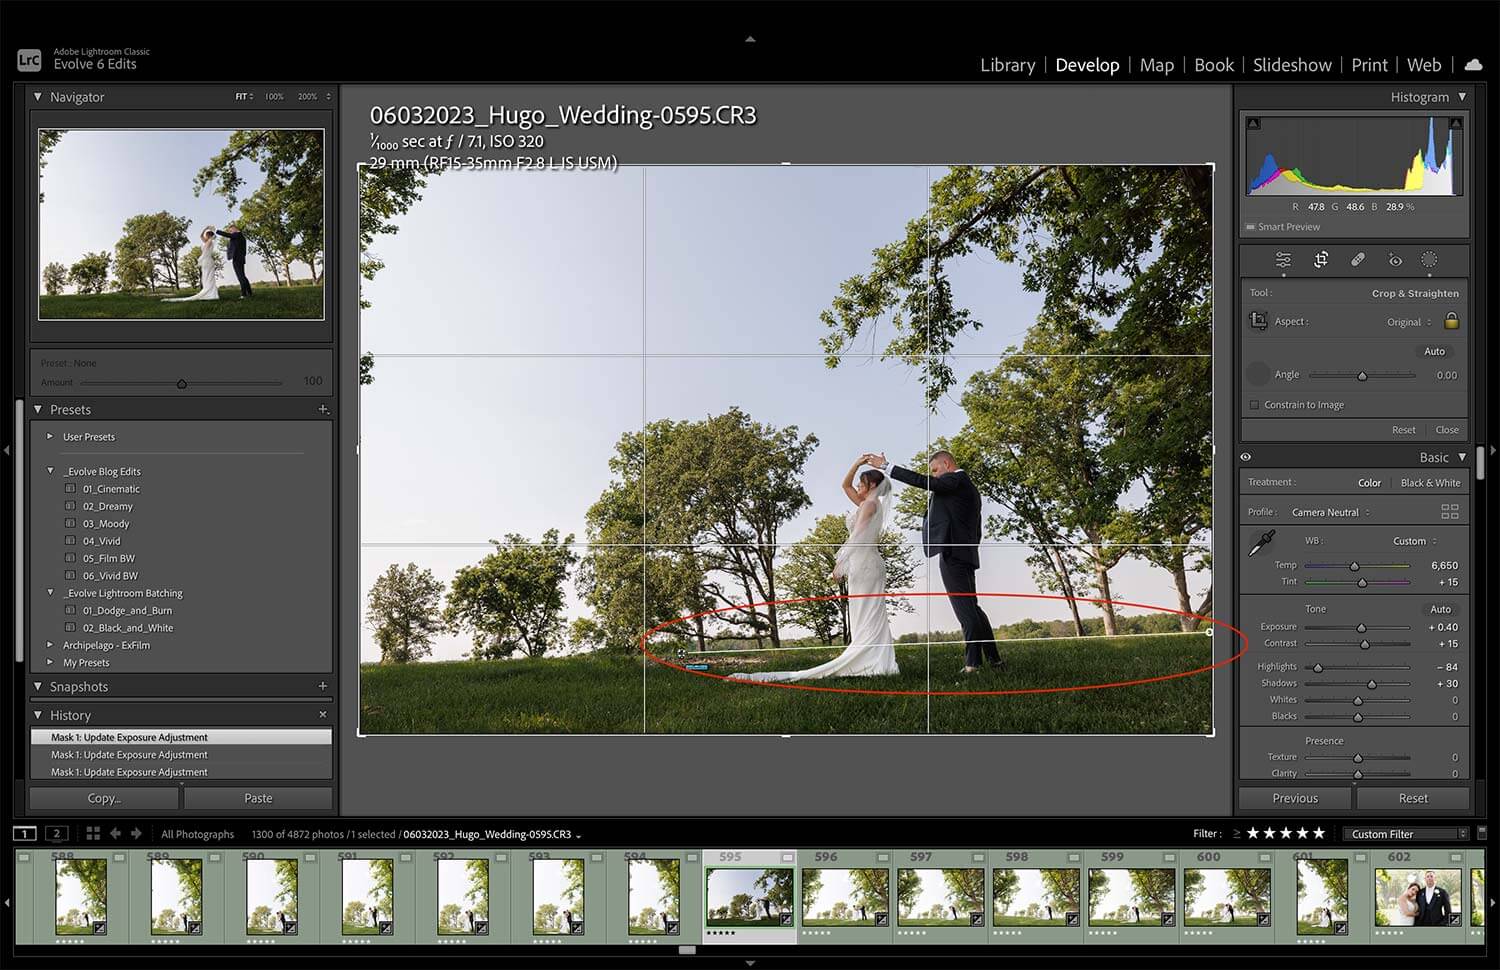
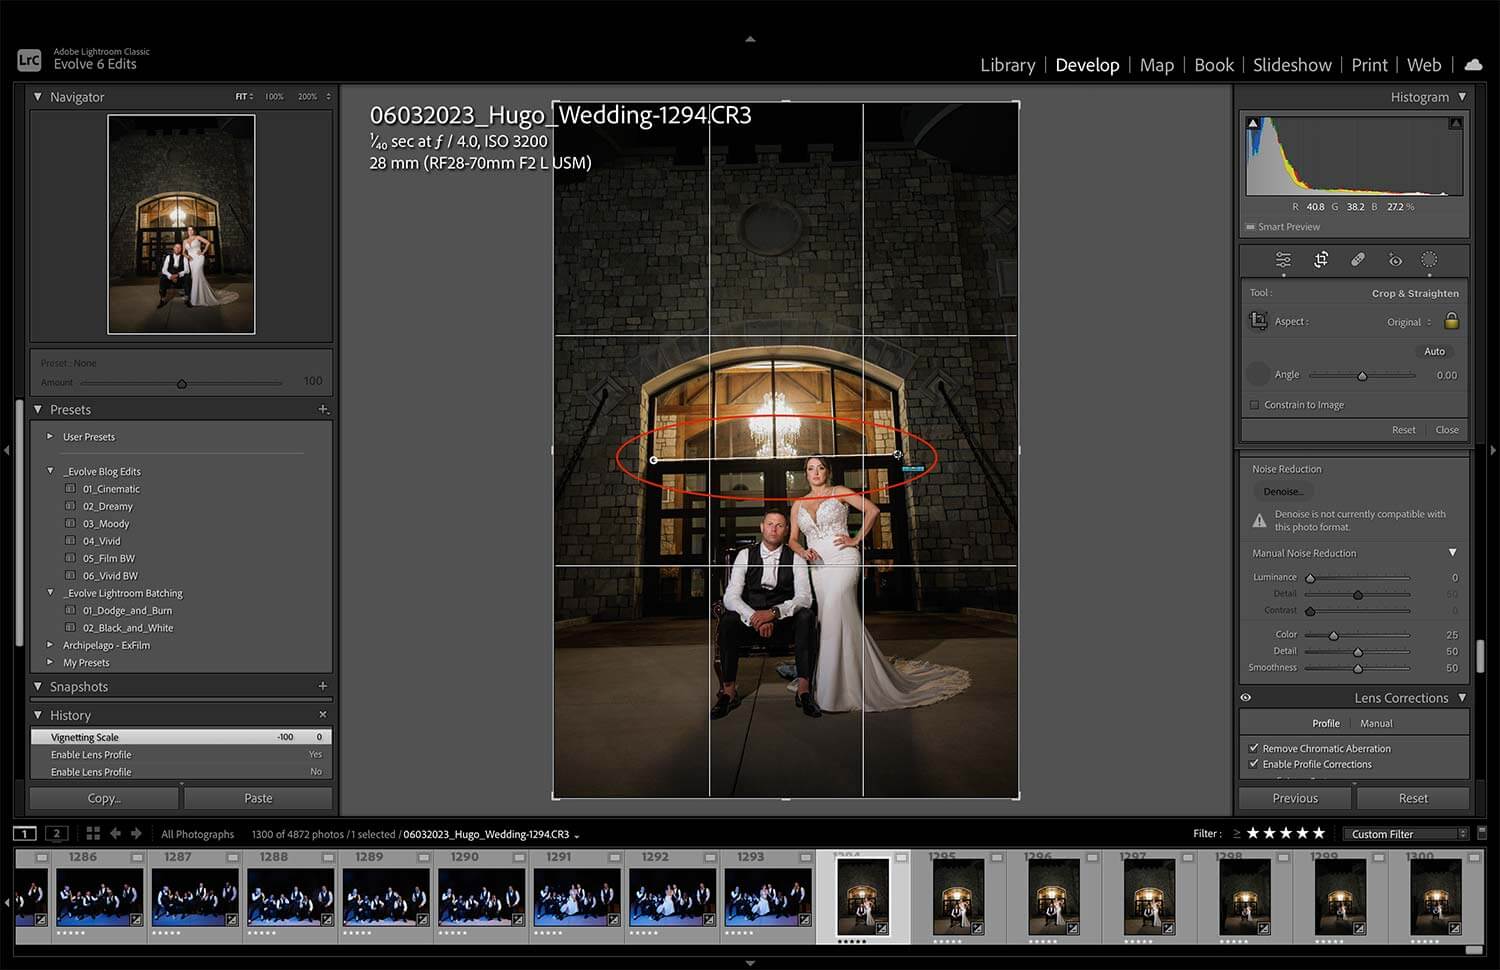
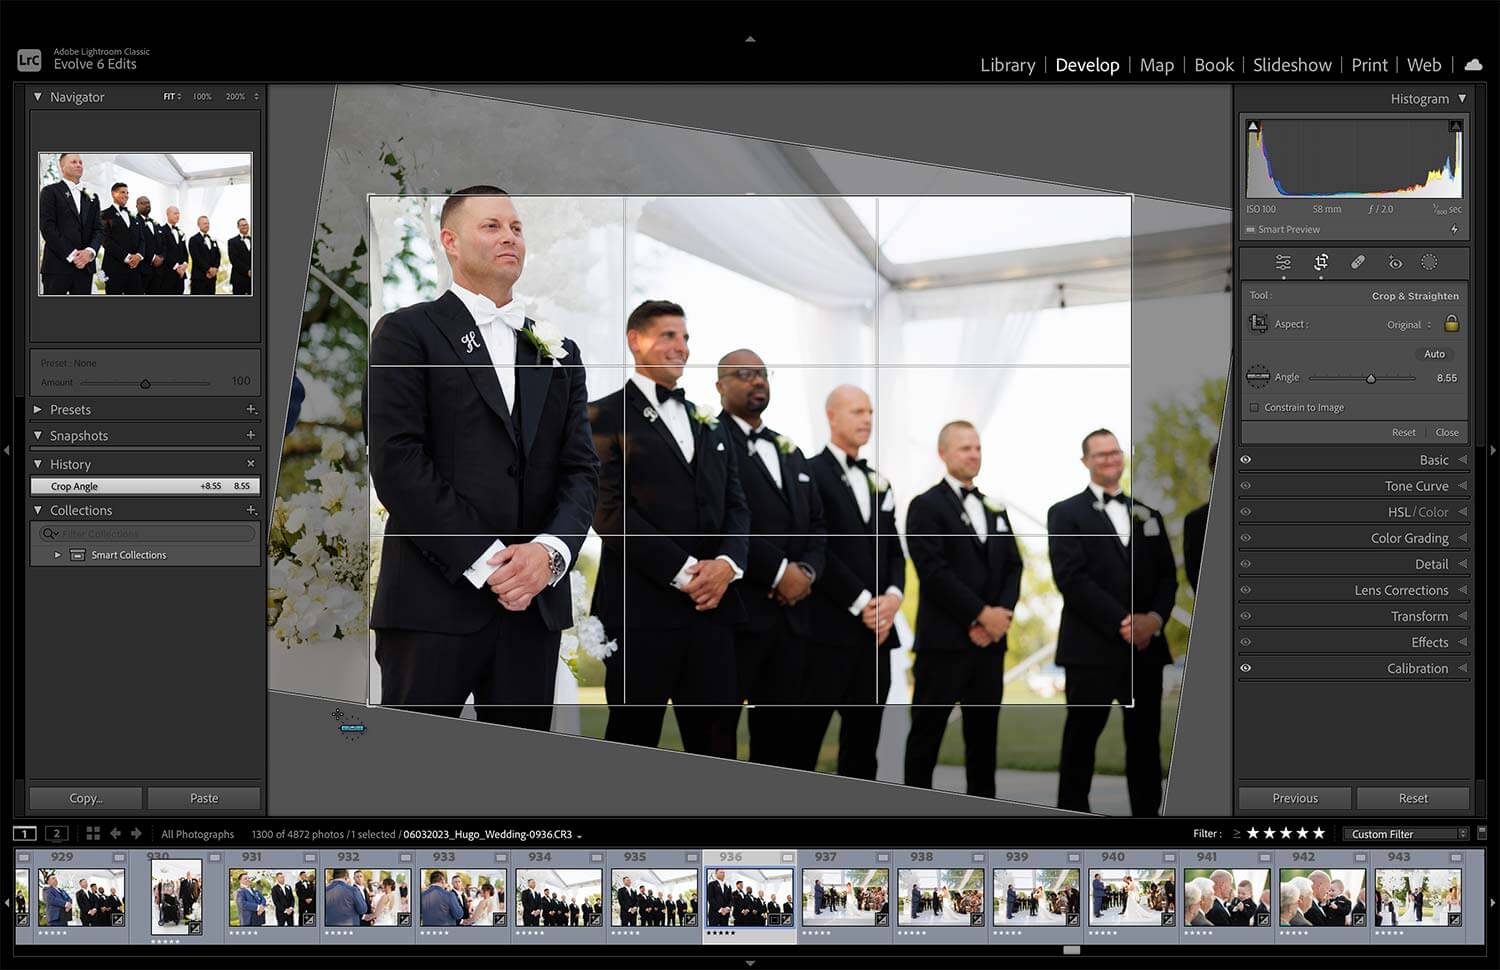
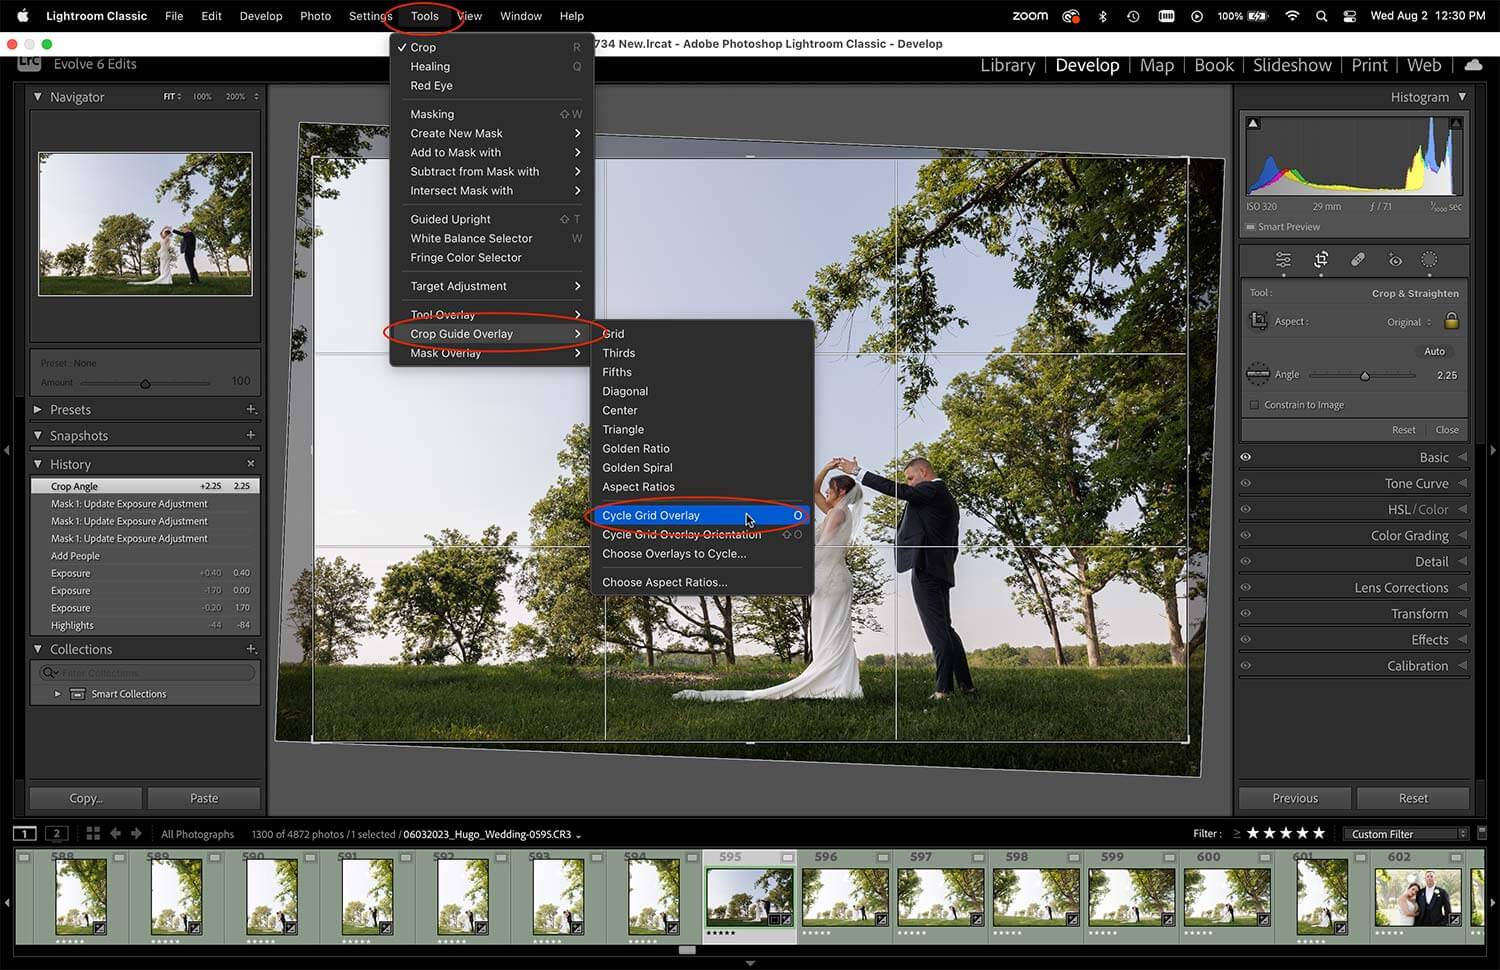
As I mentioned before you can jump into crop mode from any mode by striking the R key. The secret to staying in crop mode while advancing to the next image is to hold the command key while striking the right arrow on the keyboard. The same technique of holding the command key applies to straightening to the horizon line to an architectural vertical as well. To quickly straighten the image hold command, click and drag along any straight edge you want to level the image to (ref image5). If you feel less confident in your choice you can click the auto button to see if that levels the image better. A pro tip would be to focus either on an obvious horizon line or a vertical of an architectural element in the middle of the photo (ref image6). If the subject gets awkwardly cropped, you should just reset and move on (ref image 7). You will continue holding down the command button the entire time you click, drag, hit the right arrow, repeat for hundreds of images.