Editing For IPS: A Guide To Selling Your Work

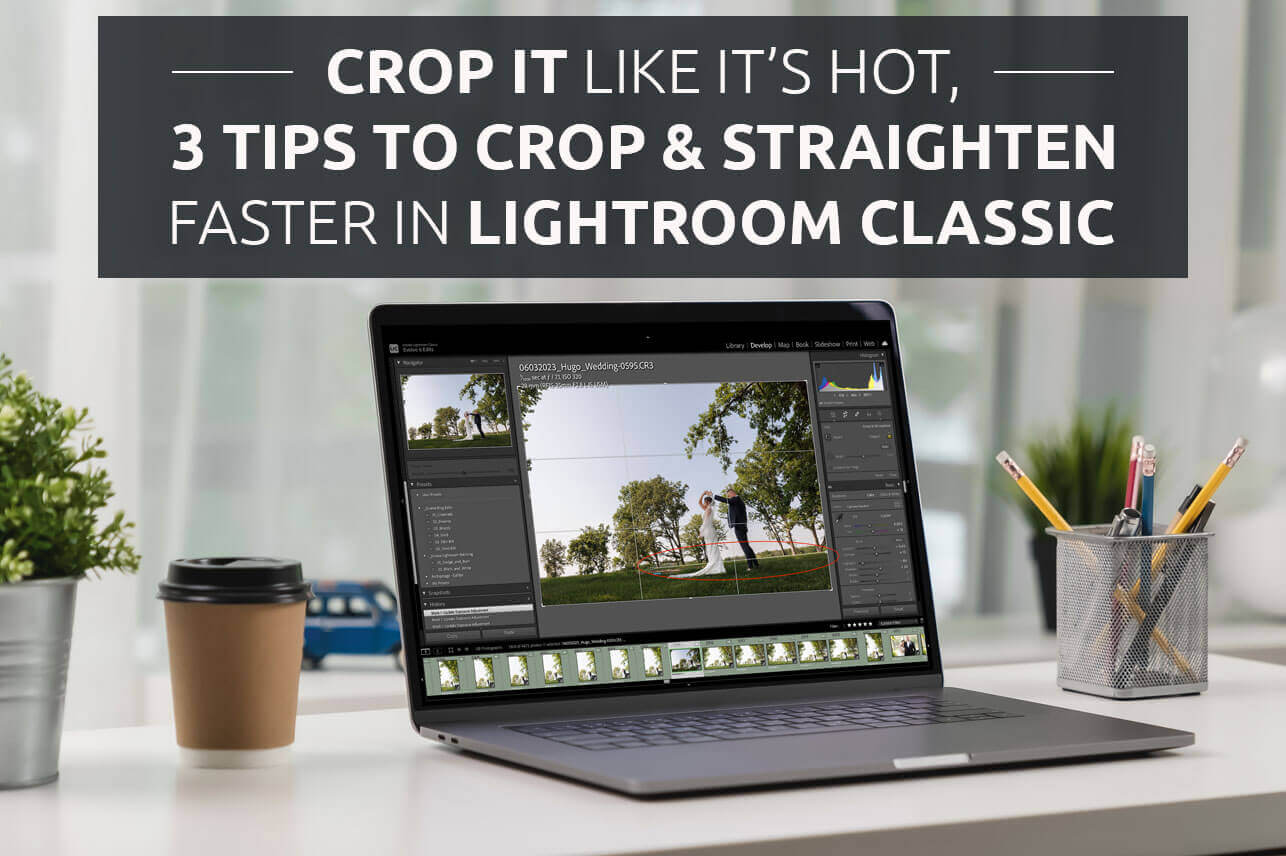
When it comes to selling images to clients, the level of editing can dramatically increase sales, particularly when offering in person previews. The process from capturing an image to delivering an impactful final edit doesn’t end with the click of a camera. It’s during the editing process where the real transformation takes place, turning raw photographs into impactful art pieces your clients will want to hang on their walls. This is a comprehensive guide, straight from the viewpoint of a photography studio, to discover how presenting levels of editing can make your in-person sales session more successful. As a photography business owner, this is what it’s all about, shoot and edit pictures to make more money.​

1. Operate with excellence.

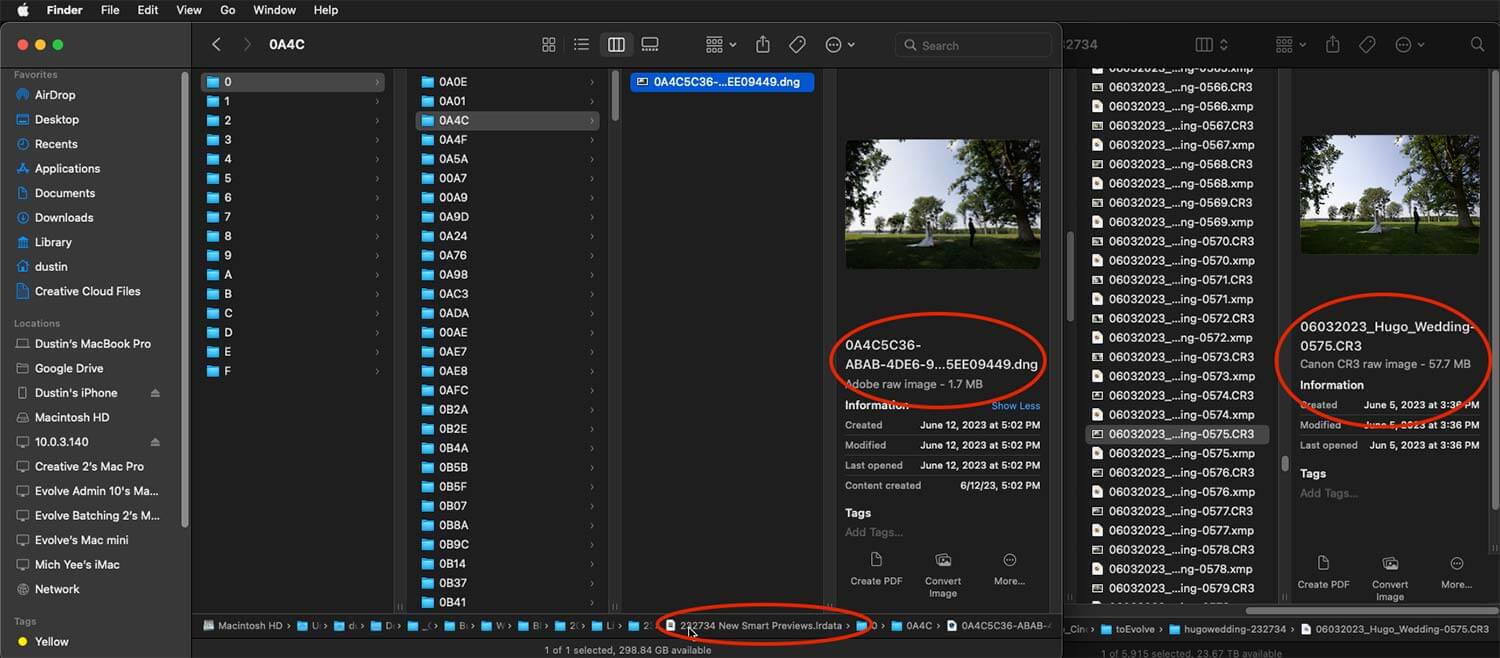
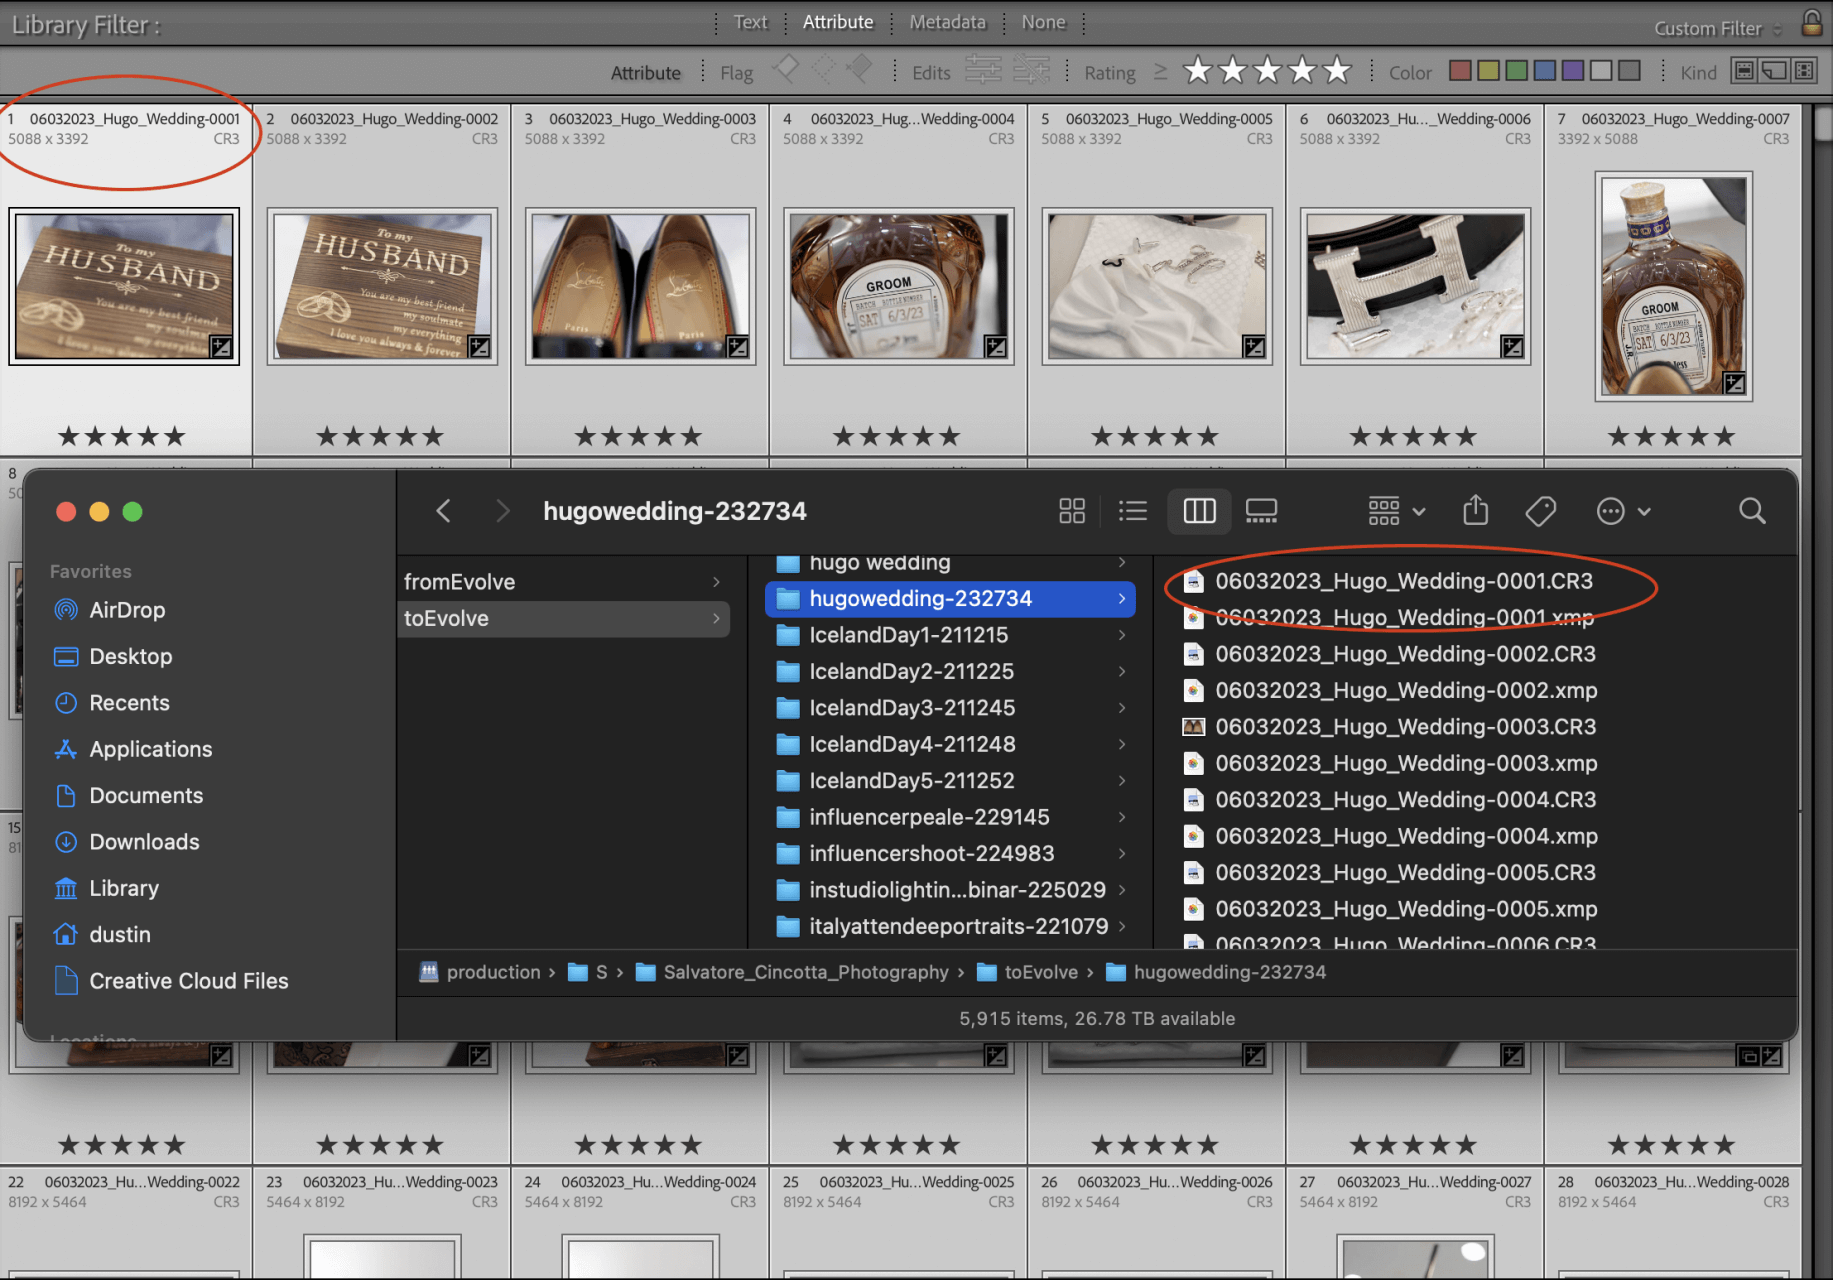
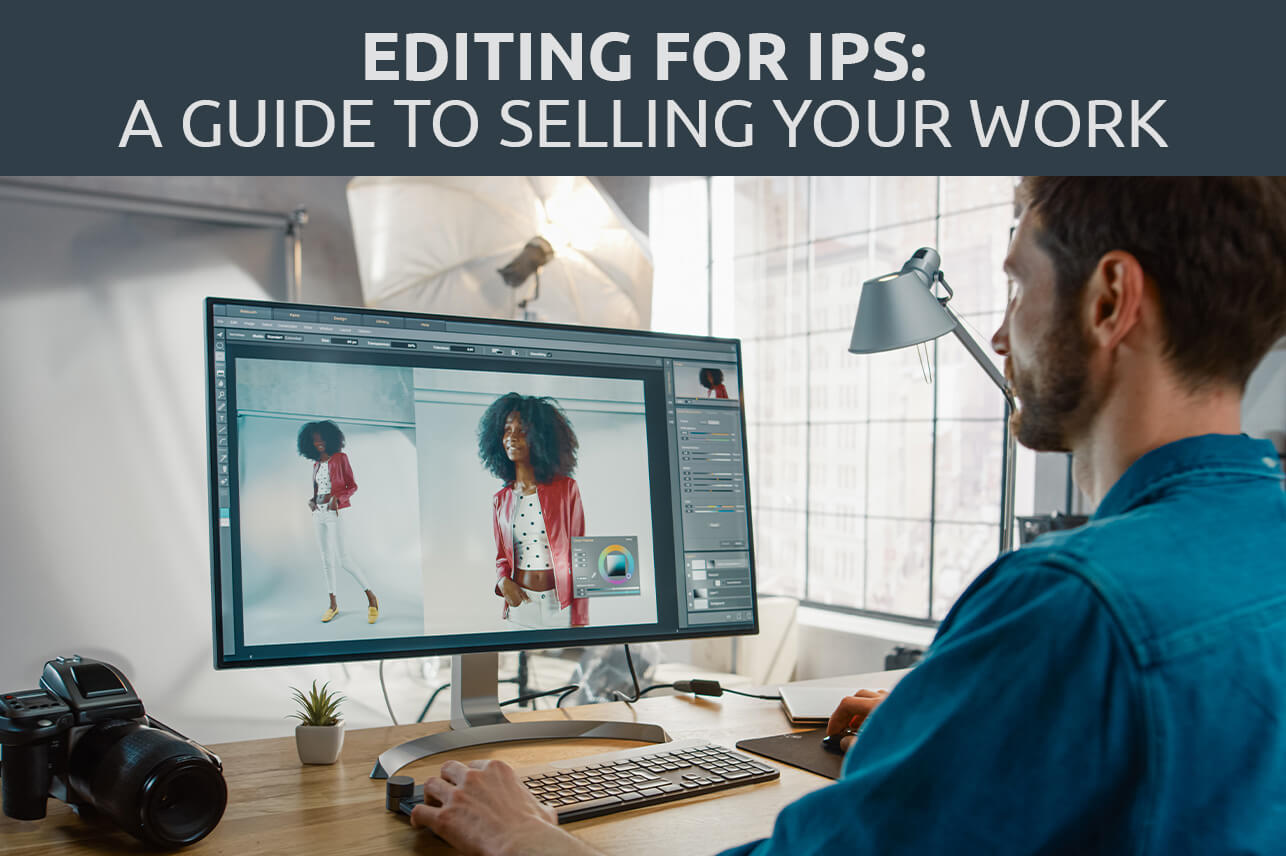
Before starting the editing process, it’s paramount to have a dynamic body of work from the wedding day or session. Beyond that you need to have technically sound images to work with as foundation. The editing process relies heavily on high-quality raw files. As the photographer, details matter like lighting, composition, and poses during your photoshoot. The better your raw images are, the more efficient and impactful your post-production editing will be. In addition, you must be thinking about the editing process while shooting. When you have assistants and or lighting equipment in the frame, shoot plate shots with everyone out of the frame to mask in later. A plate shot should be exposed for ambient light with only your subjects left in the image. THIS is by far the difference between amateur and professional artists.

https://www.evolveedits.com/editing-for-ips-a-guide-to-selling-your-work/

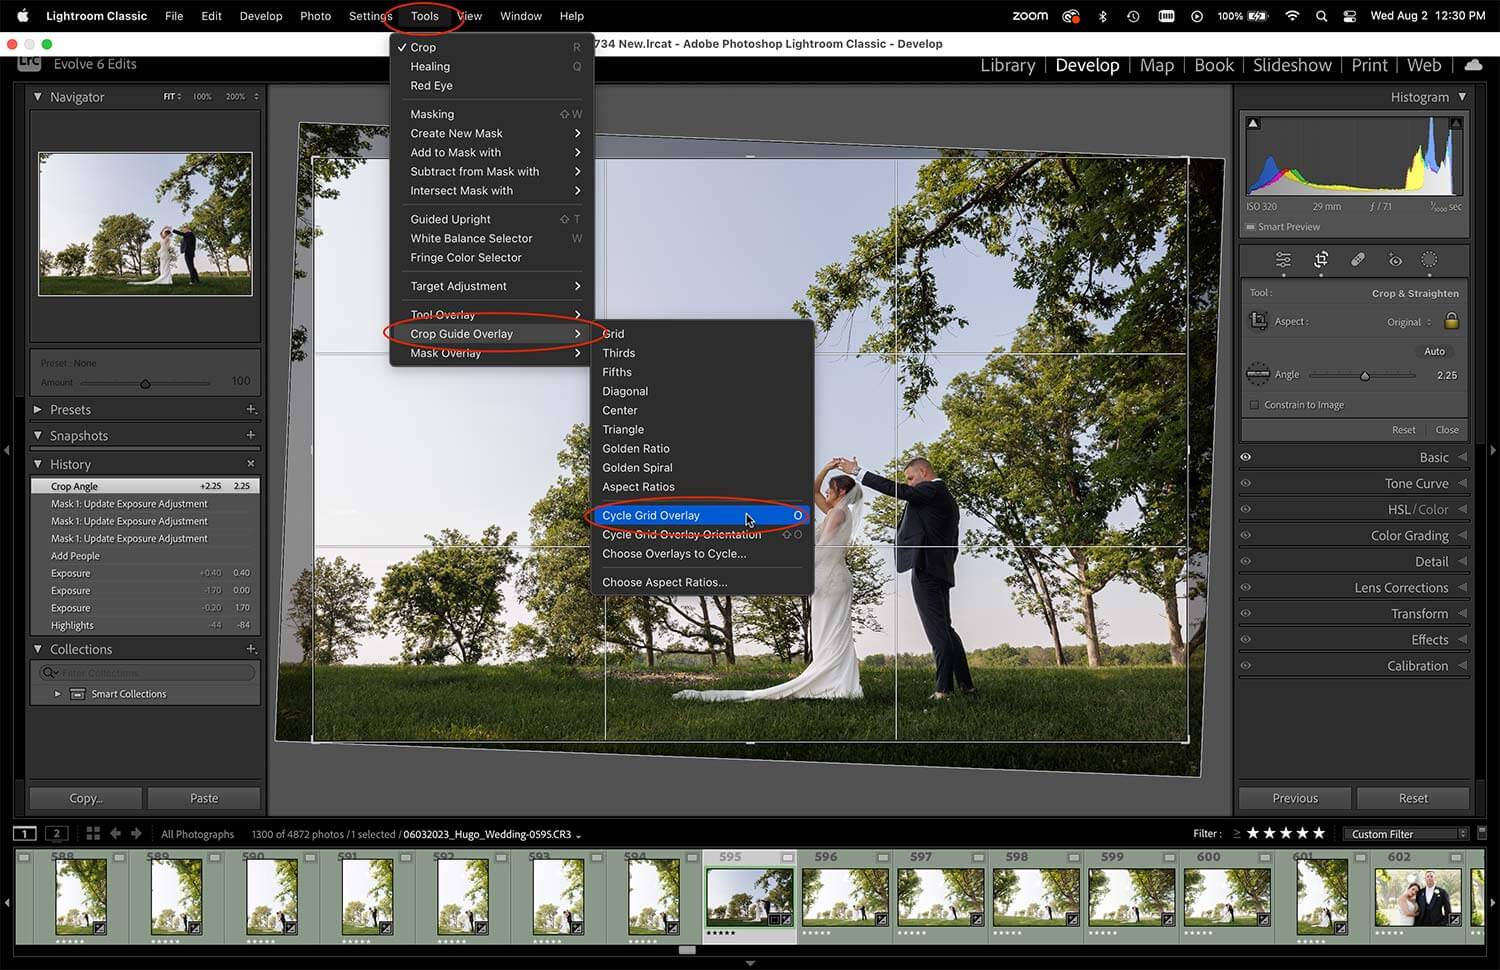
2. Choose the best tools for the job.

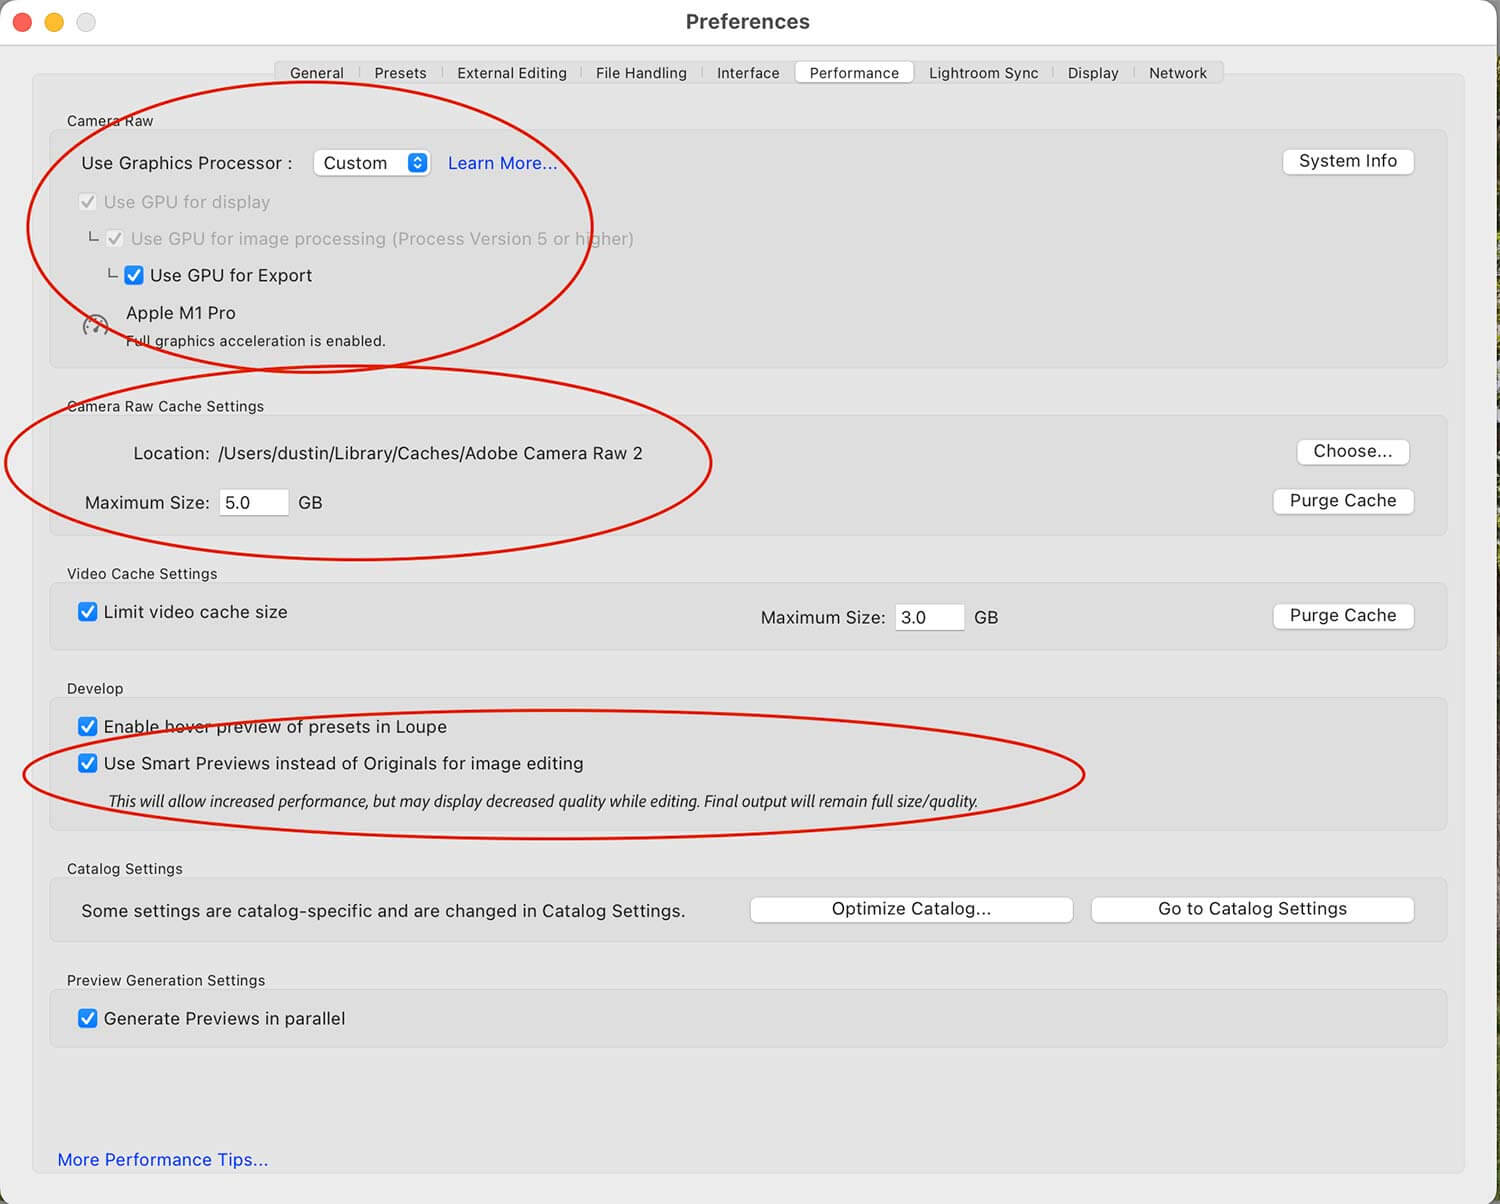
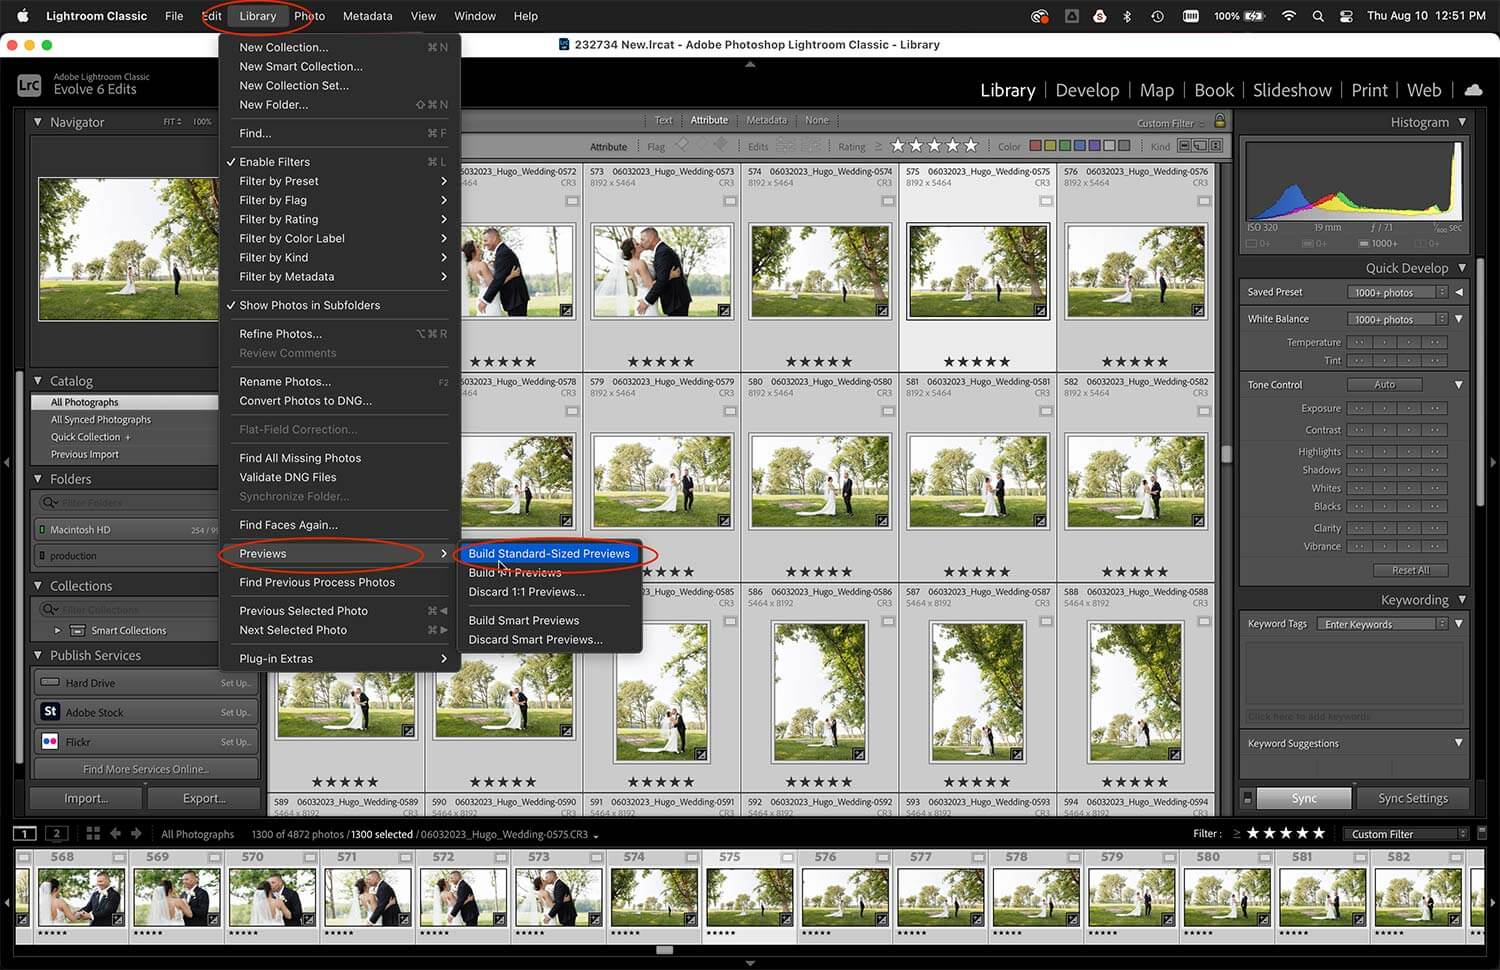
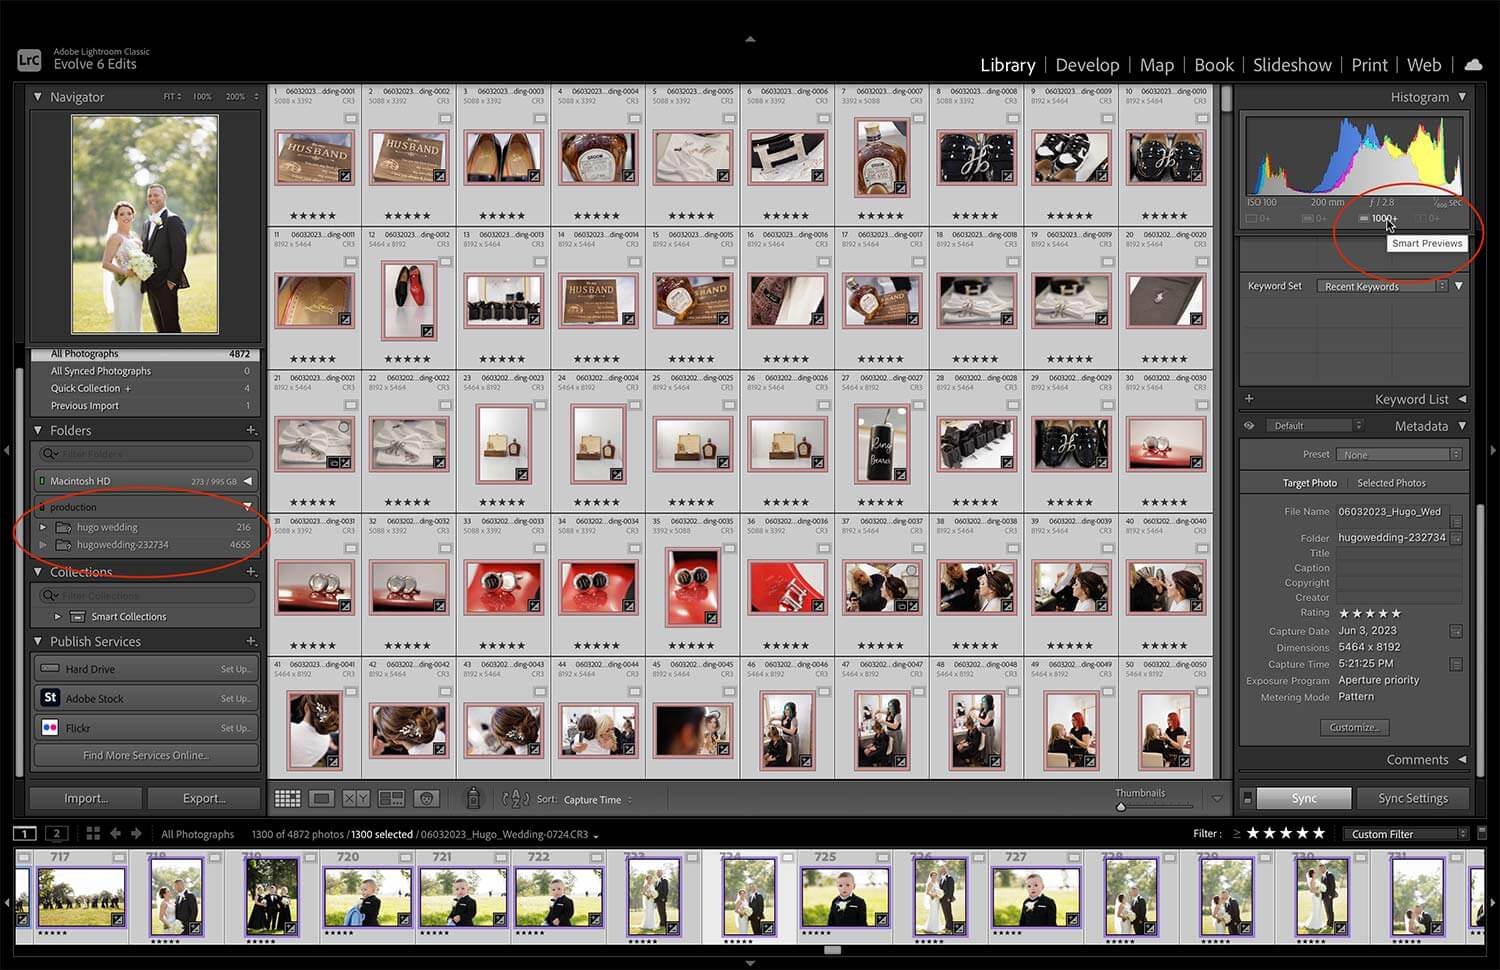
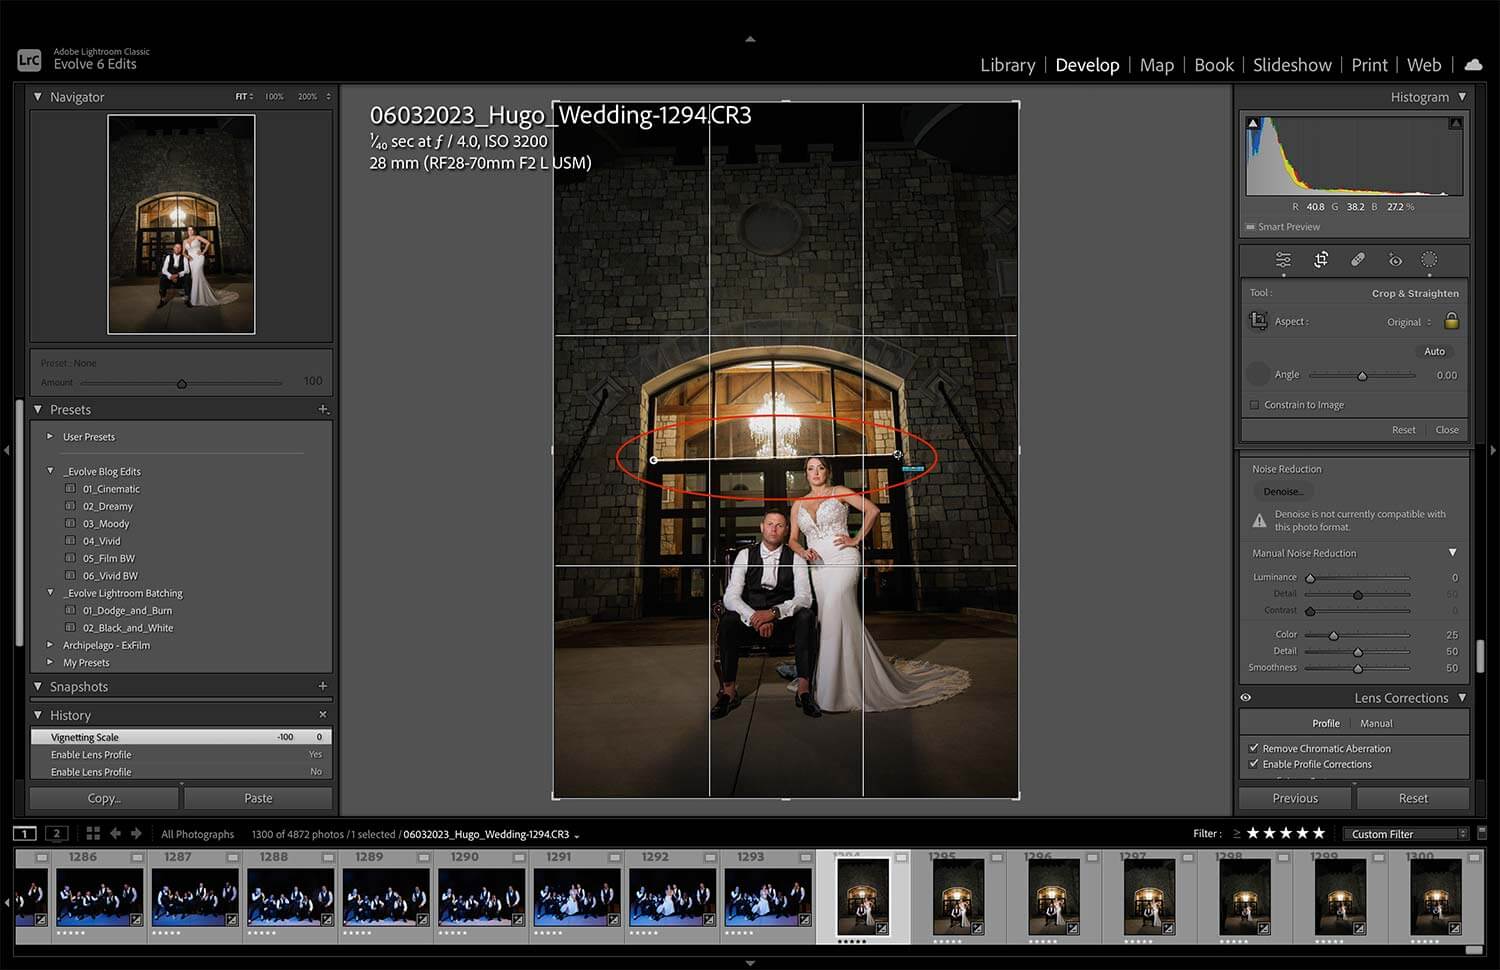
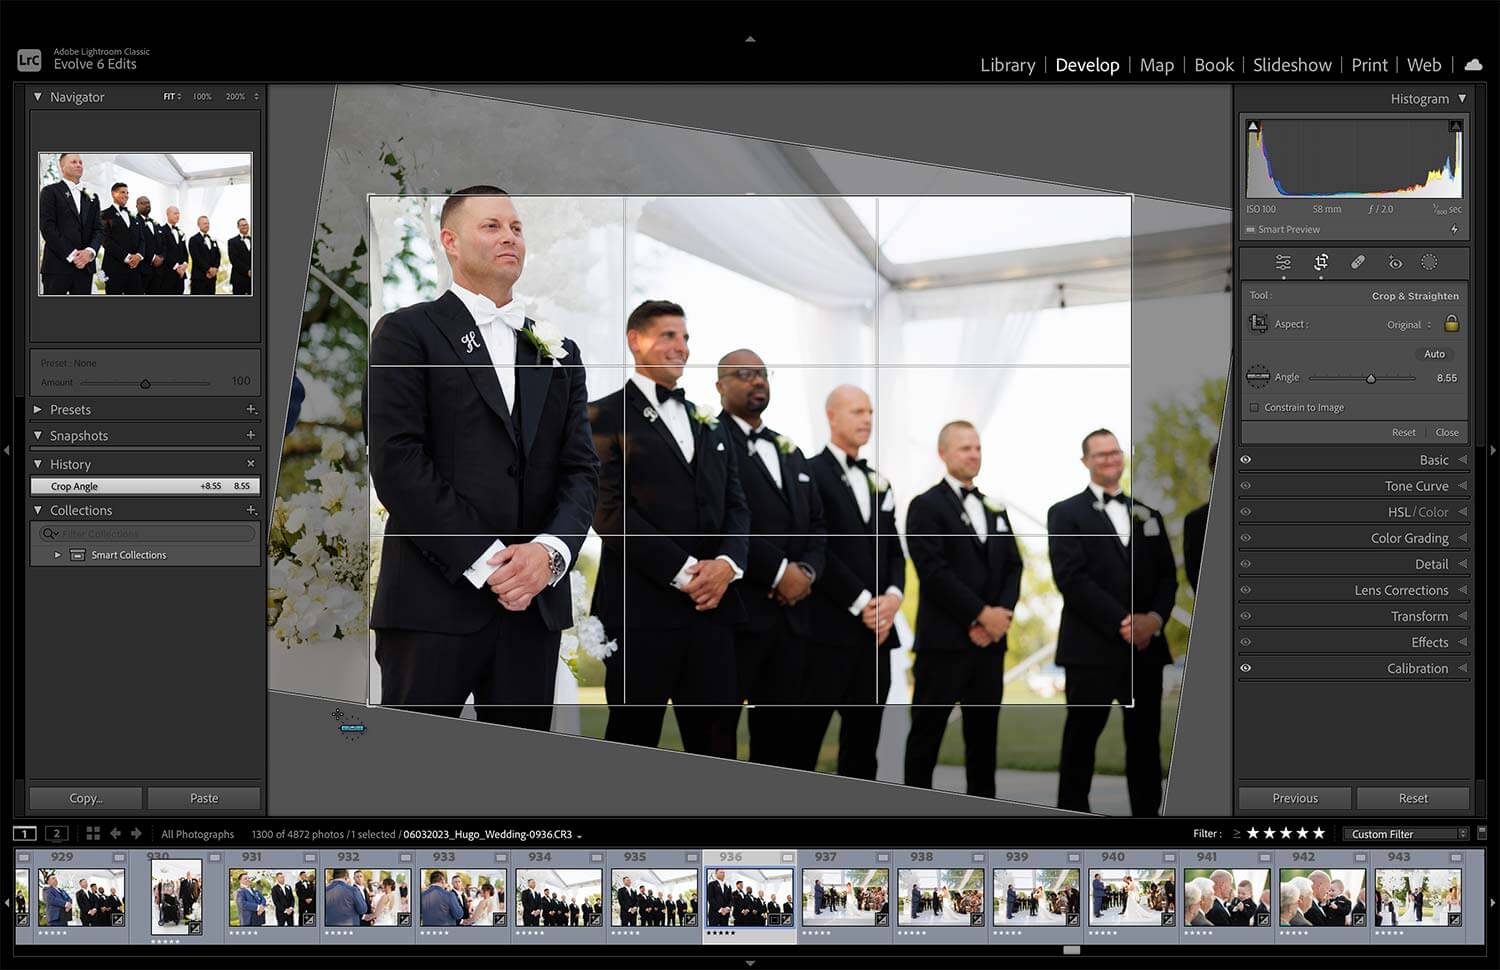
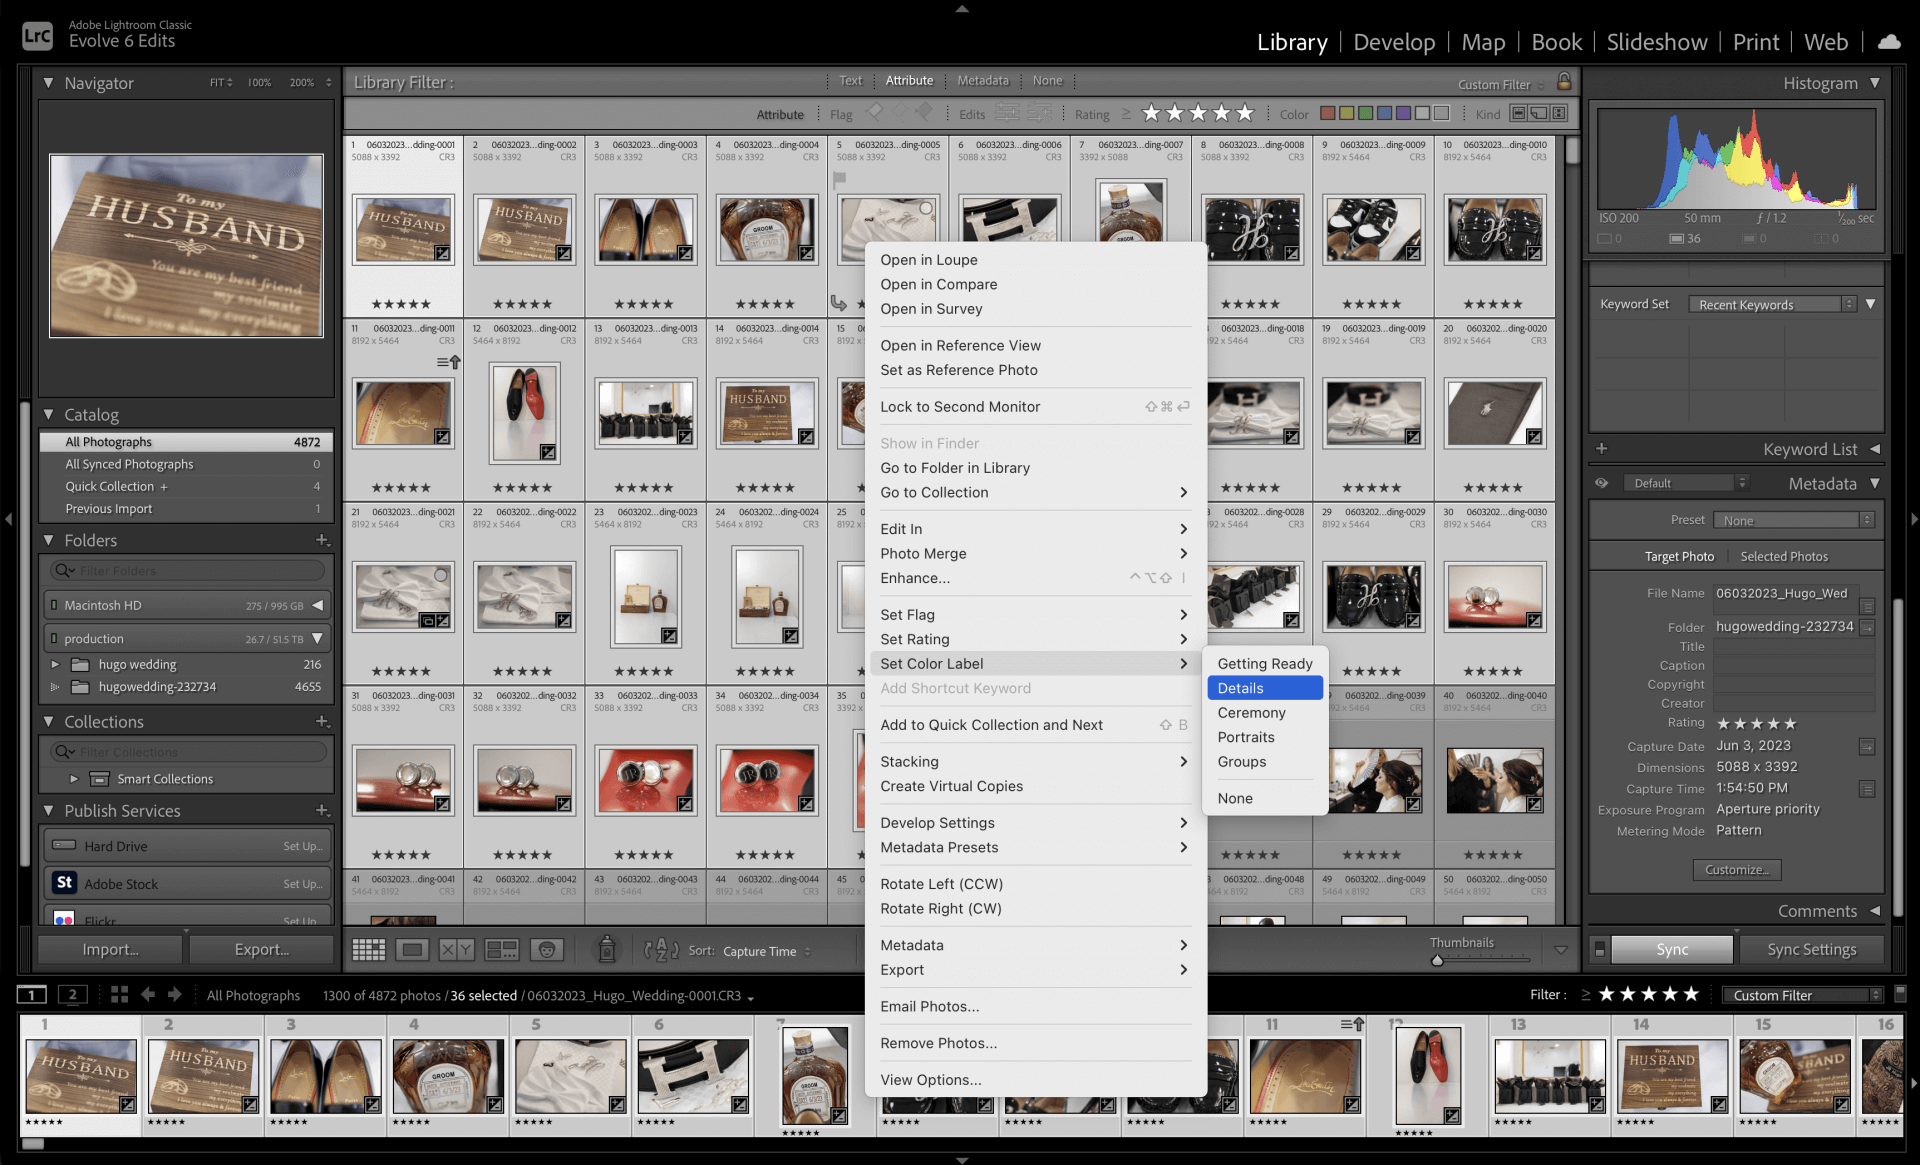
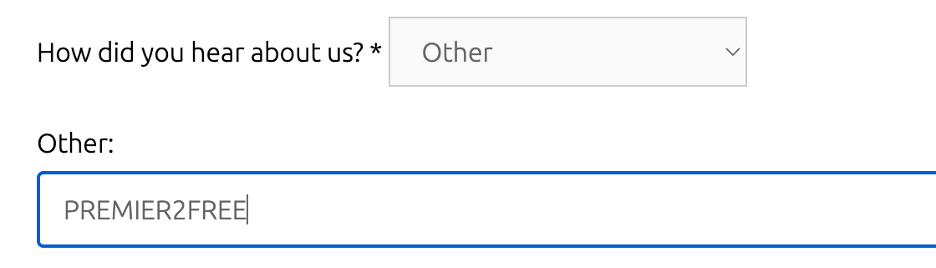
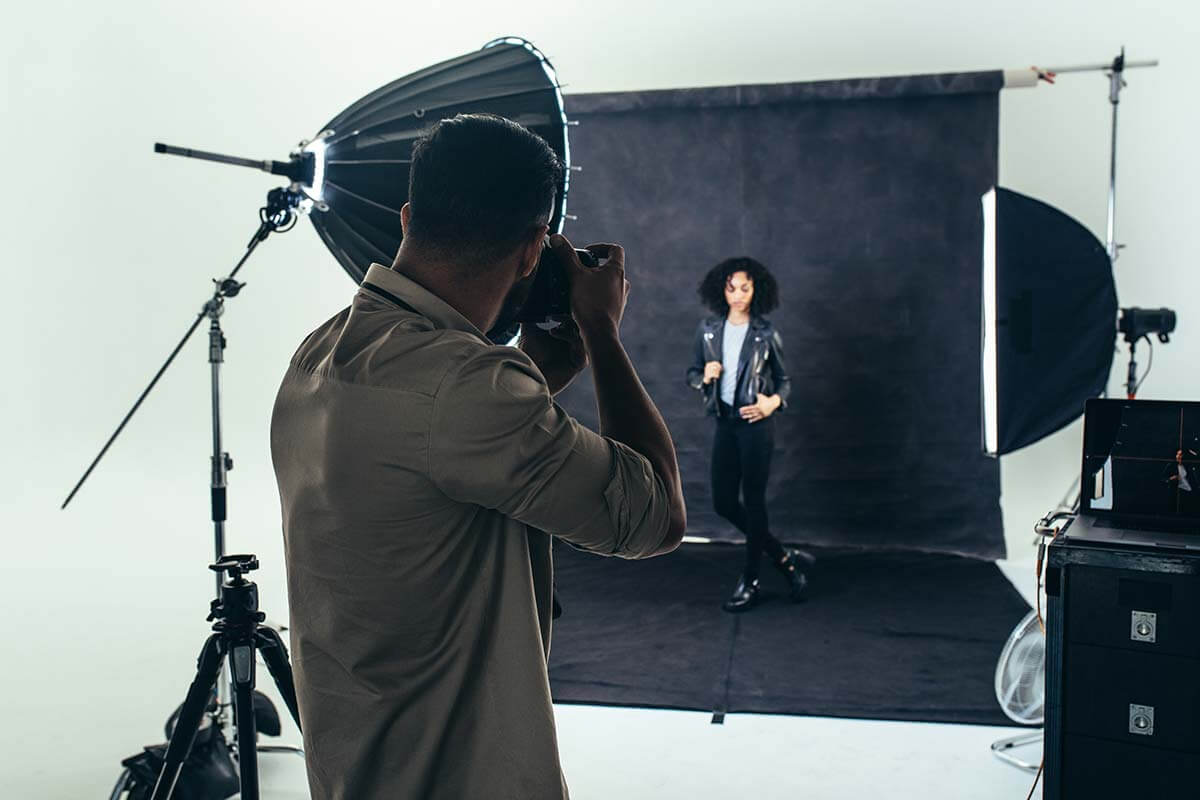
Picking the right editing software can make all the difference. Programs like Adobe Lightroom Classic and Photoshop are the benchmark for editing tools and have created a seamless workflow. Of course, there are a lot of newer plugins and Ai software out there to help make things more efficient. Lightroom streamlines organization and batch-editing, while Photoshop is much more advanced and offers more composite and retouching capabilities. If you aren’t an editor, I would highly recommend finding a professional to partner with.

https://www.evolveedits.com/editing-for-ips-a-guide-to-selling-your-work/

3. Create a complimentary style.

When it comes to creative editing, it’s almost impossible to create consistency. Introducing different toning elements into your images shot in various lighting conditions proves to be very difficult. Crafting a complimentary editing style not only establishes your brand identity, but also makes it easier for clients to identify your work. The goal would be to have clients recognize your work without your logo slapped on it, this is by design for most professional photographers. This will build you up as the trusted advisor, once you establish this level of relationship your clients won’t pushback and experience a level up client experience. Your website, logo, fonts, and messaging should echo your brand as well. Your images and website copy should be cohesive.

4. Present with impact.

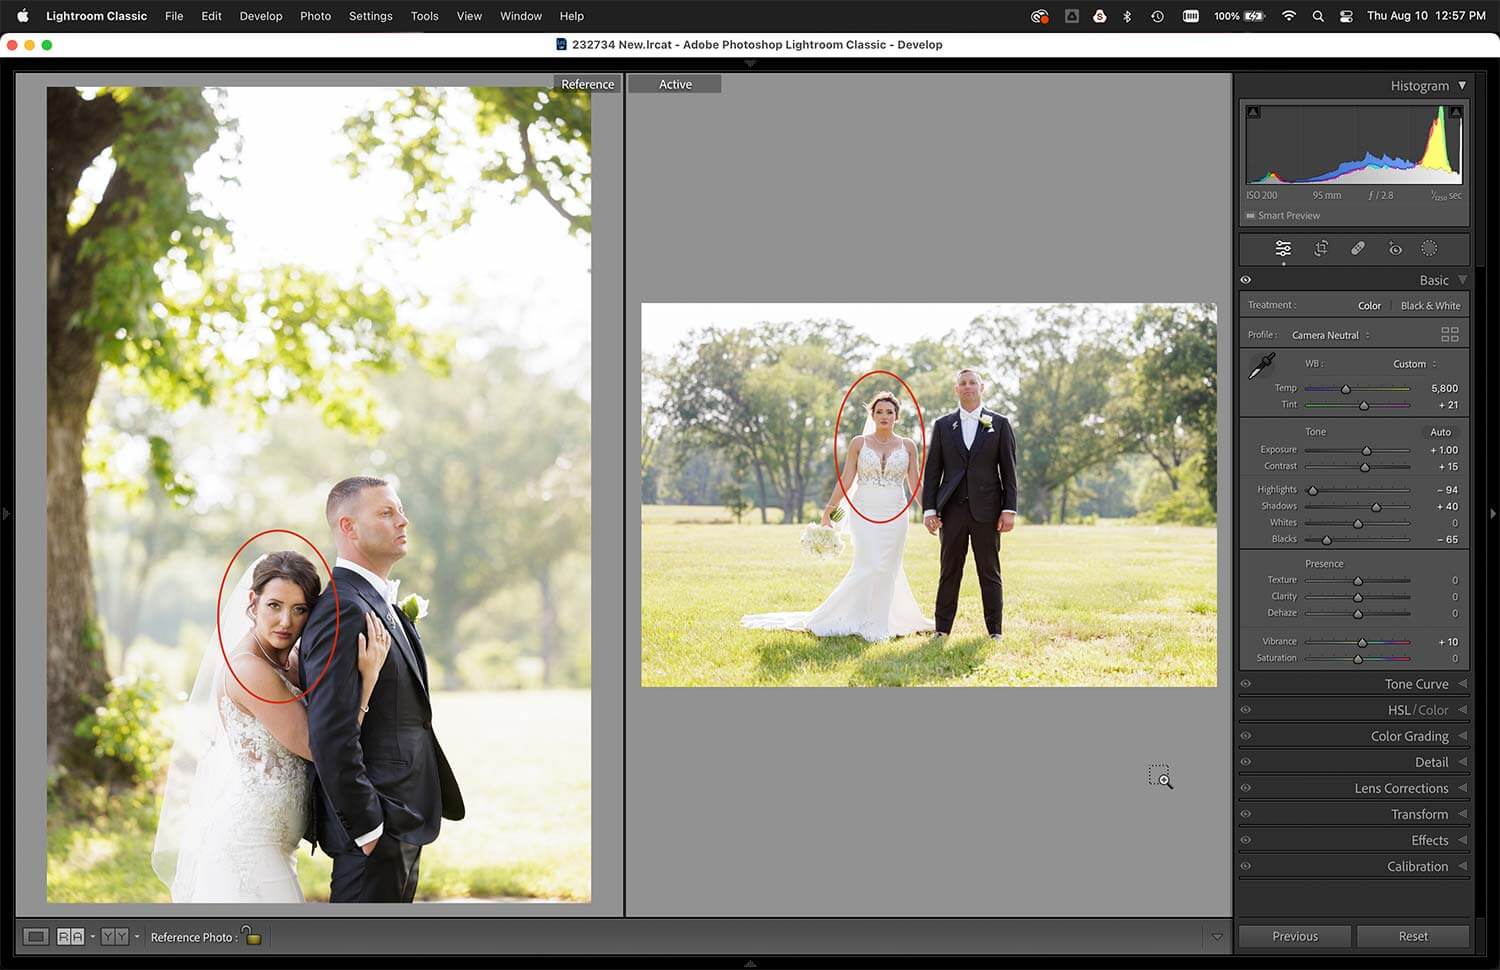
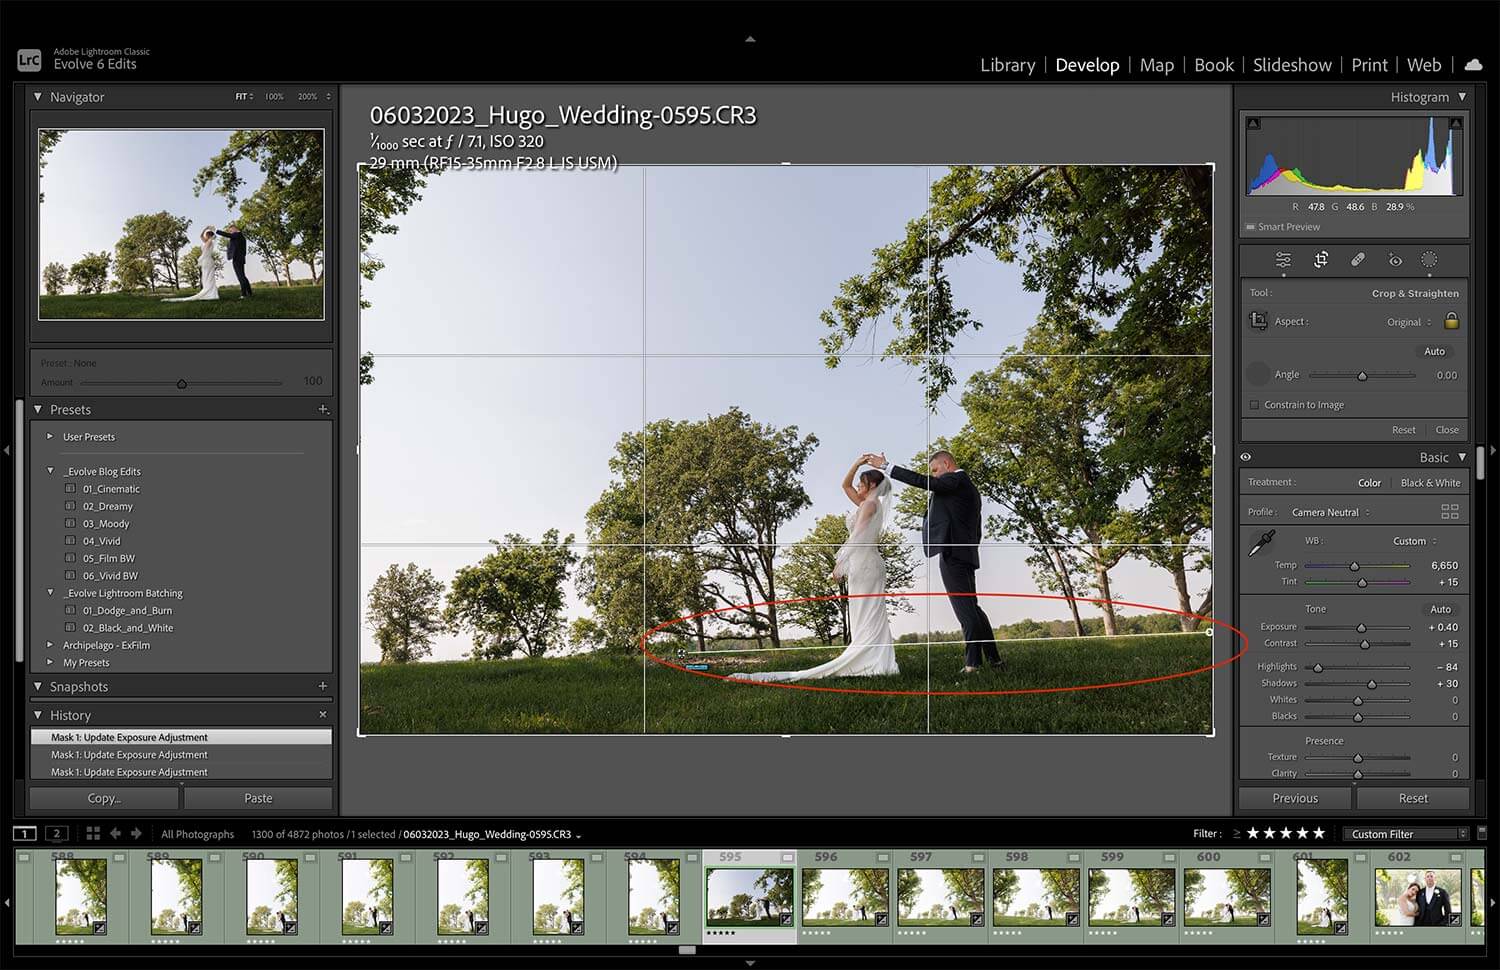
In-person sales are most successful when there is impact. Impact which drives emotion from your clients and in turn gets you a better sale. How you present these images to your client as a personalized preview and telling their story needs to hit home for them. Showing different levels of editing shows your clients images at a proof level and what the final product looks like. You must show it to sell it is the approach here. Let them see all useable images and a few you’ve handpicked for marketing so they can have options. Most clients like a slightly warmer edit over cool. Also show good, better, and best levels of editing. All images should be color corrected, 15-30 with more advanced editing to contrast, color shifts, dodge & burn, light skin retouching. The 2-3 perfect moment shots compositing a more impactful sky, removing distractions in the background, retouching the clients more heavily, etc. Make it easy for them to see the transition of a proof to a final product during the slideshow.

https://www.evolveedits.com/editing-for-ips-a-guide-to-selling-your-work/

5. Create a standard for retouched images.

In the realm of portraits, subtle retouching is very subjective, and you need to standardize what you offer. Once you standardize retouching offered, you can up-sell custom requests for additional revenue. It doesn’t matter what you do, for example refine the skin texture, remove blemishes and flyaway hairs, and enhance the eyes. However, always tread the fine line between enhancement and authenticity. Liquify is one of those aspects of retouching you want to operate with caution. You never want a client to see liquify turned on and off. Once you’ve established a standard, the conversation about getting a quote from your image retoucher and having the client pay the invoice is simple. This is a great up-selling opportunity.

https://www.evolveedits.com/editing-for-ips-a-guide-to-selling-your-work/
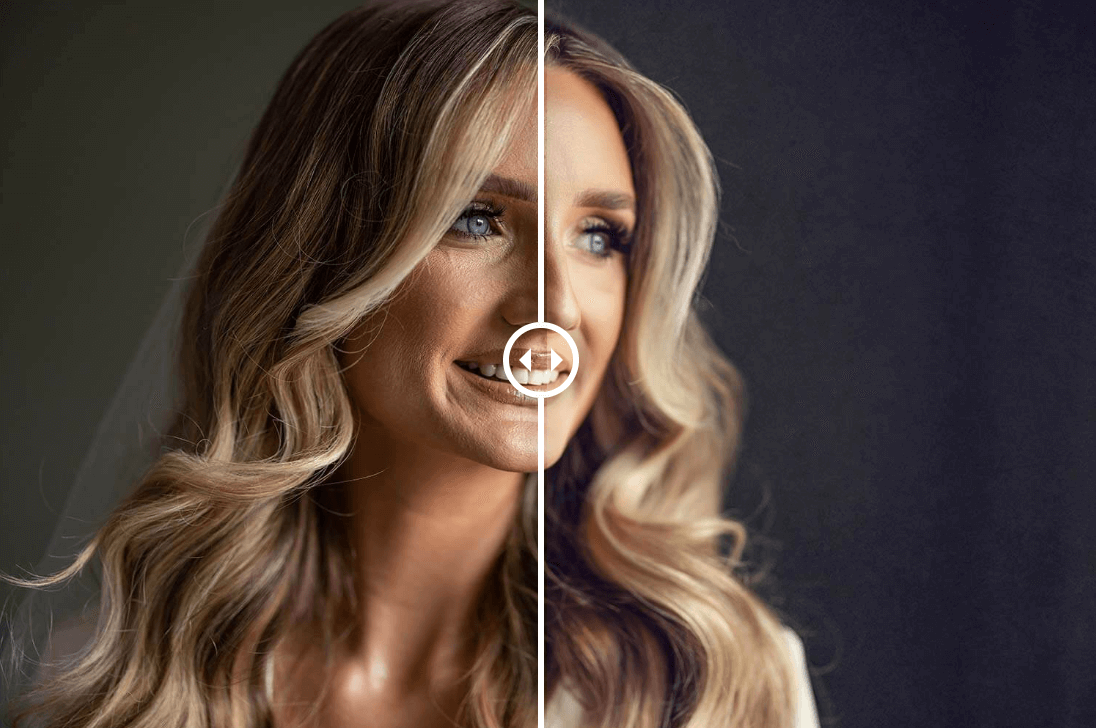
Image © Zach Dalin Photography

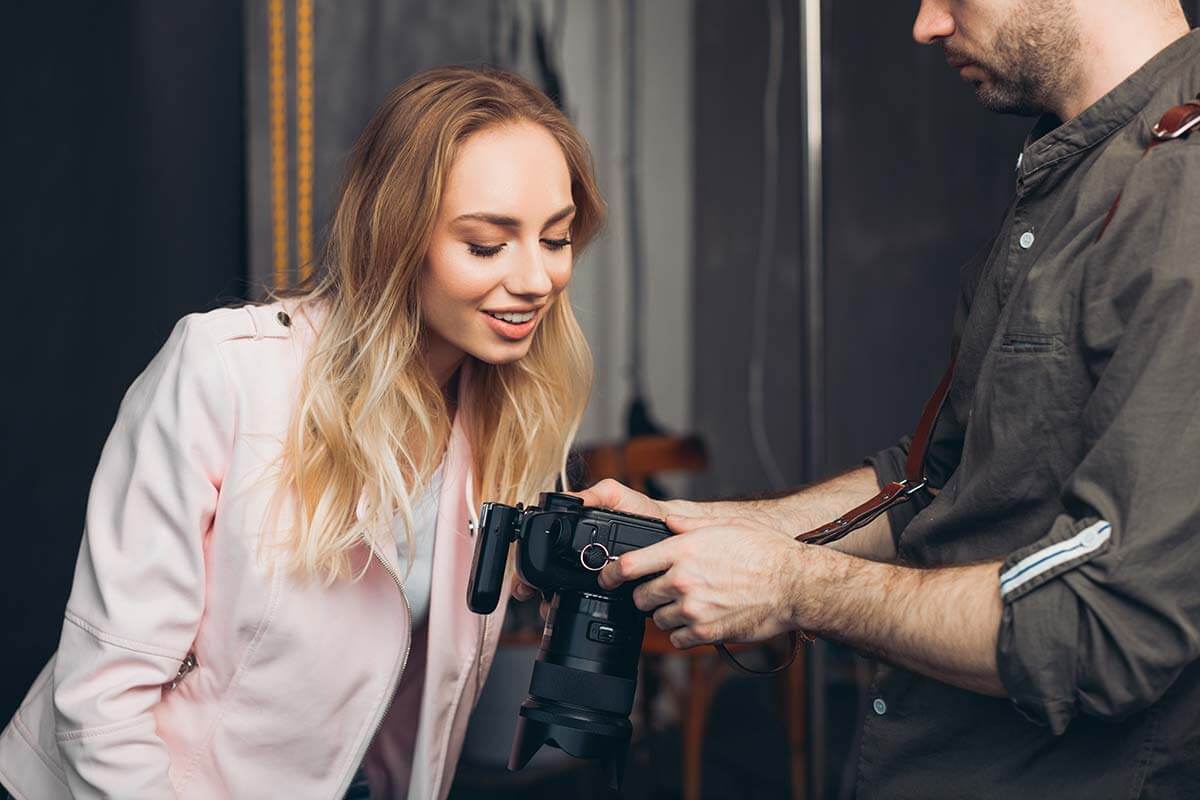
6. Rate images during the shoot.

During your shoot, you should be showing your client the back of camera to not only make them feel comfortable and confident, but get their reaction to the images instantly. You are planting the image you intend to sell them in that moment. Rate it in camera so when you get back to your computer you have some pre-selected images already. Now you can seamlessly incorporate these images into your editing selection process. This personalized approach gives them insight into your vision as the artist, making them more inclined to connect with and invest in the final product. They will walk away from the shoot excited to see their images.

editing-for-ips-how-to-sell-your-work

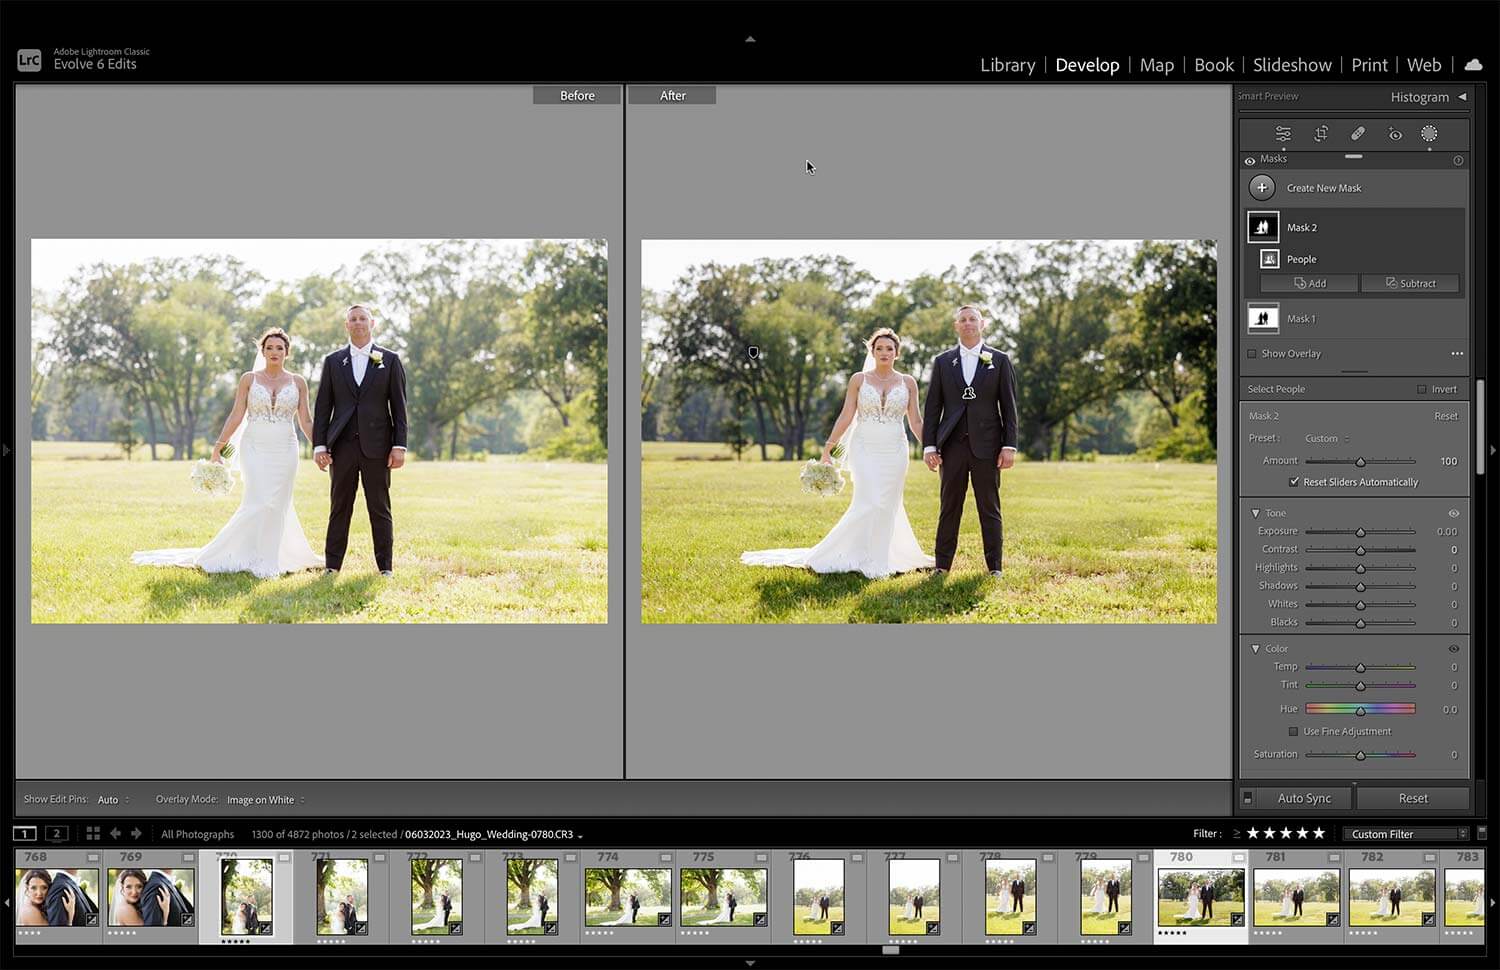
7. Slideshow presentation with before & after edits.

When conducting in-person sales, the before-and-after display can be a game-changer. This not only showcases the value your editing prowess brings but also helps clients comprehend the transformation their images have undergone. The stark contrast can serve as a motivating factor, encouraging them to consider more extensive investment options.

Before

After

In-Person Sales and the showcasing of your editing style hinges on the fusion of technically sound images, your vision, and a customer-centric experience. Your editing style and overall branding should magnify emotions, illustrate your attention to detail, and resonate profoundly with your clients. Your website and images should complement one another, pay attention to your client’s preferences, and offer a full-service approach to sales. These things can transform your business into generating more revenue.

BUY 10 PREMIUM EDITS AND GET 10 NOIR EDITS FOR FREE!

CODE: BOGO23NOIR

Backup Your Business: How to Build 3-2-1 Backup Plan

As a creative business owner, you heavily rely on technology to photograph digital images and preserve your creative work. Whether you’re a professional or an amateur photographer, safeguarding your client’s images is your responsibility. You must create a plan for managing the thousands of files created every year and stick to it, otherwise you lose them and open yourself up to getting sued. The 3-2-1 file backup strategy is a tried-and-true approach that ensures the safety and accessibility of your work long-term. In this article, we’ll dive into how to build a3-2-1 backup plan tailored specifically for a photographer.

What is a 3 - 2 - 1 Backup Strategy ?

The 3-2-1 backup strategy is a simple yet effective method for safeguarding your raw files. It involves creating three copies of your data: one primary copy and two backup copies. These copies are stored on two different media types and kept in two separate physical locations. This approach provides redundancy and protection against various types of data loss, such as hardware failures, accidental deletions, and even disasters like fires or floods.

Now you might be thinking that you are all set because you paid $2k for a RAID system from Qnap or Synology. RAID does not mean that your files are backed up and you don’t need copies. While that can be your primary storage for share ability and performance, that is not a backup plan. In fact, it’s a plan for disaster. Here is how to apply the 3-2-1 Backup Plan for your workflow. 

Primary Copy: Organized Storage

Your primary copy storage device is what you work off, the files you access and edit regularly. Get the fastest connection or interface you can afford like
USB-C, Thunderbolt or if using a NAS get 10Gbe. Beyond performance, it’s essential to maintain an organized storage system for these files. Create a folder structure that categorizes your images by year, event type, client name with year, making it easier to locate specific shoots when needed. Regularly clean up this primary storage by removing duplicates and images that no longer hold value. We will cover archiving files later as well.

Local Backup: External Hard Drive

For the first backup, you’ll want to use a different storage device than your primary storage. A cheaper and higher capacity external desktop hard drive is an excellent choice. It does not need to be fancy, just effective. It offers ample storage capacity and remains disconnected from your computer when not in use, protecting your local files. Periodically connect the external hard drive and update the backup to reflect changes in your primary copy. Consider this a local cold storage solution in case files on your primary drive have issues. We will cover automation software so you can backup without having to micromanage this yourself!

Off - Site Backup: Cloud Storage

The second backup takes your data to the cloud, providing an additional layer of protection against physical disasters that could affect your local backups. Cloud storage services like Backblaze, Google Drive, Dropbox, or Amazon S3 offer secure and scalable options for storing your photos off-site. Once you deliver files, how are you going to archive them from your primary drive? How long are you storing raw files locally for a delivered event?

Both are good questions, and some photographers sneak this in their contract that they dump the work after so many days to put the responsibility on the customer. Sure, you can store deliver high-resolution JPGs online forever, but why keep the raw files forever? Well, from experience, you might have a client asking for more images of their relative that died a year after the wedding. Or maybe you missed a section when selecting and the client notices it six months later, etc. Storage is cheap and you should 100% store raw files offsite in cold storage where you pay a low monthly fee to store the files there and only pay extra to download. It’s a solid what-if plan and could be massive for your client experience. I would say after you rename, export, and deliver all products, keep the Raw files onsite for 12 months. Then push the Raw + .xmp files to cloud storage, that’s cheap and effective for file management.

Automate the Process

Remember that consistency is key to a successful plan. Set up automatic backups to streamline the process and reduce the chances of human error. Many backup software solutions like Carbon Copy Cloner allow you to schedule backups at specific intervals or trigger them when changes are detected in your primary copy. The same automation can be done for linking your backup storage device to a cloud app to run once a week or in the evenings. Most cloud storage apps require a local hard drive to store the local folders for synchronization. Make it effortless and easily repeatable.

As a business owner, client images are one of the single most valuable but irreplaceable assets. Securing them safety through the 3-2-1 backup plan, involving three copies of your data on two different media types, and stored in two separate physical locations, is a fool proof way to safeguard your creative work. By organizing your primary copy, maintaining a local backup on an external hard drive, and utilizing cloud storage for off-site protection, you can rest assured that your photographic memories are shielded from unexpected disasters and data loss.

PLACE YOUR ORDER BELOW TO
SAVE 30% OFF RETOUCHING TODAY!

How To Launch a Luxury Product with Evolve

When it comes to offering the best products and customer service for your clients you need to step up your game. You should always be thinking how to under promise and over deliver for EVERY client. Creating a luxury experience and offering high end products will bring in more money to your business. Launching a luxury brand or collection can take a lot of time and money to invest. Why not start with introducing new editing options and branding them as luxury products. You can offer large scale wall art as an art piece to fill your clients’ walls now. This takes planning of course but is something you can stand up in less than 2 weeks. First you must figure out what is your goal with this new luxury edit and product. As a business owner, you must create your trusted team of professionals to deliver on this plan. Once you dial in the editing you must execute with excellence for every client. Lastly, you need a marketing plan to get these to your past, current and future clients.

What is your goal with this product?

Your goal should be to make more money but more importantly increase average spend per client. This allows you to get financial predictability in your business. If you book a wedding on October 1st, you should have the sales session by the 15th and cash in the bank by the 30th. It’s not always going to be that way, but this gives you an idea for forecasting financials. You can position this product in multiple ways and know I’m not writing this article to argue selling a la carte vs packages. These are important selling options to dissect and let’s start with a la carte.

The benefit of a la carte is you can charge a premium for everything your client buys. They paid you for the cost of shooting the event, deliverables are always for purchase in addition. Now you can show galleries of other clients that bought products to get your current clients to interested in them. Once they pay the invoice you have orders to place with editors and labs. This is a gamble in my opinion and with less risk there is usually less reward. On the contrary, offering this luxury product exclusively in packages pushes them to spend more. Showing the value of ordering in a package, saving money is key here as opposed to buy a la carte. From my experience, rarely will someone book you for a $250 photo session and buy 1 $2K print. Instead you could sell them a package for $2K including more products with plenty of ceiling to upgrade and scale up prints. Regardless of how you position the product for sales, you must show it to sell it. Again, this comes back to a luxury experience and what says luxury more that seeing fully edited images 2 weeks after a wedding? This is always a digital presentation for IPS, however how are your clients seeing this product in person, on the wall of your studio, website etc.? There are even IPS tools you can build digital collections for their home. You just must entice them to send you pictures ahead of time with discount incentives. 

Image by Gronde Photography

Image by Ivan Duran Photography

Find a team to build a custom stylized edit.

As a creative at heart, you will always struggle with finding someone that gets your vision immediately, right? Well, no one is going to read your mind. Learn to communicate clear expectations and find someone you can jump on a call with. In my experience when humans get on the phone more progress is made in the initial stages of dialing in a style. I cannot tell you how many times we get references to other photographers for inspiration, the images sent are completely different in style, little to no art direction, the list goes on. Again, you are the creative director in this process, direct your production team. That said, you need a trusted advisor to help you refine your vision and get it to fruition. 

Once you lock in a trusted advisor for this service, your business will benefit immensely.

Images by Salvatore Cincotta Photography

Execute with excellence.

Then you can present this to your client with the unedited version and the final edit during the preview. This is where the impact of the edit takes the in-person preview to a more luxury experience. This is why they booked you over an average photographer selling cheaper experiences. You must show large scale images previews on a large TV. Have you thought about what luxury brands offer for a full-service experience? Think about hiring someone to hang it in their home as part of your offerings. This is next level service, and it gives the client peace of mind knowing the work is scheduled to be hung and installed. Again, think beyond what you do now and spend the time executing on it.

Marketing Campaigns.

PLACE YOUR ORDER BELOW TO
SAVE 30% OFF RETOUCHING TODAY!

4 Tips To Make Lightroom Run Faster

As a full time Lightroom user I am constantly grappling with getting the best performance out of my system so I can edit faster. No matter how much money I throw into a computer, there always seems to be a bottleneck somewhere. Now this article isn’t going to be about how the apple silicon chips are better than intel or how Macs are better than PCs. These tips are universal across all systems however I will always push you to have the most Ram, SSD or flash storage drives and highest speed CPU you can afford to make sure Lightroom run optimally. Hardware aside, here are 4 tips to making Lightroom Classic run faster. Tip #1 Import your raw files with smart previews. Tip #2 AdjustPreferences and Catalog Preview Settings. Tip #3 Save Lightroom catalog to your local drive. Tip #4 Save Ai masking for the end of your workflow

Tip #1 Import your raw files with smart previews.

Lightroom’s performance is heavily reliant on how much energy it takes to generate previews on your raw files. From import to editing inDevelop, Lightroom has to constantly refresh previews for your images. If you are working with raw files on an external drive this can be painful to edit for. I highly recommend importing with smart previews so you can work offline so to speak. When importing you can check this option under File Handling and even make a preset to use again later (ref image1). Once your import and smart previews are done you can disconnect from the external drive and start working with blazing fast speeds (ref image2).

Ref Image 1

Ref Image 2

One could argue that having the images local on a newer flash storage would give you the same performance however I do not recommend ever storing your files locally. This is not a stable workflow, however you can have your raw files safely put away while you work on your editing. Smart previews are like 1/10th the size of the raw files so you can store them locally without filling up your local hard-drive space as well (ref image3). Another benefit is you could have well over 100,000 smart previews storing locally taking up less than 150GB on your drive compared to 3TB of raw files.

Ref Image 3

Tip #2 Adjust Preferences and Catalog Preview Settings.

I  always check my Lightroom preferences and catalog settings when things start to slow down (ref image4). Likely an update ran overnight, or something changed in my settings tied to creating a new catalog. First, I like to open preferences and go into the performance tab. Now I have always followed the advice of turning off the GPU feature. Now depending on what system, you have a lot of the newer apple silicon chips have shown to be much faster for Ai masking and exports. From and editing perspective you can’t beat smart previews and properly manage standard previews (ref image5).

Ref Image 4

Ref Image 5

After opening catalog settings, we need to go into the file handling tab to adjust some settings. Standard preview size needs to change to 1024 pixels and quality changed to low (ref image6). The reason why is I want the least amount of energy used to re-generate standard previews after every change I make. Especially if I make global adjustments in Library, I want to see the changes instantly. As another tip I recommend building standard previews before culling and any time you make a global change like applying a preset to all images (ref image7)

Ref Image 6

Ref Image 7

Tip #3 Save Lightroom catalog to your local drive.

Ref Image 8

Tip #4 Save Ai masking for the end of your workflow.

Ref Image 9

Ref Image 10

We are all subject to Adobe’s bi-monthly updates and need to be prepared for applying performance driven preferences and workflows. Keep in mind your settings and preference might change with an update, they certainly will with a version upgrade. Take these 4 tips and make your life easier!

PLACE YOUR ORDER BELOW TO
SAVE 30% OFF RETOUCHING TODAY!

3 Tips to Crop and Straighten faster in Lightroom Classic: Crop it Like It’s Hot

3 tips to crop and straighten faster in Lightroom classic

When it comes to cropping and straightening there is no automated way to just batch apply. Of course, there is the transform tool but its hit or miss and there are Ai options out there that do it for 1 cent per image, but you have to order additional services. Doing this yourself in Lightroom should be faster than culling with these 3 tips. Tip #1 is to build all your standard and smart previews before starting. Tip # 2 is straightening with the command, click and drag technique. Tip #3 is using different crop grid view for balancing images. Let’s crop it like it’s hot!

Tip #1 Build Lightroom Previews

Lightroom’s performance hangs on the whether it must generate to re-generate image previews. When you are filtered in Library to the images you want to crop and straighten select in the top menu bar Library, Previews and click Build Standard-Sized Previews (ref image1). Now you can strike the R key to get right into crop mode. To advance to the next image you can hold command and strike the right arrow. If your images are running slow check the catalog settings by selecting in the top menu bar Lightroom catalog and clicking catalog settings. In the file handling tab set the Standard preview size to 1024 pixels and Preview quality to low (ref image2)

Ref Image 1

Ref Image 2

If Lightroom is still dragging consider building Smart Previews in the top menu bar by selecting Library, Previews and click Build Smart Previews 
(ref image3). Then you can disconnect from your Raw files so Lightroom relies only on the smart previews (ref image 4).

Ref Image 3

Ref Image 4

Tip #2 Straighten with Command, Click and Drag

As I mentioned before you can jump into crop mode from any mode by striking the R key. The secret to staying in crop mode while advancing to the next image is to hold the command key while striking the right arrow on the keyboard. The same technique of holding the command key applies to straightening to the horizon line to an architectural vertical as well. To quickly straighten the image hold command, click and drag along any straight edge you want to level the image to (ref image5). If you feel less confident in your choice you can click the auto button to see if that levels the image better. A pro tip would be to focus either on an obvious horizon line or a vertical of an architectural element in the middle of the photo (ref image6). If the subject gets awkwardly cropped, you should just reset and move on (ref image 7). You will continue holding down the command button the entire time you click, drag, hit the right arrow, repeat for hundreds of images.

Ref Image 5

Ref Image 6

Ref Image 7

Tip #3 Crop Overlay Modes

Ref Image 8

Ref Image 9

Ref Image 10

By the end your finger should have fallen asleep, but you saved quite a bit of time! Hope you enjoyed these 3 tips to crop it like it’s hot in Lightroom Classic.

PLACE YOUR ORDER BELOW TO
SAVE 30% OFF RETOUCHING TODAY!

Present Your Images Like A Pro Using Lightroom Classic

Present your images like a pro using Lightroom Classic

When it comes to delivering polished and professional work, many of us forget to think about the client experience for delivering files, more specifically naming and sorting files. I frequently see wedding photographers delivering their fully edited images with the same file name captured in camera or they rename before culling/selecting images. Present your images like a professional artist and rename them at delivery so your client can feel like you are offering a custom-tailored product and its literally free for you to do. It’s all in those details that makes you stand out as a professional. Along with custom named files, for weddings you should consider sorting images by parts of the day. I find this to be less critical for the client experience, however, imagine looking through hundreds/thousands of images in a grid view in an online gallery, out of sequential order trying to pick your favorites. It’s just overwhelming.

Sync Capture Time

Before renaming files, you should always make sure to sync capture time between all images and cameras. This is one of the most amateur things you can do as a creative. Pro tip: before starting every wedding or event with multiple cameras have every photographer photograph their cell phone with the browser opened to the website“time.is” (ref image1). After importing all images into Lightroom, sort by each individual camera and sync the raw files to the date and time from that photo. Takes seconds to do per camera and creates a better culling and client experience (ref image2). Once you are done culling and editing in Lightroom, you are ready to rename your files directly in Lightroom instead of when you export. Be sure to filter to only the culled/edited images before renaming.

Ref Image 1

Ref Image 2

Rename in Library Mode

With your edited files selected you can rename them in Library mode by clicking the batch rename button under Metadata (ref image3). Then in the Rename dialog box choose Edit in the file naming dropdown (ref image4).

Ref Image 3

Ref Image 4

For file naming you can choose any custom conventions you already use, I like to include the shoot date, client name, event name and a sequence of 4 numbers (ref image5). Once you click done that’s it! (ref image6) Renaming inside Lightroom is critical so your raw file names change outside Lightroom and if you need to undo this later you have full control of revert the file to their original file names
(ref image7). Next we are ready to sort images.

Ref Image 5

Ref Image 6

Ref Image 7

Sort with Custom Labels

Ref Image 8

Ref Image 9

This is important as you select sequences of images, assign your custom labels they will disappear from your view (ref image10). Makes sorting so much faster as you only see the images you need to sort left on screen. This should take you 10 minutes or less to do. I would reserve no label for reception since that is last part of the day as you’ll notice you can only assign up to5 (ref image11).

Ref Image 10

Ref Image 11

Lightroom is a digital asset manager or DAM, let it do the heavy lifting for your organization of files! Now once you rename these files, of course you’ll need to backup these newly named raw files and that can be done after delivery. After sorting you can export each part of the day into its own subfolder to upload to client galleries. Being organized as a creative business owner makes your look like a professional to your clients.

PLACE YOUR ORDER BELOW TO
SAVE 30% OFF RETOUCHING TODAY!

3 Tips to Selling Wedding Albums to EVERY Client

3 tips to selling wedding albums to every client

As a wedding photographer, if you are against offering wedding albums, I could not disagree with you more! This is one of the single best ways to increase your average sale for weddings. Regardless of what trend you think you must align your business with you should be offering albums to every single client. Now I understand there is going to be good pushback to that statement, that a client’s budget for wedding client is determined all before the wedding day and there is no money left over to buy an album after. So, the idea is to offer an album up front and if they don’t buy it don’t bother designing one. Again, I could not disagree more. Educate your client on your offerings and always under promise and over deliver. Think about this, your client doesn’t think an album is important at the pre-wedding consult, how about surprising them with the first preview of their images in a personally designed digital book layout before they see the full gallery. The impact to your client’s experience can elevate your sales dramatically. Here are the 3 tips to offering wedding albums to every client and increasing your average sales. Tip #1 is offering a free guest book with their engagement session. Tip #2 is offering a pre-designed wedding album for every client. Tip #3 scale this business model by outsourcing your album design and client proofing.

Tip #1 Offer a Guest Book With Engagement Session

This tip is self-explanatory however there are nuances in how you can offer this. For example, if you ran an enter to win campaign at a bridal show or targeted brides on Facebook you are already giving away the session for free for email leads. For the winners you still must close on sales after the shoot to make money. Giving away a free guestbook makes sense in your top packages, but you are looking to create leading indicators to see if this client will spend money on their wedding with you. So, if they walk away with the lowest package for digitals that’s a red alert for your offerings. Remove digitals out of your packages or at least only offer in the top ones. Get a book in their hands for the wedding. For all the other clients that didn’t win or already booked a wedding with you, you should be pushing guest book either a la carte or in the top packages. At the very least push a large canvas print guest can sign. This should be standard in your offerings to wedding couples. Get them hooked on books right out the gate.

Tip #2 Offer a Wedding Album to Every Client Whether you shot the engagement session or not

Whether you shot the engagement session or not you should be pushing albums during the entire client experience. Of course, selling albums is easier at bridal shows with your display of sample books or in your studio showing beautiful albums during a pre-wedding consult, but you can still offer digital album designs to your clients without ever putting a book in their hands. After the wedding to offer better service, you should be pre-selecting images and building a first set of album design proofs within 2-3 weeks of the event. Instead of trying to get everything delivered and edited in 4weeks you should be sending them a pre-designed album. This level of service sets the tone for your sales and how you can under promise and over deliver. Imagine your competitors sending sneak peaks and you just sent your client a personalized layout of their wedding day. 

I would love to be a fly on the wall listening to your client telling their friends that got married weeks before they just saw their wedding album proofs and they didn’t order it. The friends however had to reach out to the photographer for an update and received a sample pack of color corrected digitals 2 weeks after the wedding. 

This all comes back to educating your clients and offering good service. If they aren’t interested in albums by seeing sample books, why not show them a digital layout as the first thing they see of their wedding day. The impact of you telling their story in a well-designed book layout sets a different tone for their first preview. I cannot stress this enough, design a book for every wedding client! Taking this a step further, you can offer a pre-design flat cost and a custom album allowing them to make changes as an upsell. Offer creative edits on every image for a luxury album collection as another upsell.

Images © Forevermore Films

Tip #3 Outsource Album Design and Proofing

If albums are already a major burden on your production plate you likely think offering free album design makes zero sense. That is what outsourcing is for. Change your mindset from making more work to making more money. If are currently shooting 30 weddings a year and average 5-10 books, designing a book for the other 60% of your clients is a no brainer. If you sell 2 more books you just broke even with the cost to outsource all year long, let alone just removed the other 5-10 books off your plate. What are you doing with that free time? Reinvest it back into generating more revenue for your business. Find a team that can service your customer for unlimited album design within 2 weeks of the event and offer client proofing. Your album production will grow and you need a scalable solution to keep up with client demand. I cannot stress this enough, as a wedding photographer if you are not showing an album to every client you are leaving money on the table. This is a great way to create upselling opportunities with your current clients, it’s way less effort to increase net revenue that way.

PLACE YOUR ORDER BELOW TO
SAVE 30% OFF RETOUCHING TODAY!

Outsourcing Your Post-Production // A How-To Guide To Letting Go

Outsourcing Your Post-Production with Evolve Edits

Is it time for you to start outsourcing your post-production? As a photography business owner, you should be focused ON your business versus getting stuck IN the minutia of operational tasks. Many wedding studios struggle to get images to their clients in 2 weeks or less. It’s not that clients are over demanding, it’s not that you have a slow computer, it’s not that you aren’t working enough hours in the day, etc…It’s that YOU are the bottleneck of your business. You shoot a wedding and sit on it for weeks dreading the task of culling, editing, or sending sneak peaks to get a client off your back. Is culling/editing so personal to you that you can’t outsource it to a team that can turn it around in a week? Don’t think like a creative, think like a business owner. Why not leverage a team of professionals to offer better service to your clients and generate more revenue for your business?

Step 1. Outsourcing Your Post-Production

The first step in solving any problem is realizing there is a problem, right? You must take a step back and look at all the time you spend focusing on production tasks that have nothing to do with generating revenue. Especially when it comes to editing your own work. You justify editing to save money, let me tell you that an editing team is cheaper than your salary let alone all the opportunities walking away while you aren’t responding to clients.Culling and color correcting a wedding are 2 tasks that take most of use 6-8 hours to complete, likely more time. That requires you to lock yourself in a room and stay offline. Your business cannot survive on you being offline for 1-2 days straight, this is the first thing to throw over the wall. Find an editing team and outsource to them, let the professionals take over.

Step 2. Automate with Cloud - Based Management Software

Automation must come into your ecosystem for emailing and invoicing clients. There are plenty of cloud-based business management software companies. Find one that fits your business and let them take you through the iron boarding process. These are all turn key solutions that allow you to let go and deliver better service. Once a client pays a deposit, you should have pre-shoot emails educating them on what to wear, tips and tricks for makeup, how a professional photographer will pose them, etc. Then the day before a shoot, an email goes out as a reminder of where and when to be and pump up their excitement for the shoot. Day of the shoot, an email goes out thanking your client for choosing you and what to expect after the shoot. These are all emails that can be automated in a system that you are plugging in personal data for the clients. This is what you should be spending your time doing instead of editing, setting up systems to scale your business with. Run your business with automations, don’t let the business run you.

Step 3. Get Organized

You need a task management app as well to store all your daily to-dos. It should have a calendar, tasks management system, automation flows for statuses of task, etc. This is where you would store client meetings, shoots, sales sessions, etc. to stay on top of being a business owner. This is where you spend the start and end of your day checking in on your team, steer the ship and keep this thing moving at a fast pace. You likely need a person you can lean on whether that’s your partner or find an assistant. Now you might be thinking why not hire them to do all that stuff above right? An assistant should be there to keep you organized, keep you on task for marketing content and focused on generating revenue. They can start doing in-person sales as well as the consults for potential clients. Imagine having the time and mental capacity to start pre-qualifying customers to being your client and finally selling products to them. You now have the time and profitably to increase net revenue without shooting more. This is where your head should be, not playing catchup on editing and emailing every day. I cannot stress this enough; YOU are the bottleneck of your business and preventing it from growing or stabilizing the growth you have. Take a step back and look at your daily tasks, where are you getting drug into the business and start there. Outsource everything you possibly can. You’ll get there if just reallocate your time to working ON the business. You’ll find in a team/company and automation software to keep you moving like a boss and not an employee.

PLACE YOUR ORDER BELOW TO
SAVE 30% OFF RETOUCHING TODAY!

How to Offer Custom Retouching to your Clients & Make More Money

How to Offer Custom Retouching to Your Clients

When it comes to making more money for your business, as creatives we think the easiest thing to do is just focus on shooting more work. If I just work harder and longer, I will make more money. While that helps, it’s not the best revenue generator for your business. You must work smarter in the 80 hours you put into your business per week. Upselling to your client is one of best ways to increase average sales across the board. It’s a lot less effort to make more money by increasing the average spend of a current customer than it is to find a new one.Think about there sources, time and money involved in capturing a new customer. Focus on the customers that you have already booked, educate them on your products and what to expect. Sell them a luxury experience.

Image by Zaki Charles Photography

This isn’t a sales pitch so if you are already tuning this out because you aren’t into sales, WAKE UP. This is about educating clients about what you offer as a business. You’ll be surprised how many customers you can start to weed out that do not qualify as your customer. If they aren’t interested in anything you offer, then why book you as the photographer? Why waste time on a client that asks what they get in the lowest package or thinks your starting price range on your website gives them everything under the sun. You might be thinking all clients want are digitals, no one pays for Retouching right? This is the wrong mindset, create an opportunity for them to pay more for the specific images they care about. Set the tone and the expectations for what happens after the shoot.

Starting with expectations after the shoot, is your client looking at images on a big screen TV in your sales room or getting a link to an online gallery? Are you talking with them while they preview the images or sending a generic email that says, here’s a link to your gallery? Either of these can create upselling opportunities with retouching. Now whether you do In Person Sales (IPS) or shoot, and burn/email digitals/mail thumb drive you must create an expectation of what’s standard and custom. Standard things are included and delivered even if requested additionally, you must deliver on promises. Custom on the other hand is an upsell opportunity and retouching is the perfect service to offer them. You might be thinking you could never ask your client to spend more money after they just paid you for services, right?

Again, it all comes back to what expectations that you set during the initial consult which led them to ordering a package with you. Did you promise fully edited images, sure of course but where do you draw the line. Mom wants wrinkles in the kids clothing removed, messy hair fixed, face swaps, thinned arms, people in background removed, squinty eyes fixes, the list goes on and on. Are you going to pay someone hours of time to fix this for free?Worse are you going to sit and learn to edit this yourself? When do you get paid for your time to edit?

Image by Patty Ingalls Photography

Image by Sal Cincotta

Custom requests require a custom quote and more money in your pocket. They paid you for the shoot and digitals, anything more is additional revenue for your time. When requests come in person or email it doesn’t matter, the reply should something like,“Of course we can take care of that for you, let me get a cost together since I pay my personal retouch editor hourly. Requests like this usually cost a minimum $100/hour to handle and I want to make sure your favorite images get the extra attention you want”. Now you’ve established what to expect with custom requests and there is an additional cost here. People spend money on what they find most important, apply that to the images they want to print and put on their walls. You’ll be surprised how many clients will pay extra to have images customized to their specifications. If they don’t value the cost/time it takes to fulfill their requests, don’t work for free and move on. Make it easy for them to spend money and offer good service. Don’t be afraid to upsell Retouching to your clients, trust they value your work and if not, never work for free! There are exceptions where you know your customers better than anyone else. If they are spending a lot of money already and they need a couple hundred dollars in retouching, eat the cost. Do not be penny wise, pound foolish.

Image by Sal Cincotta

PLACE YOUR ORDER BELOW TO
SAVE 30% OFF RETOUCHING TODAY!

What to Expect When Outsourcing your Photography Editing: A Guide For Beginners

what to expect when outsourcing your photography editing

As a business owner you will cultivate relationships with clients, other photography studios, venues, event planners, labs, software, and photography editing companies. When starting any professional relationship, it’s helpful to communicate clear expectations, deliver on promises and always remain loyal. Your partners should have an onboarding process to set you up for success. Here are some things to expect when setting up a team of editors.

Get Organized. As a creative you have got to get organized and take some time to standardize your processes. Doing something different every time is why you are weeks/months late on turn times. Write down your entire process so your new team can replace you and make it simple!

Image by Gary Evans Photography

Standardized your process. Stick to the script that your editing partner is guiding you towards, remember they are your life raft, and you are drowning. Listen, learn, and trust they are removing the busy work from your plate while you still have control over the style of your edits.

Communicate efficiently and effectively. Please for the sake of everyone’s time, re-read emails before responding. We are all guilty of it! Editors have a rigid process for a reason and not reading emails wastes everyone’s time. Not to mention if the editing is off, speak up as well. If you find yourself emailing 2 or 3 times and it’s not clicking, request a call. 

Just let go. You cannot clone yourself and no one edits exactly like you. Getting 80-90% is the goal and honestly do you think your clients sees what you see. My guess is no. The point of outsourcing is removing the work from your plate and maintaining service level agreements or SLA with your clients. They won’t care who edits their pictures if they are seeing them in 1 to 2 weeks. 

Trust your team. End of the day it’s all about depending on your editing team to deliver for your clients. Follow their lead, this is what they do. Working with a business gives a different peace of mind. You don’t have to micro-manage employees or worry if they show up to work let alone its more cost effective for your bottom line. Be an entrepreneur. Let the creatives create and you focus on making more money. This does not mean you lose control of your brand. You are the Owner and CEO, be the vision of the company and run your editing team like an employee. This is where you’ll gain more success for your business. This is a high-level guide for what to expect when outsourcing your photography editing. Here is some advice from one of our current clients Gary Evans, owner of Gary Evans Photography on how outsourcing changed his business for the better.

Image by Gary Evans Photography

Images by Gary Evans Photography

Q: What advice would you give to another busy studio joining Evolve?

Answer: Joining Evolve and outsourcing your editing will allow you to focus more on your core business. Instead of spending your valuable time in front of a computer you will be able to spend more time doing the thing you love which is shooting.  Freeing up time will also you to focus on other parts of the business that may need attention, such as marketing, vendor relationships, enhancing the client experience, portfolio building and education to name but a few.

Q: How has your business changed outsourcing your editing?

Answer: It’s allowed me to focus on our client experience, with faster turnaround times I can deliver weddings in an efficient and timely manner. It provides a very consistent look from wedding to wedding so that couples looking our work know what to expect. Gaining access to their expertise and technical knowledge helps us to provide our couples with some amazing portrait images that are beyond their expectations which in turn has helped increased IPS sales.

It's time to let go! Try Premier today & get 2 months free.

Enter “Other” in the “How did you hear about us?” field, then enter the code PREMIER2FREE.