When it comes to showcasing your photography and selling images, you will need different levels of editing. Culling and color correction are not cutting it for an established photography studio anymore. You must show it to sell it and what I mean by that is offering higher end edits for your client reveal or preview.
1. Premium Edits – $4/image
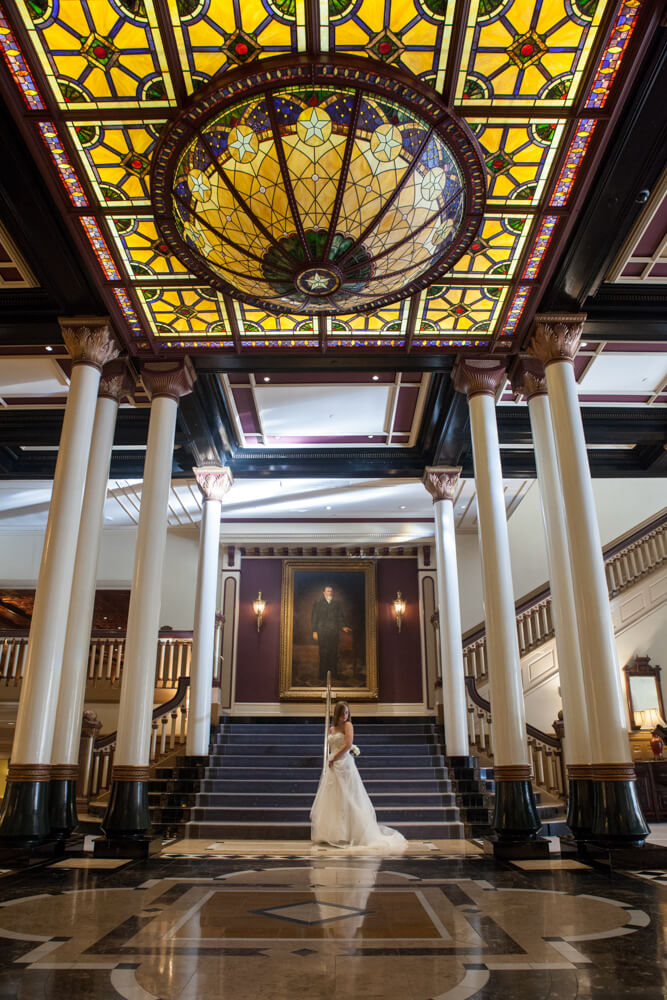
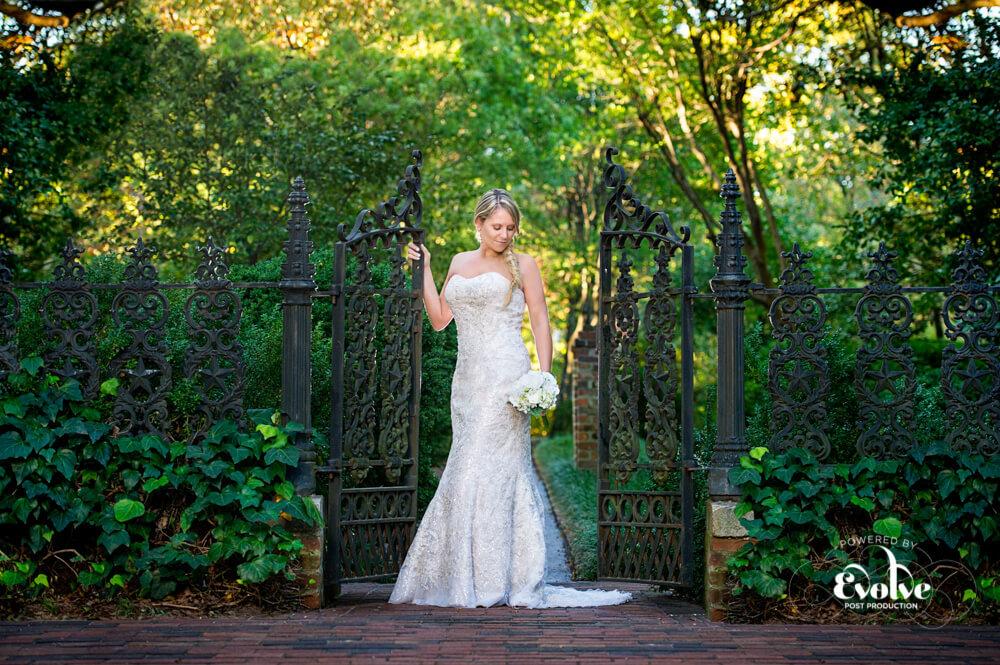
This service includes skin softening, dodge and burn techniques, one of our custom toning applications and optional texture overlay. Our editors will look at your image and make the best decisions to give you and your imagery that special something that stands out from the crowd.
Premium edits are best when added to your IPS or In Person Sales order for an event. Photographers will typically add 5-10 per order as a way of really making their images stand out in a cost-effective way.
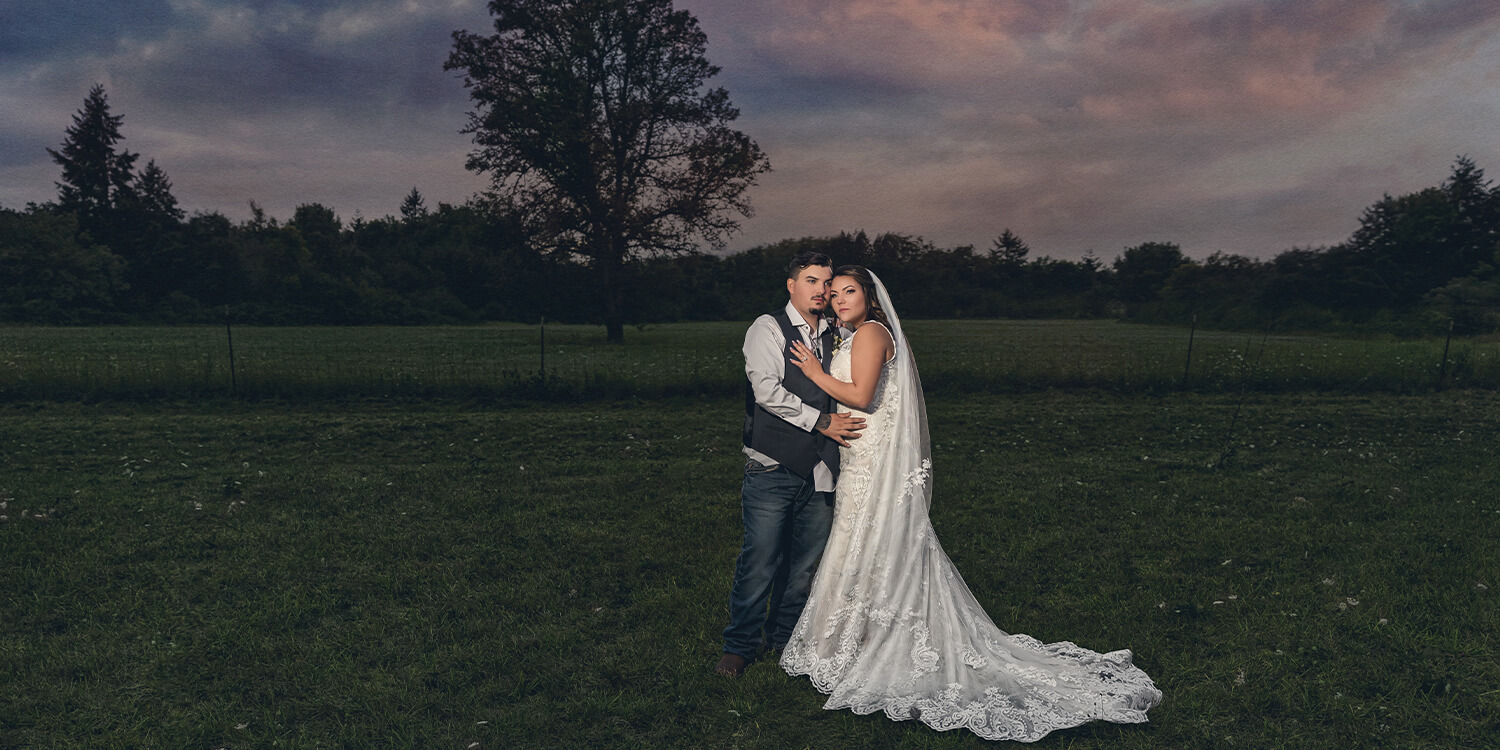
Image by Gronde Photography
2. Signature Edits – $150/image
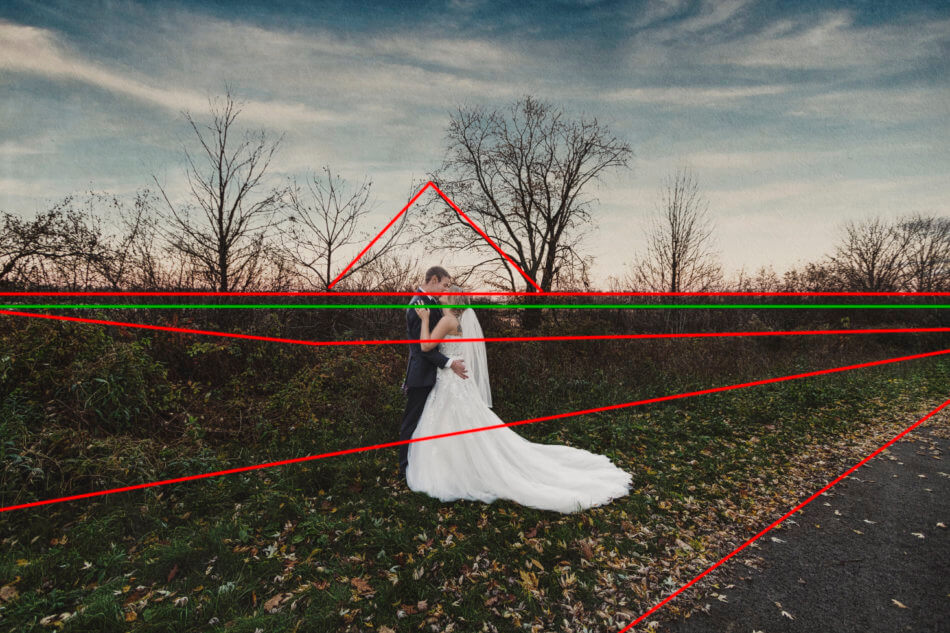
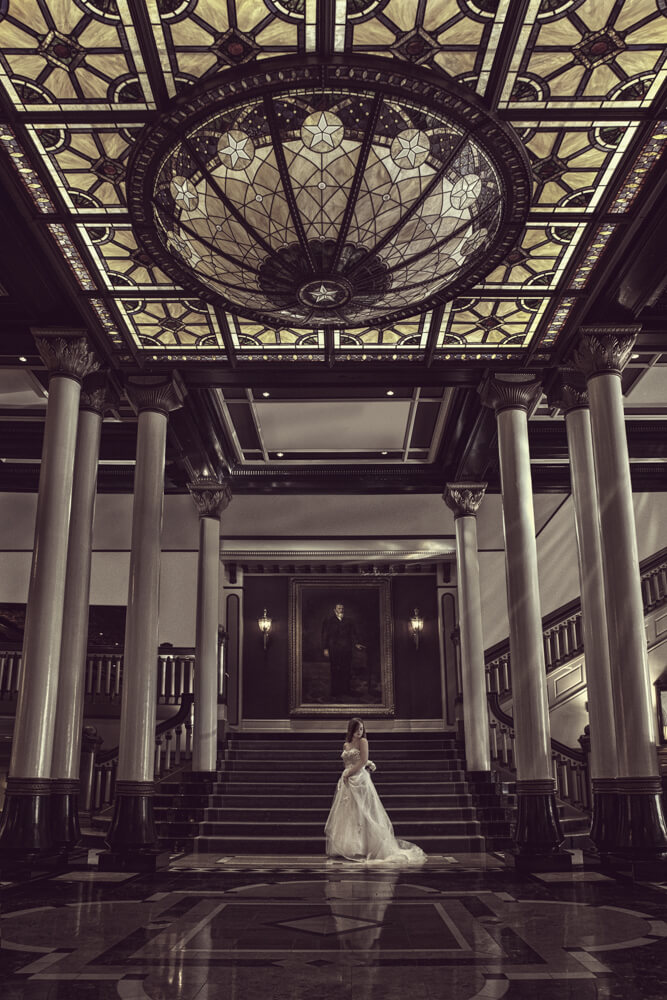
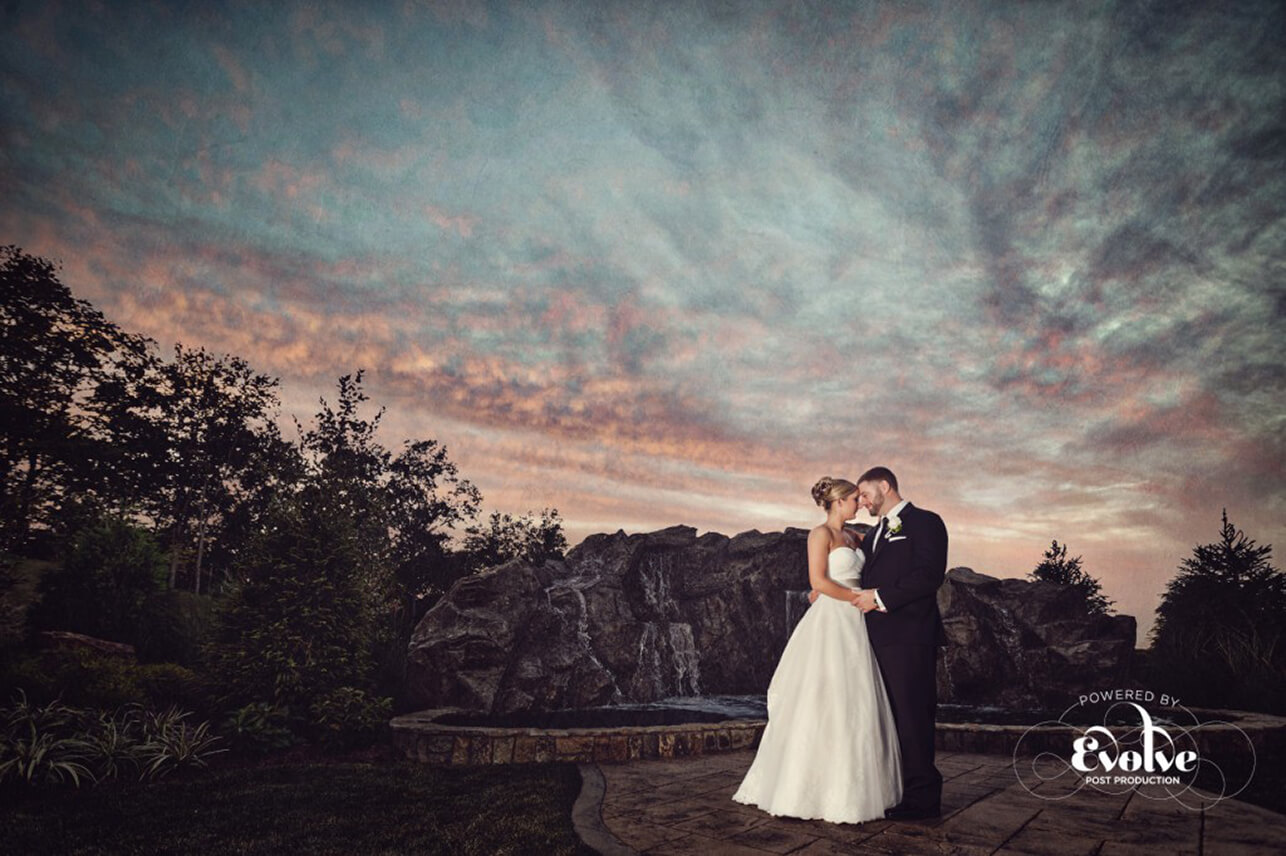
Signature Edits have come a long way from their origins with Sal Cincotta. From the start, this service has been there to create impactful showpieces to help create sellable fine art prints and to elevate portfolios. From selection to art direction and the post-production itself, Evolve can be your trusted partner to create Signature edits that get the most out of your images.
These large-scale edits are positioned for IMPACT as the single image to tell the story of the day. This is the most powerful image to show during your sales session. Photographers will typically add 1-3 per order and show these on a large screen for scale.
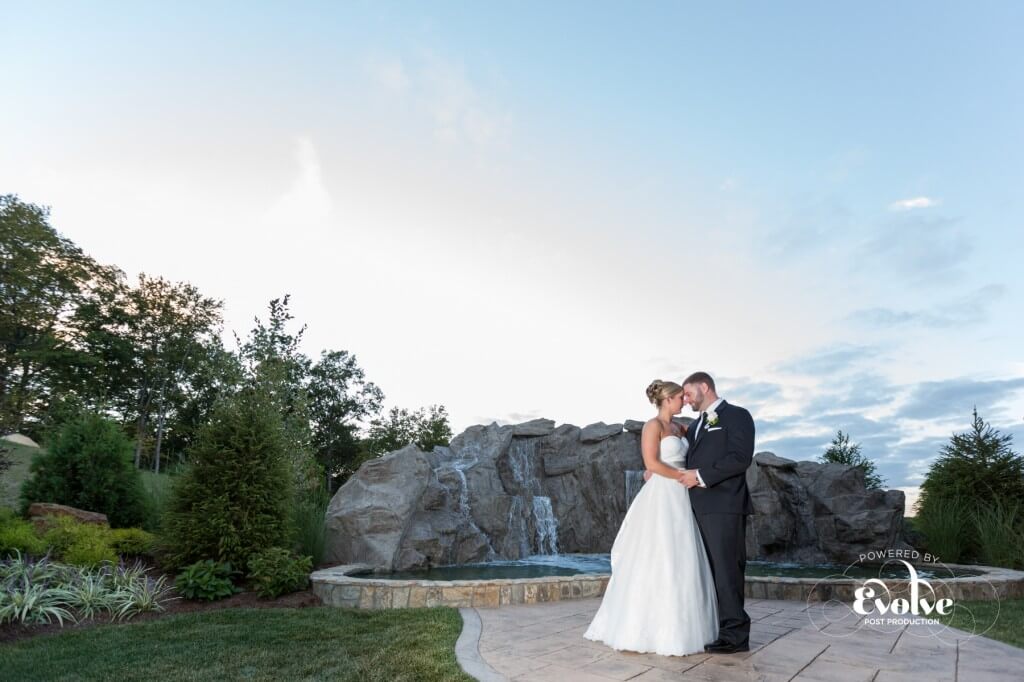
3. Hybrid – $100/image
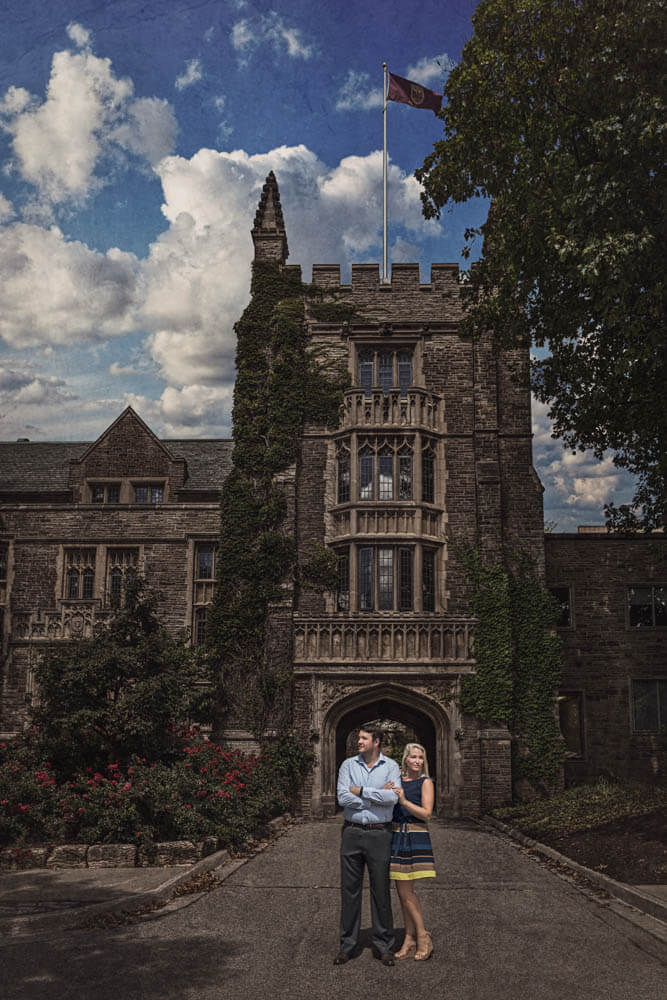
The Hybrid Edit is intended to fill the gap in creative services between our Premium and Signature Edit services. We set out to create a service that would elevate a Premium Edit to new heights using retouching, while also taking the pressure of art directing off your shoulders.
Hybrid Edits are best used for 1-3 big impact images mixed in with your order. With skin smoothing, blemish removal, minor distraction removal, a sky swap, straightening, skew fixes, faux HDR, dodging & burning, premium toning and a texture overlay all included, Hybrid edits are sure to make a big impact with your clients.
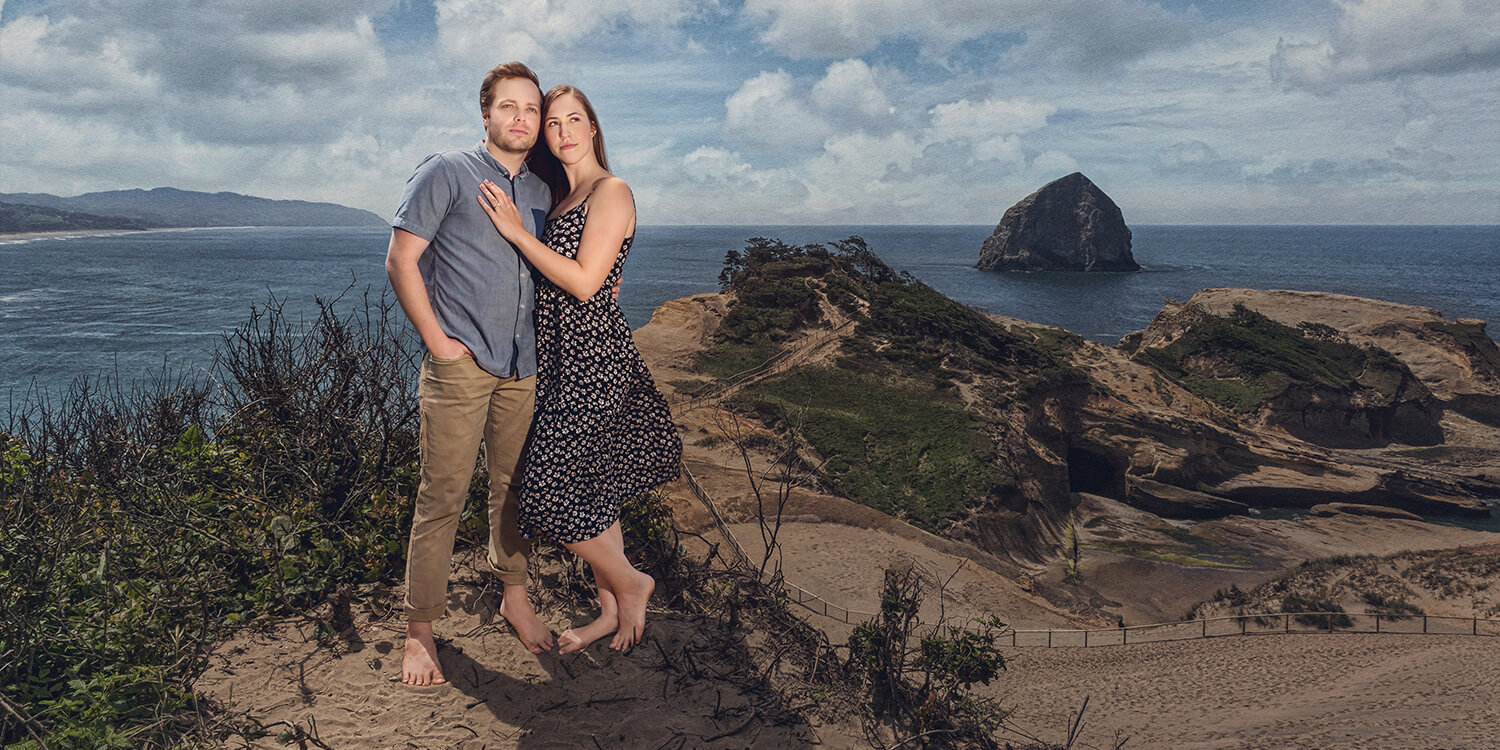
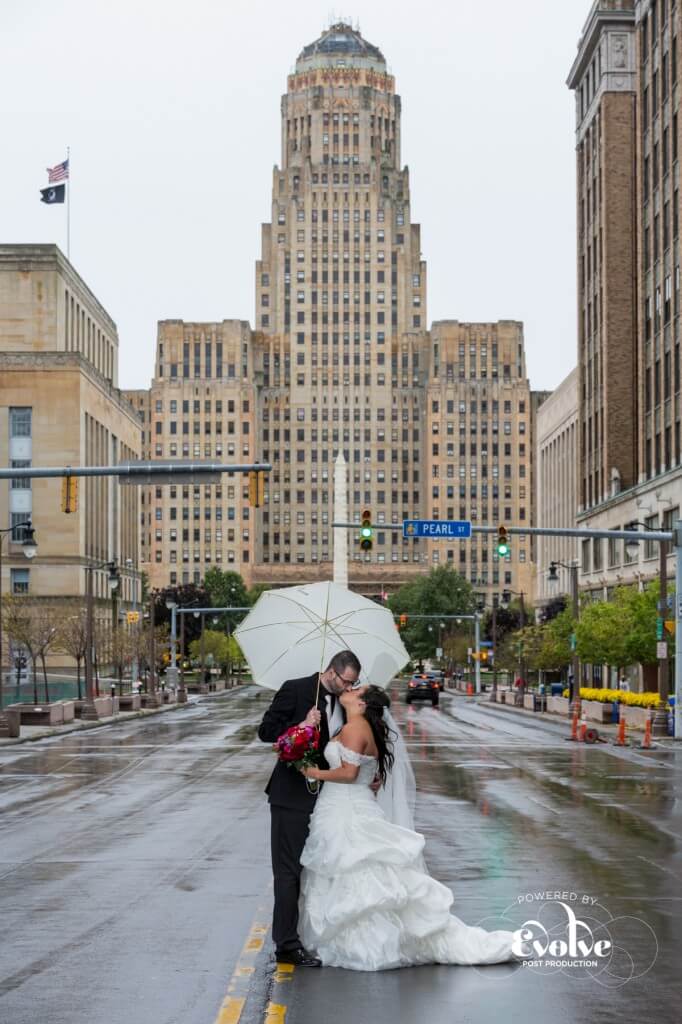
Image by Gronde Photography
4. Retouching – $100/hour
Our Retouching Services are performed by some of the most talented editors in the world. Everyone’s description of what “retouching” of an image means is slightly different. From boudoir to commercial images, we work behind the scenes to ensure the extent to which images are retouched is individually managed and quoted, either per body of work or per image.
Photographers usually order this service following their sales session or once the album has been designed. Your client will have custom requests, and this is your opportunity to upsell them. Simply gather your client’s requirements, get a quote from the team, charge 3x the quote and pass along the costs to your client.
5. Batch Services – $25 to $50/order
Tight timelines demand a “plug and play” environment to receive files that are ready to go versus wasting valuable time in the tedious and time-consuming step of prepping files. This is a problem regardless of personal workflow and can help save hours. Eliminate wasted time by utilizing Evolve’s Batch Services.
Whether it is ordering our Batch Services to simply render a job to .jpg for proofing, giving your proofs an extra something special with skin smoothing, or having the team upload your files directly to your client’s gallery, we are here to help you save time. Many customers request full service custom Premier plans to keep costs down for every job.
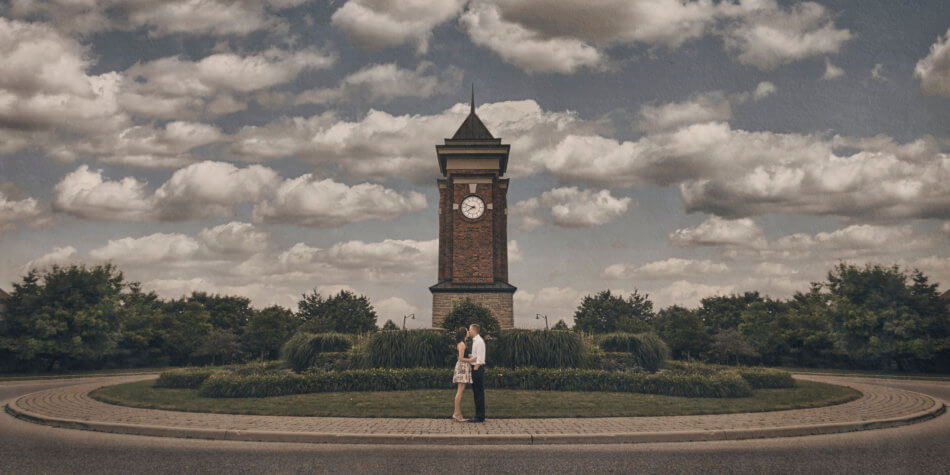
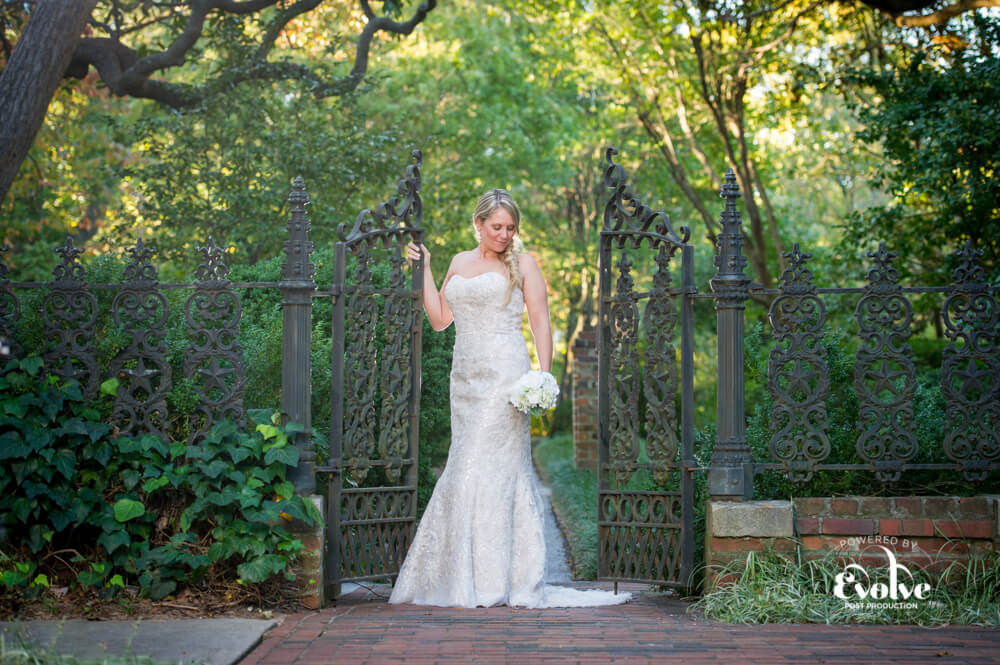
These are the top 5 editing services as we offer many custom options with our premier plans. Here is how one of our current clients Brandy & Chris Gronde, owners of Gronde Photography choose the right services for their business.
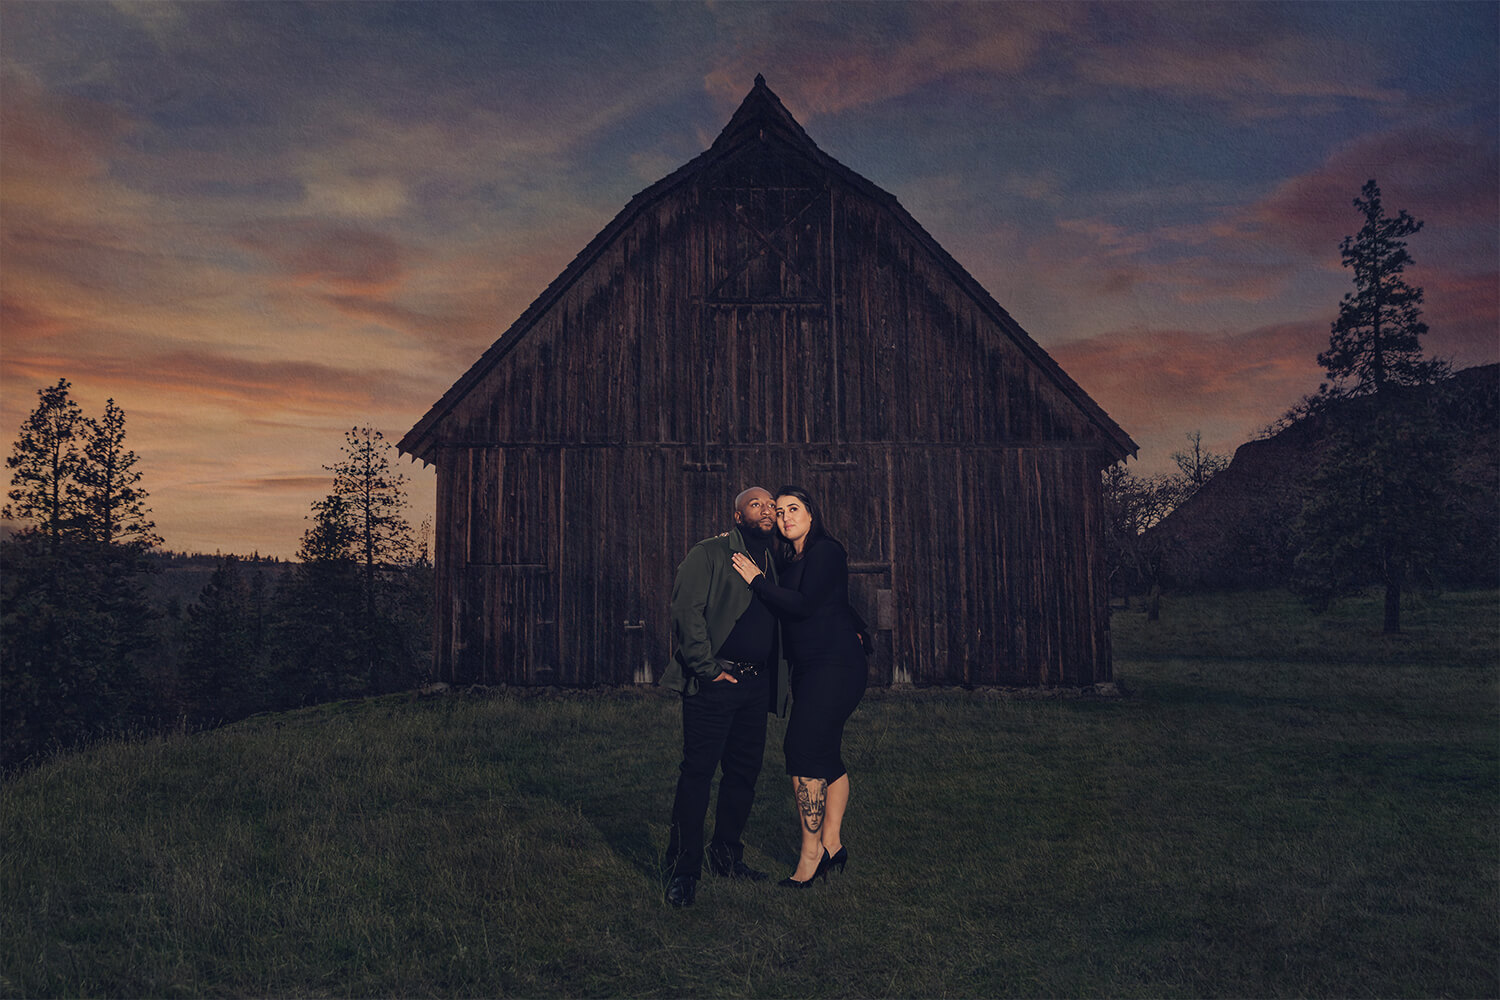
Images by Gronde Photography
Q: What editing services do you typically order, and do you mix it up per shoot?
Answer: For every single session we do (whether that’s wedding, seniors, families), we cull our images ourselves and then order full color correction of all our culled images, 1 signature edit and 10 Premium Edits as a default standard process. Sometimes if a client lets us know they love black and white images, we may also order around 5 Deluxe Edits and specifically ask for B&W edits. If a wedding has more than 1 location, we think could be a signature we might order 2 Signatures, but we always get at least 1. When we first started with Evolve our clients didn’t always buy a big print of their signature edit, BUT we slowly but surely swapped out 90% of the images on our website with signature edits and now clients come to us SPECIFICALLY to get that style of image because it’s so unlike every other photographer in our area. When we plan our sessions and scout locations for this specifically, we base a lot of those around locations where we know we can take an image worthy of a signature edit (i.e. strong secondary element).
Q: What do you see as the biggest value ordering services as a Premier unlimited member?
Answer: The biggest value of being a Premier Member for us is the fact that it keeps our brand style consistent. Before we used Evolve and we were editing our own shoots, our editing style was all over the place. Our wedding style didn’t match our senior style, our editing would change depending on whose work I was admiring at the time, and we just couldn’t lock in a style for our own brand. Using Evolve for every session took our hands out of the cookie jar, so to speak, after the Evolve team worked with us to find an editing style that resonated with us, our brand vision, and our shooting style. Now, when clients come to our website, they see a consistent style throughout our entire portfolio regardless of the genre/niche, which makes it easier for us to cross genres. We have had clients come to us for maternity sessions even though we do not have maternity on our website but because our weddings, seniors, and families all have that same style they feel comfortable knowing their maternity images will have that same style of edits. Being a Premier member allows us to send even our personal projects and styled content shoots through evolve knowing we can at least have them color corrected and save myself the time of having to do that which allows us more content to post to our social media. On the flip side, we also loved that we didn’t always have to be Premier members. When we started using Evolve, we didn’t shoot enough volume for the price of membership to make sense. We weren’t shooting enough weddings to even use all the free color corrections, so our business was able to grow WITH Evolve to the point where now I couldn’t imagine not being a Premier member.
It's time to let go! Try Premier today & get 2 months free.
Enter “Other” in the “How did you hear about us?” field, then enter the code PREMIER2FREE.