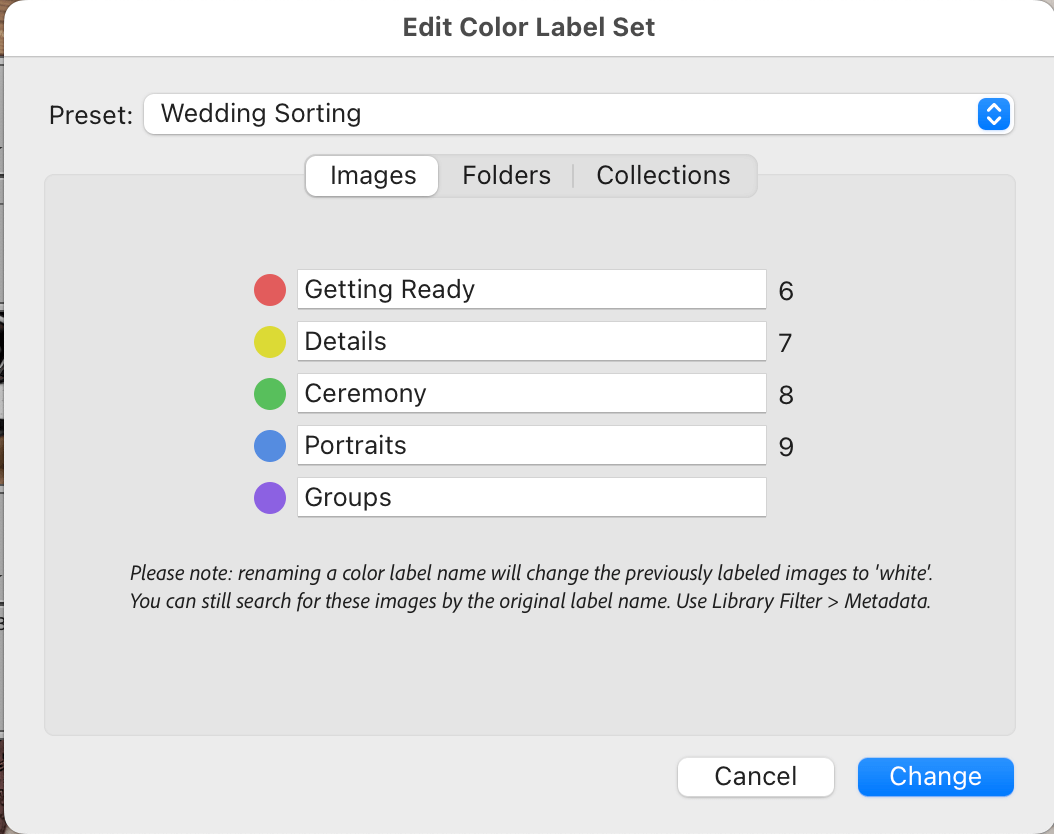
When it comes to delivering polished and professional work, many of us forget to think about the client experience for delivering files, more specifically naming and sorting files. I frequently see wedding photographers delivering their fully edited images with the same file name captured in camera or they rename before culling/selecting images. Present your images like a professional artist and rename them at delivery so your client can feel like you are offering a custom-tailored product and its literally free for you to do. It’s all in those details that makes you stand out as a professional. Along with custom named files, for weddings you should consider sorting images by parts of the day. I find this to be less critical for the client experience, however, imagine looking through hundreds/thousands of images in a grid view in an online gallery, out of sequential order trying to pick your favorites. It’s just overwhelming.
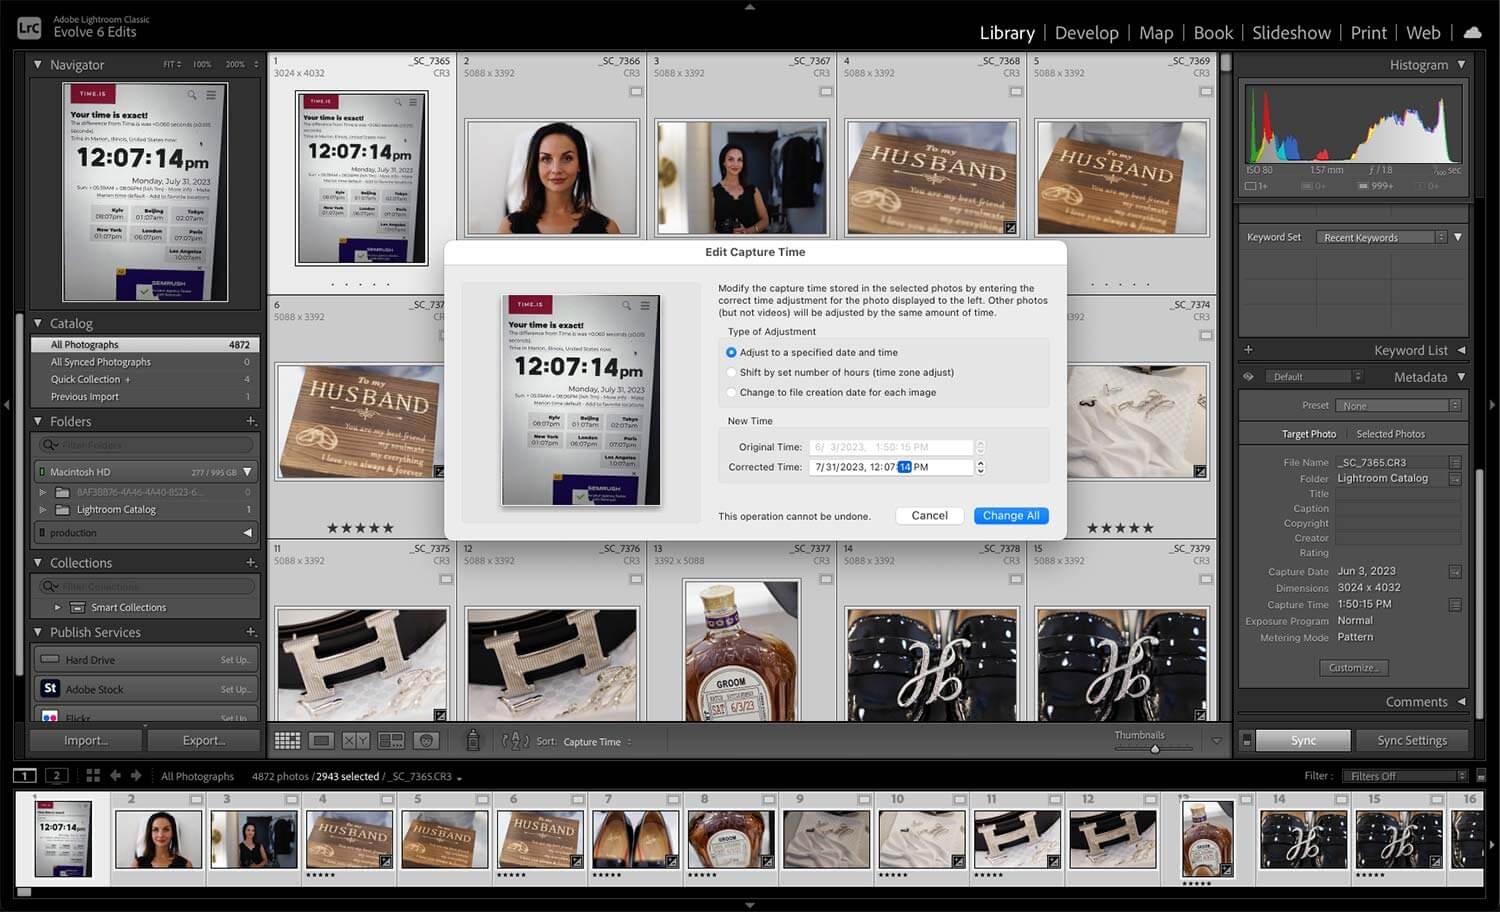
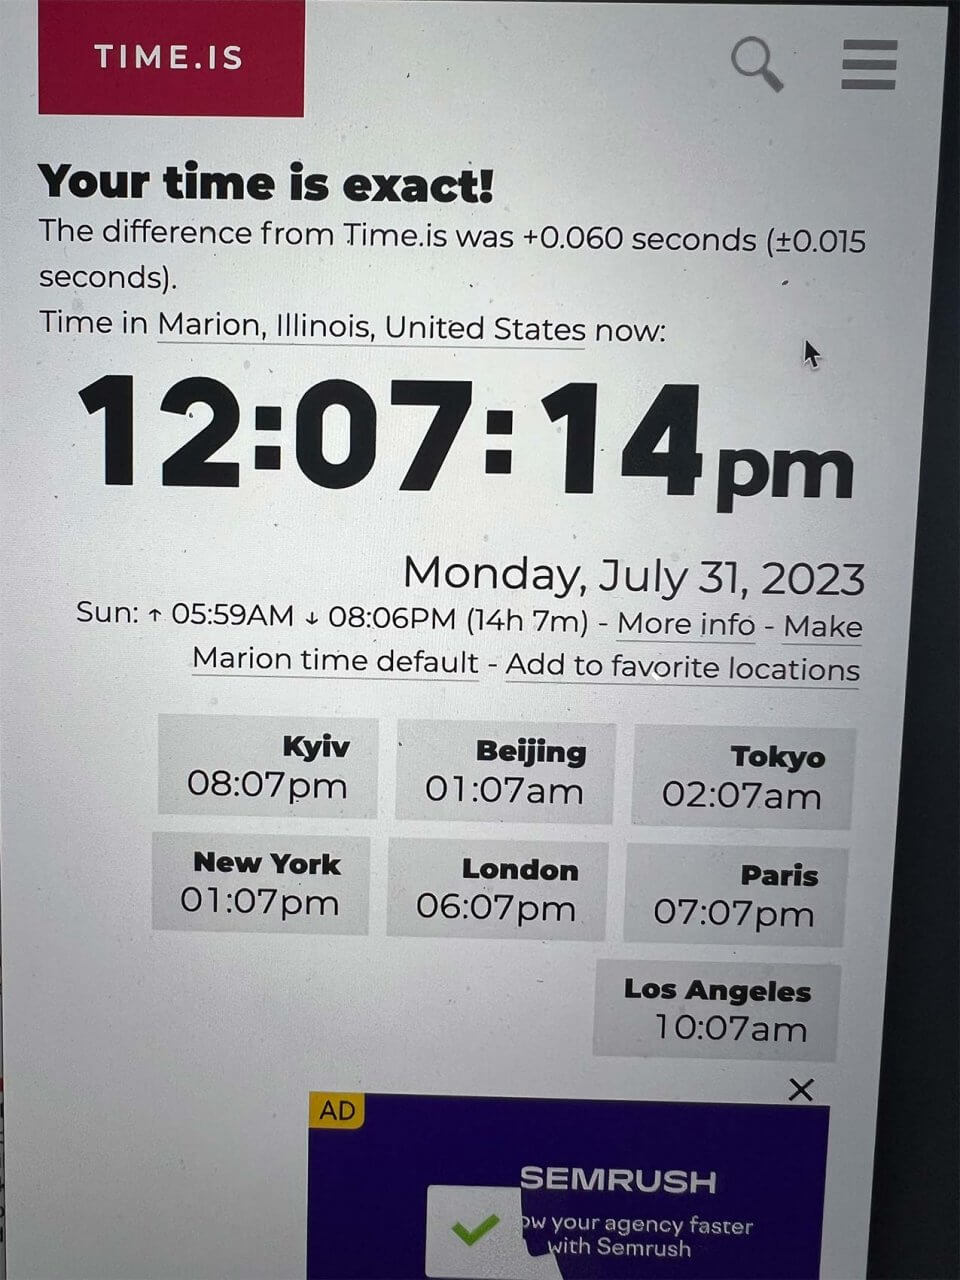
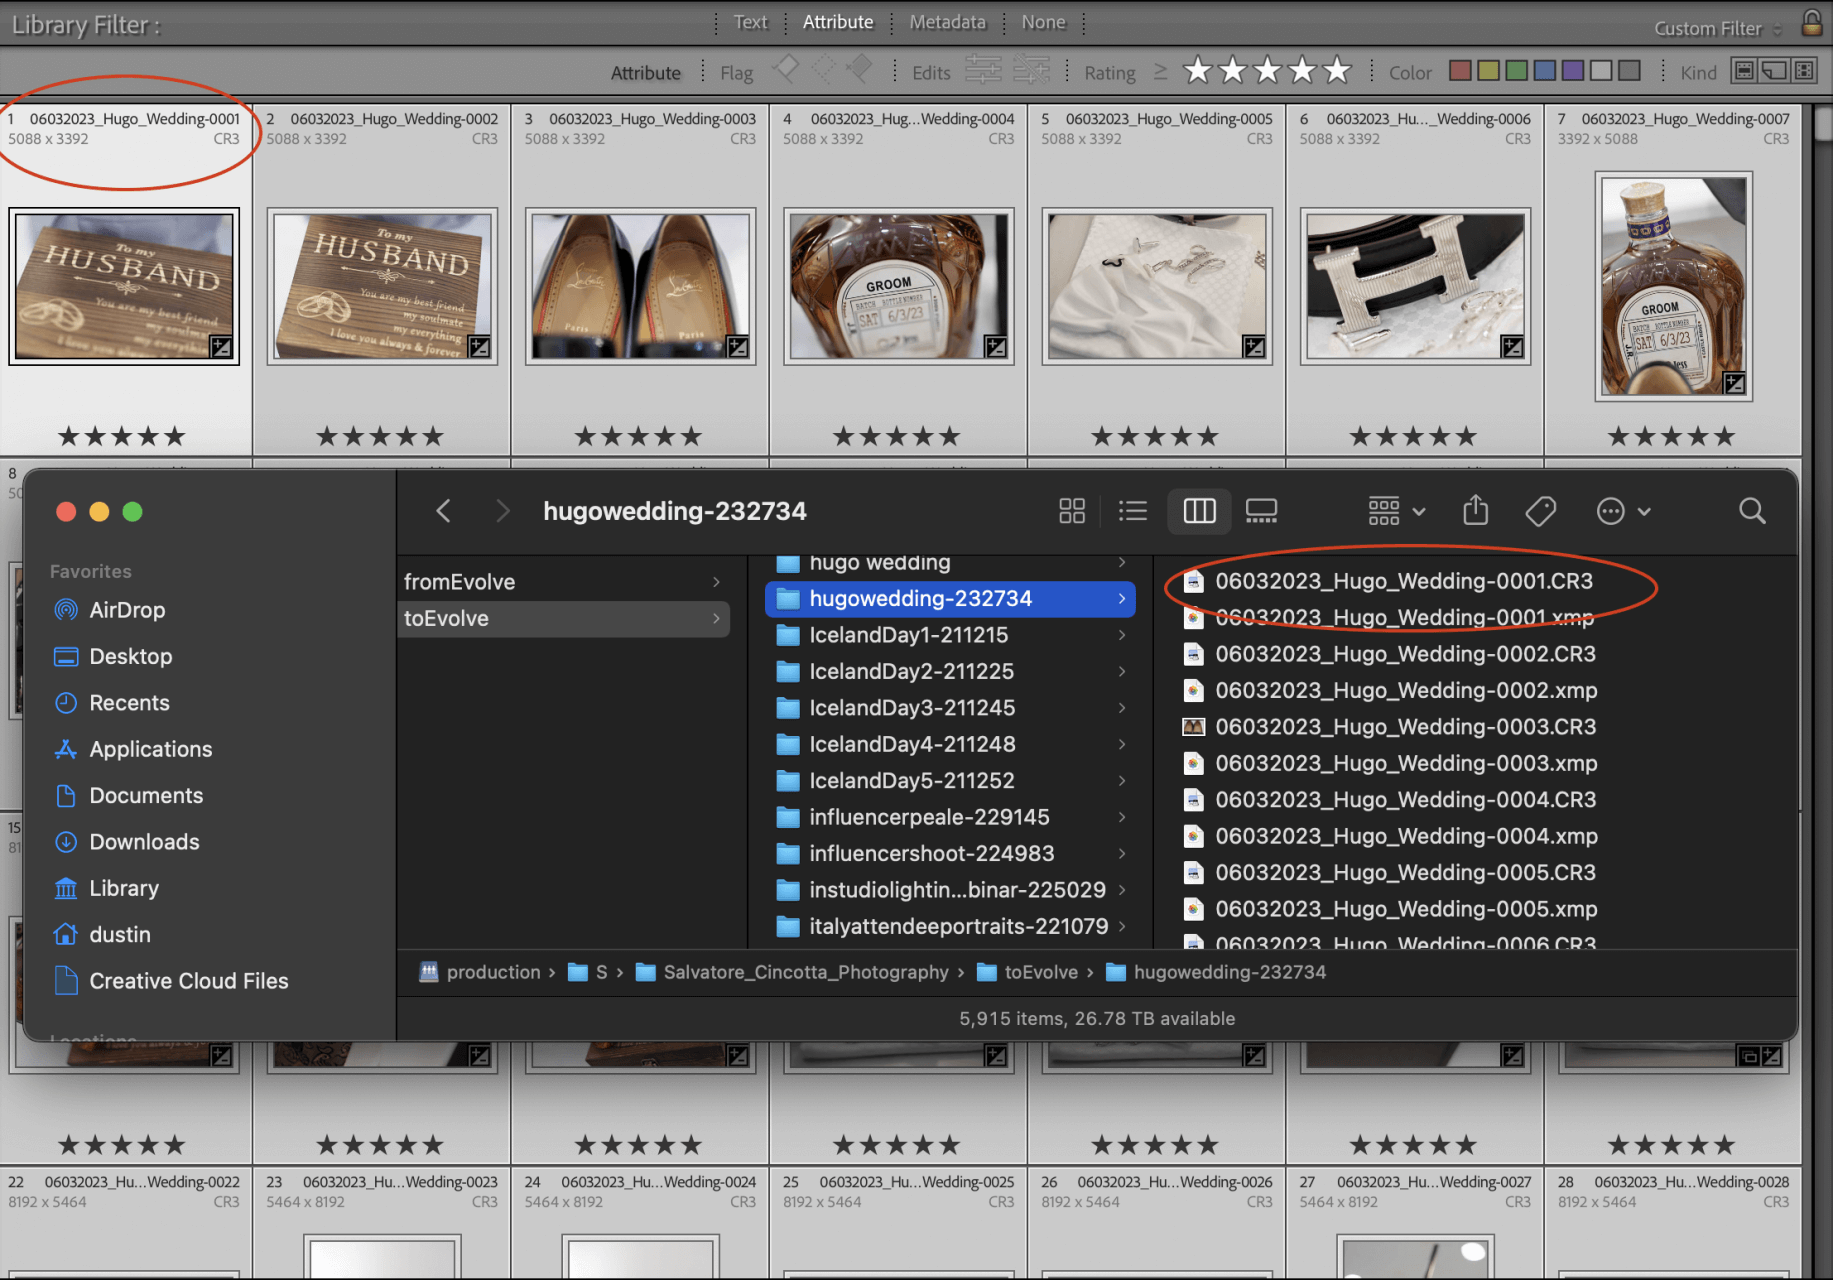
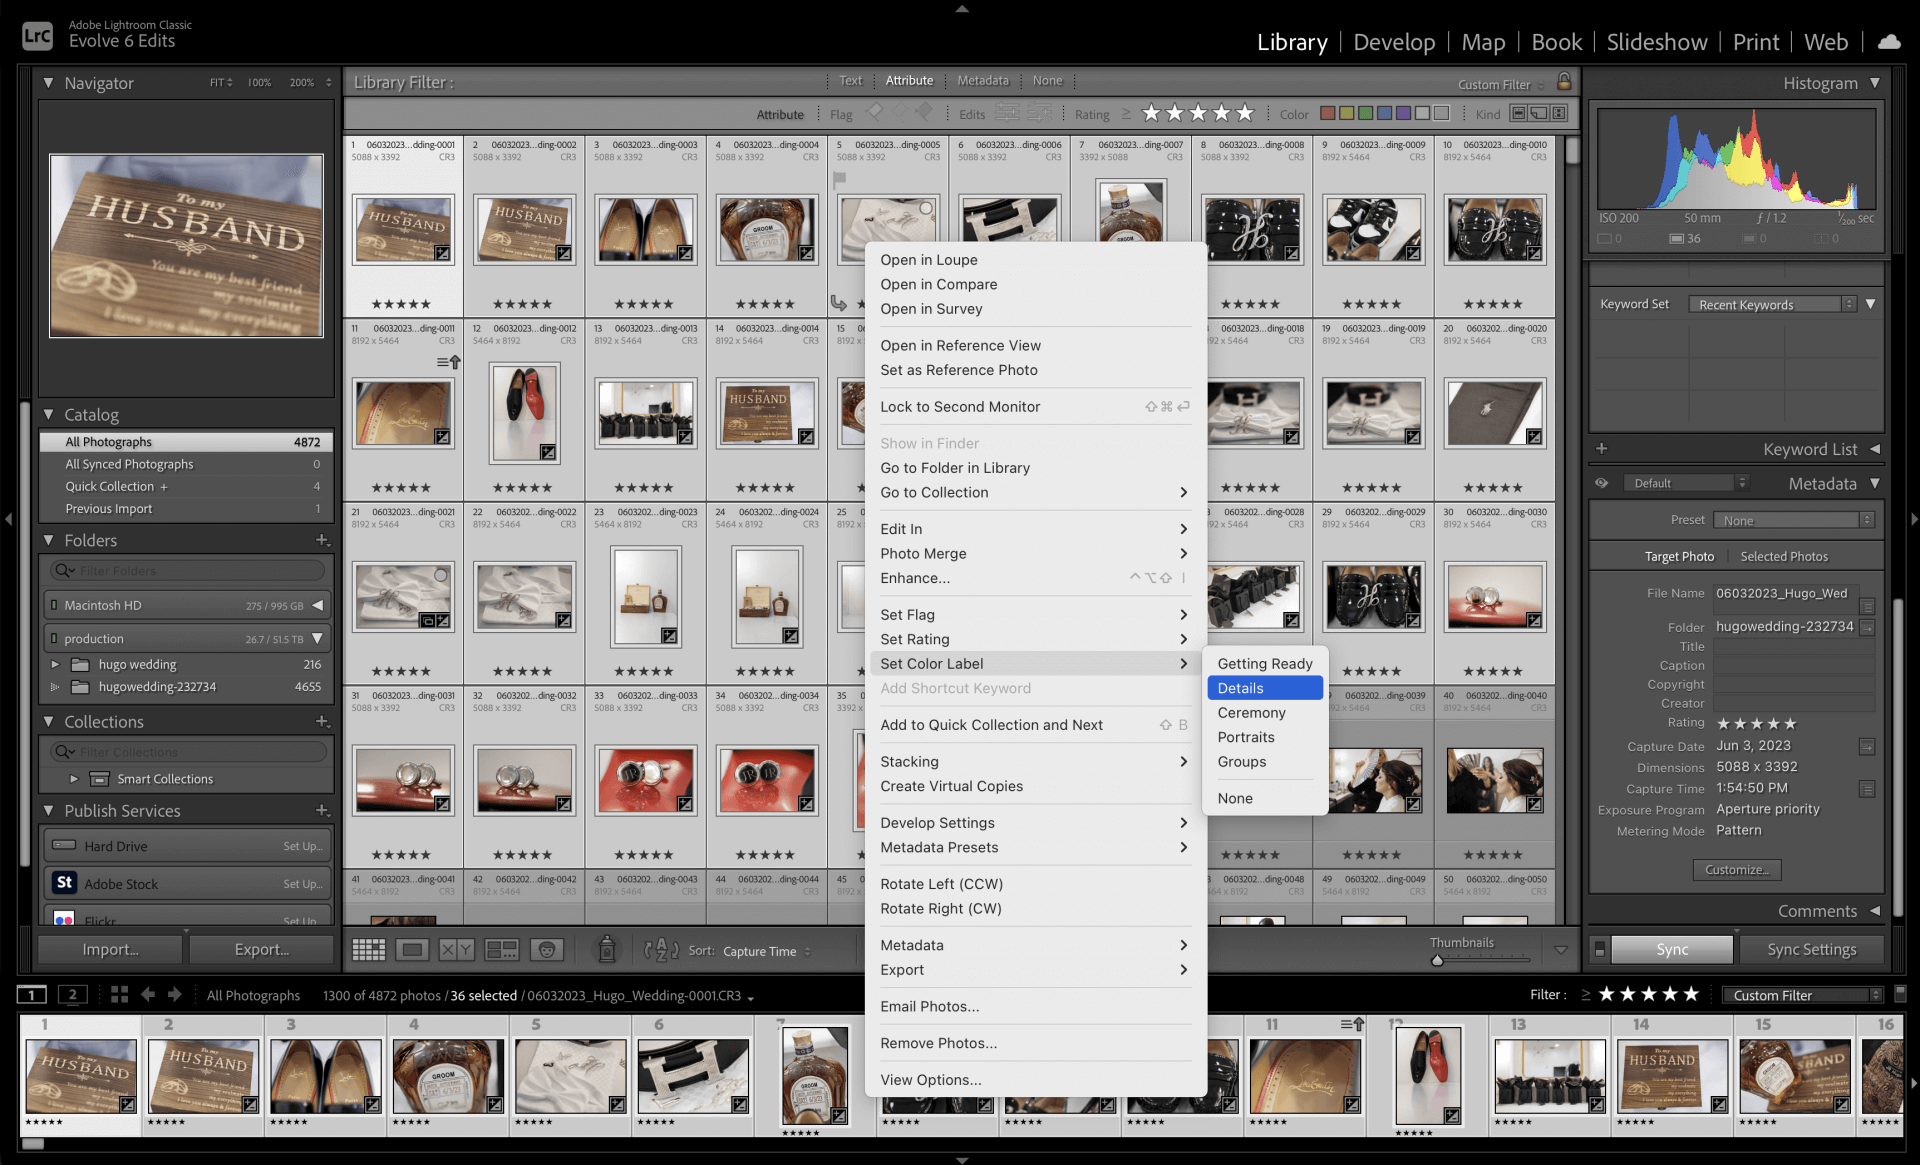
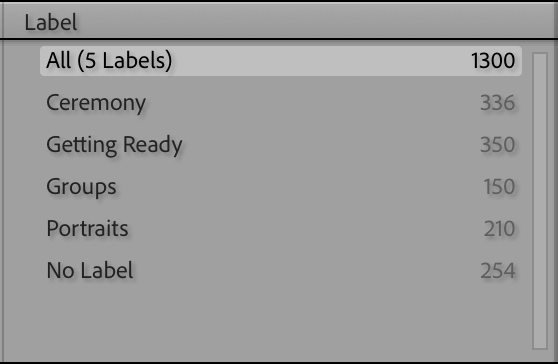
Before renaming files, you should always make sure to sync capture time between all images and cameras. This is one of the most amateur things you can do as a creative. Pro tip: before starting every wedding or event with multiple cameras have every photographer photograph their cell phone with the browser opened to the website“time.is” (ref image1). After importing all images into Lightroom, sort by each individual camera and sync the raw files to the date and time from that photo. Takes seconds to do per camera and creates a better culling and client experience (ref image2). Once you are done culling and editing in Lightroom, you are ready to rename your files directly in Lightroom instead of when you export. Be sure to filter to only the culled/edited images before renaming.
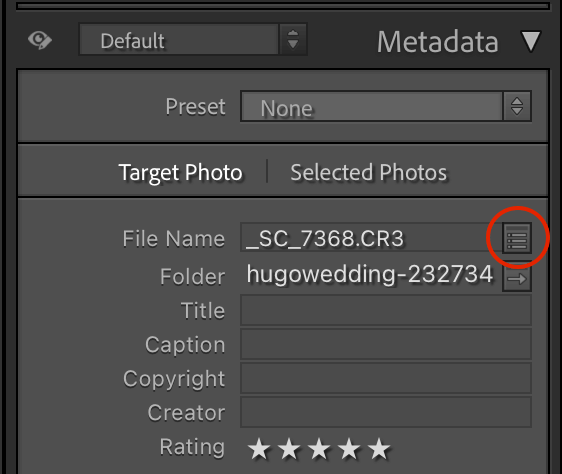
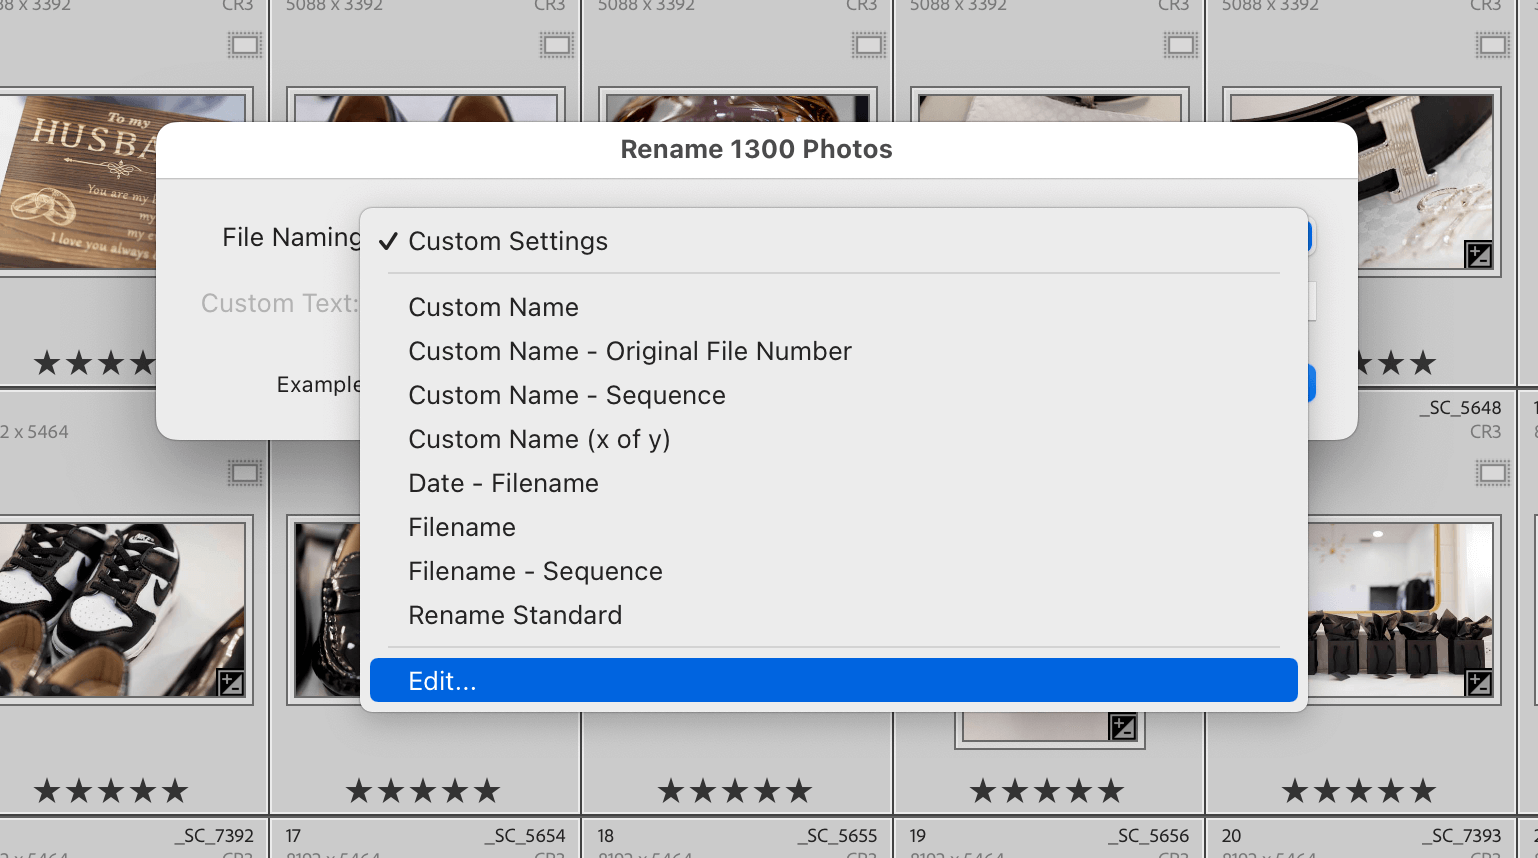
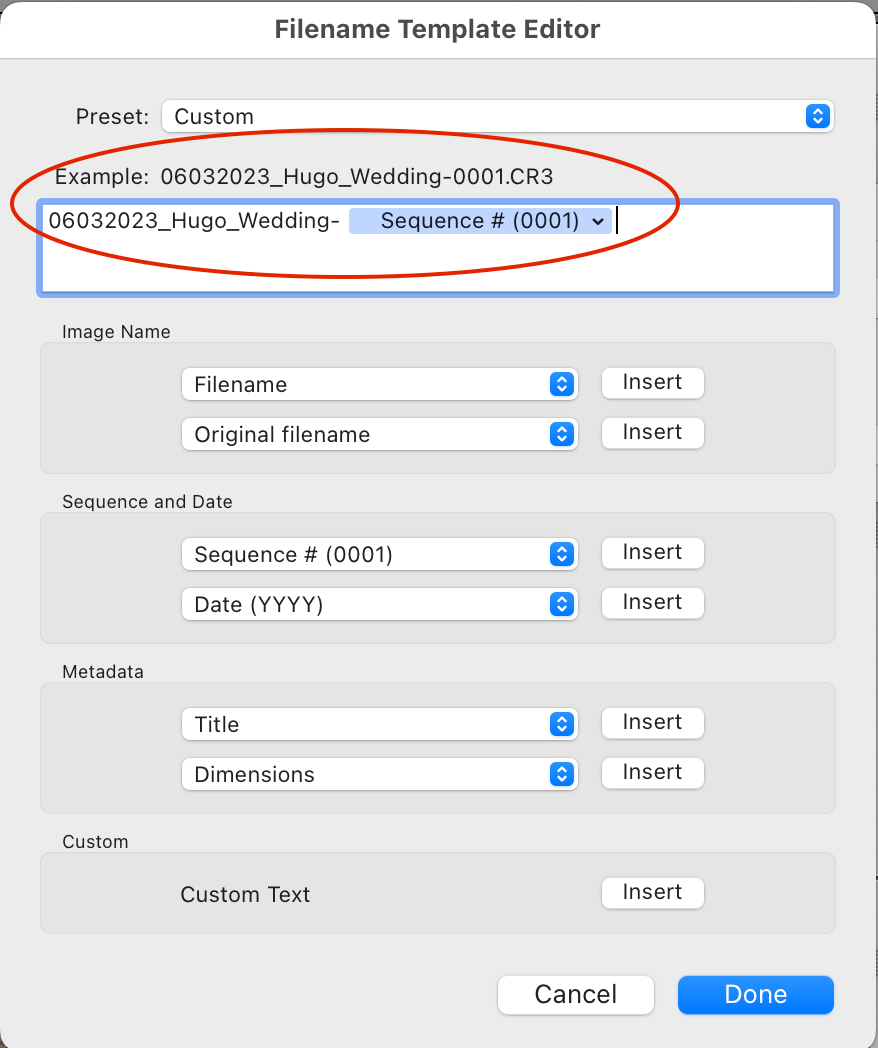
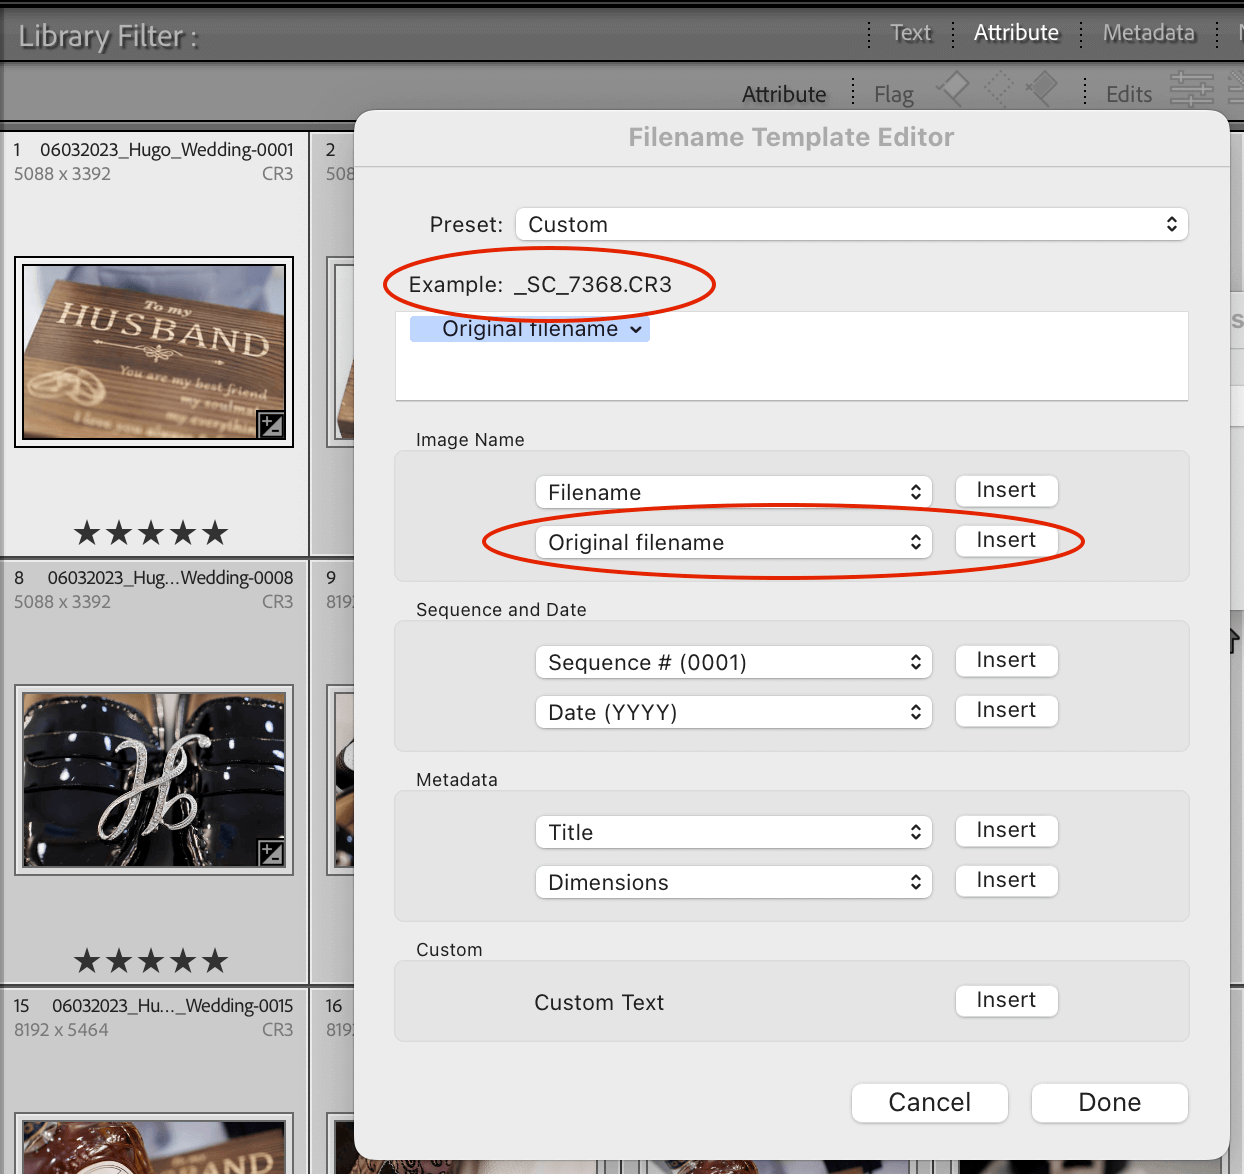
For file naming you can choose any custom conventions you already use, I like to include the shoot date, client name, event name and a sequence of 4 numbers (ref image5). Once you click done that’s it! (ref image6) Renaming inside Lightroom is critical so your raw file names change outside Lightroom and if you need to undo this later you have full control of revert the file to their original file names
(ref image7). Next we are ready to sort images.